A Summer to Remember

Well it's the middle of August and summer is almost a memory now, but what a wonderful memory it will be! If you are wondering where I have been for the past few weeks and why there hasn't been a post in quite some time it's because I have been busy making memories. Summer is a special time of year for my family. It's the time when we all come together to spend time with each other, get caught up on kids and family and look forward to the year ahead. I have four sisters and as the years go by and our kids get older, getting  together is not as easy as it used to be. There are cross country flights, work and sports schedules, college and school preparation and lots of other variables that make family gatherings a challenge. But...somehow we do it. One way or another we make it happen. We gather together and overlap vacations so that we can spend at least some time together.

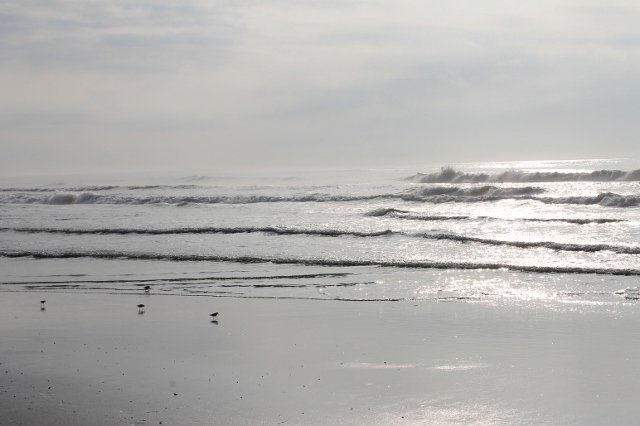
This year our gathering place was at our family home at the beach. It's everyone's favorite place. We were in and out and all over the place. There were kids on air mattresses and in bunk beds, and there were so many cars at one point that we were told we were taking over the street. We will laugh about that one forever! The bottom line is that I come from a family that will go to great lengths to spend time together, and for that I am grateful. We simply love being in the same place at the same time. And don't get me wrong, we have our share of "this is crazy" and "there are too many of us now" or even "I might not do this again," but after we all go home and summer is over, we will all have a day where we find sand in a beach bag or look at pictures that we've taken and we get on the phone and start planning for summer all over again. It's who we are and I love that!

So after weeks filled with family, food, travel, crazy fun and lot of laughs, I am full of gratitude and great memories and will hang onto that until next summer rolls around. I hope you are doing something you love this summer too! You still have a few weeks left so take advantage of the season while you can and live it up! It won't last forever! As for me, I am going to get back to work so I can bring you some fun new recipes, back to school ideas and more! Stay tuned because it's going to be a great fall!

Leslie xoxo

Roasted Rosemary Cashews

Summer is a busy time of year for us. We do a lot of traveling and entertaining and we love to spend time with family and friends. We travel back and forth to the beach quite a bit and we are always cooking something. Kicking off evenings with Happy Hour has become somewhat of a tradition and serving snacks and drinks that are easy to put together is the key to making sure everyone can relax.

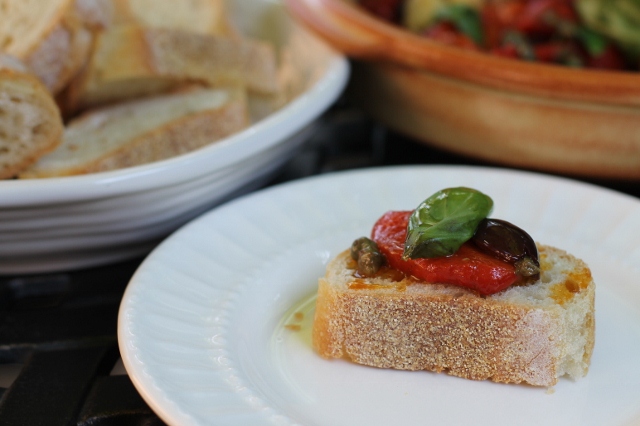
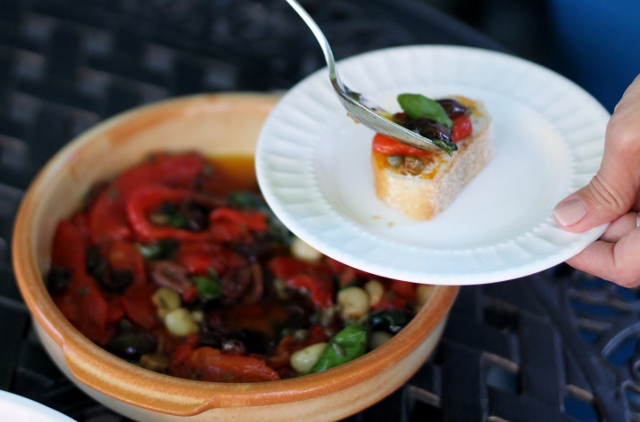
Last week I shared a recipe for Roasted Peppers & Olives with Fresh BasilI used basil from the herb garden on my patio. Today I'm going to share a recipe that uses fresh rosemary. These Roasted Rosemary Cashews are quick and easy to make and they are a great Happy Hour snack!

This recipe is similar to the recipe for the famous Bar Nuts served at Union Square Cafe in New York City. I have heard that these nuts were amazing but honestly, when we went to the Union Square Cafe to try them, it was very crowded and we decided not to stick around that night. Needless to say, I was really excited to find a recipe for a similar version on Food Network. I adapted it just slightly and I do think you could use any assortment of nuts. It's just a matter of preference.

Roasted Rosemary Cashews
Author: Leslie Reese ~ adapted from Food Network
Ingredients
  • 1 1/2 pounds cashew nuts
  • 1 tablespoon melted butter
  • 1 tablespoon dark brown sugar
  • 1/2 teaspoon cayenne pepper
  • 2 teaspoons sea salt
  • 2 tablespoons fresh chopped rosemary
Instructions
  1. Preheat oven to 375 degrees. Spread nuts onto baking sheet. Place in oven and bake for 10 minutes until nuts are warm. Mix remaining ingredients in a large bowl until combined. Add warm nuts and toss until nuts are coated.
  2. Serve warm.
Notes

~You can make the nuts ahead of time and store them in an airtight container to save time before a party.

Enjoy!

Roasted Peppers & Olives with Fresh Basil

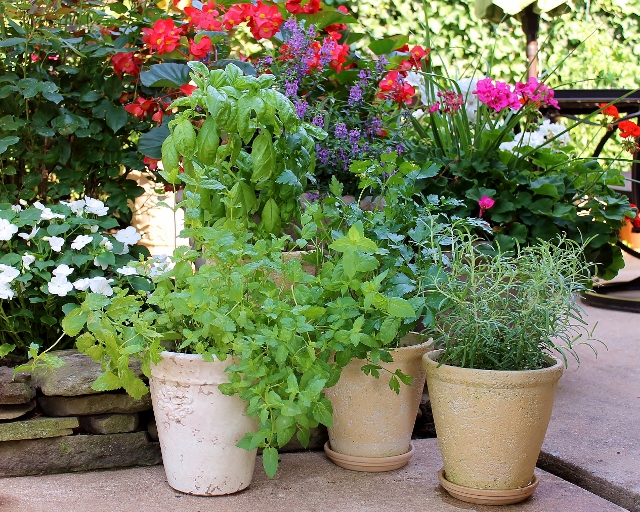
Every summer I grow herbs on my patio. I plant them in separate pots and place them right outside of my kitchen door next to the other flower pots. They blend in nicely with all of the other plants and the fact that they are near the kitchen makes it easy to use fresh herbs when I’m cooking.

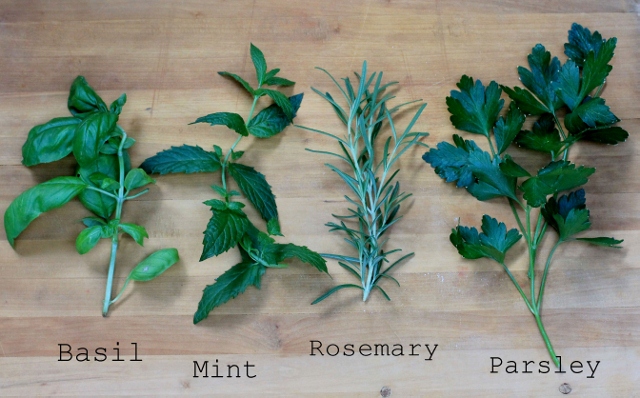
I look forward to having my own supply of basil, mint, rosemary and parsley all summer long. It’s a great way to add fresh flavor to my recipes.

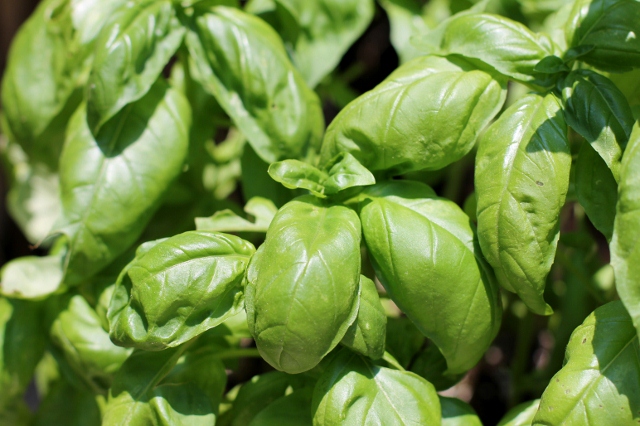
I thought it would be fun to give you some ideas for using fresh herbs by sharing some simple recipes with you. The recipe I am giving you today uses fresh basil. Basil is my favorite herb. I love the smell, the color and the taste of it and if I could grow it inside like a house plant, I would. I think basil adds fantastic flavor to so many things; certain pasta dishes, salads and sandwiches all taste great with basil added to them.

This Roasted Peppers, Olives and Basil recipe is something that we started making after a visit to Angelo’s Italian restaurant in New York City. We ordered a similar dish there and fell in love with the flavor combination. And because we couldn’t just go to Angelo’s every time we wanted it, we decided to try to make it ourselves. It's almost as good as Angelo's!

You can serve this dish hot or cold. We love it hot on top of a good crusty Italian bread but it’s also great cold on top of sandwiches.

Recipe

Ingredients

1 large (32oz) jar of roasted red peppers

1 cup of pitted Kalamata olives

8-10 large cloves garlic

¼ cup of capers

Approximately ½ cup of fresh basil

Olive oil

Salt & Pepper to taste

Method

Peel garlic cloves and set aside. Slice each pepper into 6-8 strips and set aside. Drizzle enough olive oil to almost coat but not cover the bottom of a large frying pan. Add garlic cloves and sauté on low heat until soft, being careful not to burn the garlic. Sprinkle with a small amount of salt and pepper. Add olives and sauté for about 5 minutes. Add peppers and sauté  5-10 more minutes or until peppers are soft and heated through. Add capers and stir into peppers and olives. Tear about half of the basil leaves into small pieces. Add torn basil to pan and stir into pepper mixture. Add more salt and pepper to taste and stir. Remove from heat and pour into a heat proof serving dish. Top with the remaining basil leaves. Serve warm with Italian bread.

Enjoy!

Summer Fun ~ Simple Jewelry Making Tutorial

I consider myself a creative person. Always thinking, always creating and constantly looking for unique ways to do things. About ten years ago, on a rainy day, I took my daughter Lynsie and her friend to a bead store at the beach to make jewelry. I was hooked and fell in love with the idea of designing unique pieces of jewelry. I ended up starting a small business the following year. I sold the jewelry I designed at local events and eventually to retail stores and an online boutique. I am doing much less designing these days, just special orders and events, but I love to sit down and create a unique piece of jewelry for myself or my daughters once in a while, just for fun.

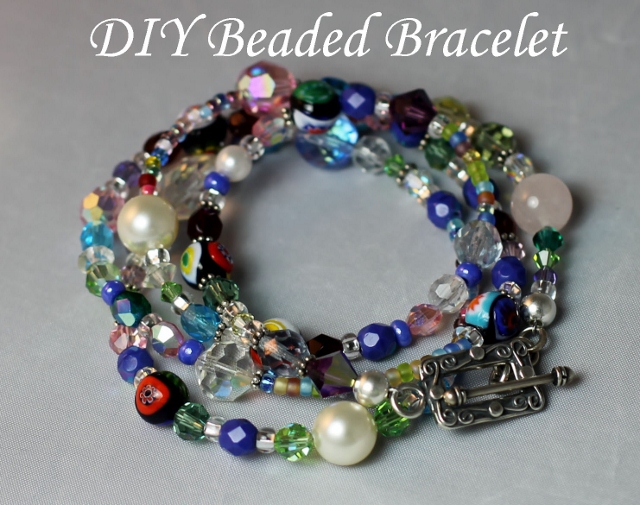
For this post I thought I'd show you how easy it is to create your own jewelry. I put together a step-by-step guide with video tutorials to help you. Once you have the basics down, the possibilities are endless. It's a fun thing to do with your kids or girlfriends too. So let’s grab some supplies and get started!

*All of the supplies that are listed here can be found at most craft stores like Michaels or purchased online at sites like Auntie's Beads.

BEADS

You can go to any craft store to buy beads. When I am designing a piece of jewelry I will use anything from high quality sterling silver and crystal to beads from broken jewelry, antique stores, etc. So feel free to use whatever you like, it's your bracelet! This bracelet does not have a pattern so any color and shape will do. Try to choose beads that are not too big. Since this will be one long strand you want to keep it light so smaller beads are better. Mine range from tiny seed beads to 10 mm pearls and crystals.

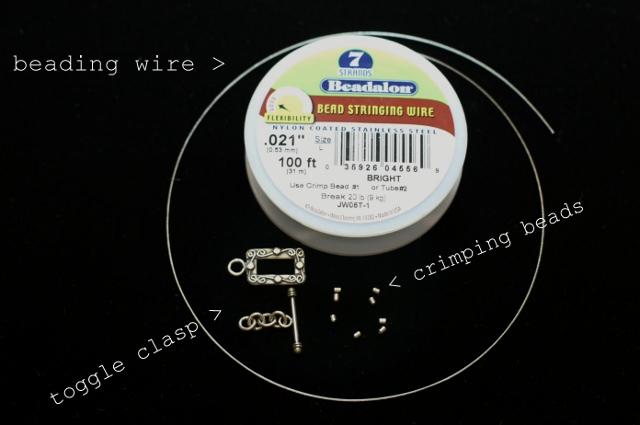
BEADING WIRE ~ TOGGLE CLASP ~ CRIMPING BEADS

beading wire ~ you will want to use a flexible beading wire that is not too heavy. I used a .021 inch diameter, 7 strand beading wire from Beadalon. *The color is listed as "bright" or "clear" but it's actually silver wire.

toggle clasp ~ a toggle clasp comes in two pieces and lots of different shapes and sizes. Toggle clasps are much more interesting than a regular clasp and they make taking your bracelet on and off easier. Use whatever fits your style.

crimping beads ~ crimping or crimp beads are used to secure the wire on the ends of the bracelet. I used 2x2mm sterling silver crimping beads.
TOOLS 

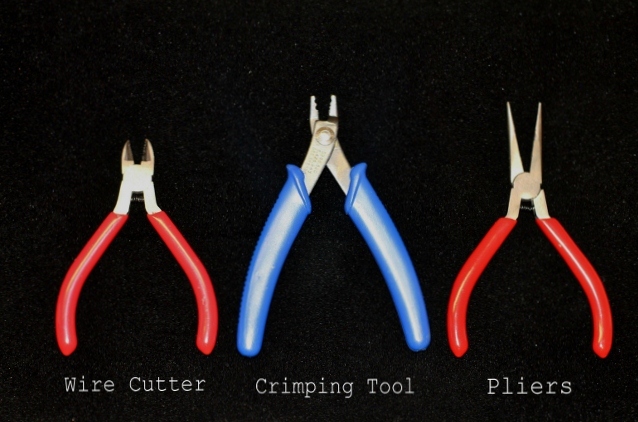
wire cutter ~ wire or end cutter

crimping tool ~ this tool secures the crimping bead to the wire to close the end of your bracelet (a must have for making jewelry)

pliers ~ flat nose pliers to hold or pull your wire
Now that you have your supplies you are ready to start creating! Place your beads on a jewelry mat or towel to keep them from rolling around while you work.

Step 1: Start stringing your beads one at a time onto the beading wire while the wire is still attached to the spool. Feel free to design your bracelet to fit your style. If you want to make a pattern it's a good idea to arrange the beads on your mat before you string them. I like to just grab and string my beads in no particular order for a look that is unique.

http://www.youtube.com/watch?v=LO7s4uOs1fE

Step 2: This is where you will need to decide how many times you want your bracelet to wrap around your wrist. Measure your wrist. Take the measurement of your wrist and add an inch. Multiply that number by the number of times you want the bracelet to go around your wrist.  Example: 6" (my wrist) + 1" = 7"  X 4 (number of times I want the bracelet to wrap around) = 28" (the total length of my beaded wire). String your beads until the strand is that long.

http://www.youtube.com/watch?v=WLp1dx_Qg1A&feature=player_detailpage

Step 3: Now that you are finished stringing your beads you are ready to close the ends of the wire. You will start with the end of the wire that is not attached to the spool. Slide a crimping bead onto the wire. Next slide one end of your clasp onto the wire. Take the end of the wire and go back through the crimping bead. Use your pliers to pull the wire close to the clasp. Use your crimping tool to pinch the crimping bead closed. Cut the excess wire. You are almost finished!

http://www.youtube.com/watch?v=8mJXgGeCTEk&feature=player_embedded#t=0s

~ Before you finish your bracelet it's a good idea to do a size check. Hold onto the unfinished end of your strand of beads and wrap it around your wrist to see how it will fit. Keep in mind that your toggle clasp will add about 1/2 " or so depending on its size. If it fits , move to step 4. If you think it's too long, move to step 4 and remove a few beads once the wire is cut. If it's too short, move to step 4 but allow for extra wire so you can add some beads before finishing the bracelet.

Step 4: Grab the end of the beaded wire without the clasp and cut it from the spool making sure to leave at LEAST 6" to work with. Push the beads down to the closed end so there are no gaps between the beads. Slide a crimping bead onto the wire. Slide the other half of your toggle clasp on next. Take the end of your wire and go back through the crimping bead  *(Ok this is where I make a mistake! In the video I say toggle when I meant crimp. You will see what I mean but you will get it because you already did it. Trust me, it was not worth remaking the video but it is worth pointing out). Working with your pliers, pull your wire tight against the end of the toggle clasp making sure the beads are lined up nicely and there are no gaps in the wire. Use your crimping tool to secure the end of the wire. Cut the excess wire with your cutting tool. Congratulations! You have just completed your wrap bracelet!

http://www.youtube.com/watch?v=5uhSVrvsluM&feature=player_detailpage

Wasn't that easy? I hope you enjoyed the video tutorials! I would love your feedback since this was my first attempt at using them. It was quite a process to figure it all out (I won't even tell you how hard my daughters and I laughed at my voice when we watched them) but I think it will be fun to bring you a variety of posts that include them. I think it makes it more personal. And speaking of personal, I plan to introduce myself to you as soon as I can do it without laughing! I want you to get to know me and I want to know you! As always, I would love to hear from you!

Happy Beading, Happy Summer!

Leslie
 

A Walk on the High Line

If you know me, you know that New York City is one of my favorite places on the planet. Ever since I was young and got my first taste of the hustle and bustle, I have been fascinated with Manhattan and its surroundings. I love to visit as often as I can and I will never get tired of what there is to do there. I have some favorite places in New York City, but every time I go, I try to discover something new.  One of my recent discoveries was something called the High Line. It's an interesting place so I thought I would share my visit with you.

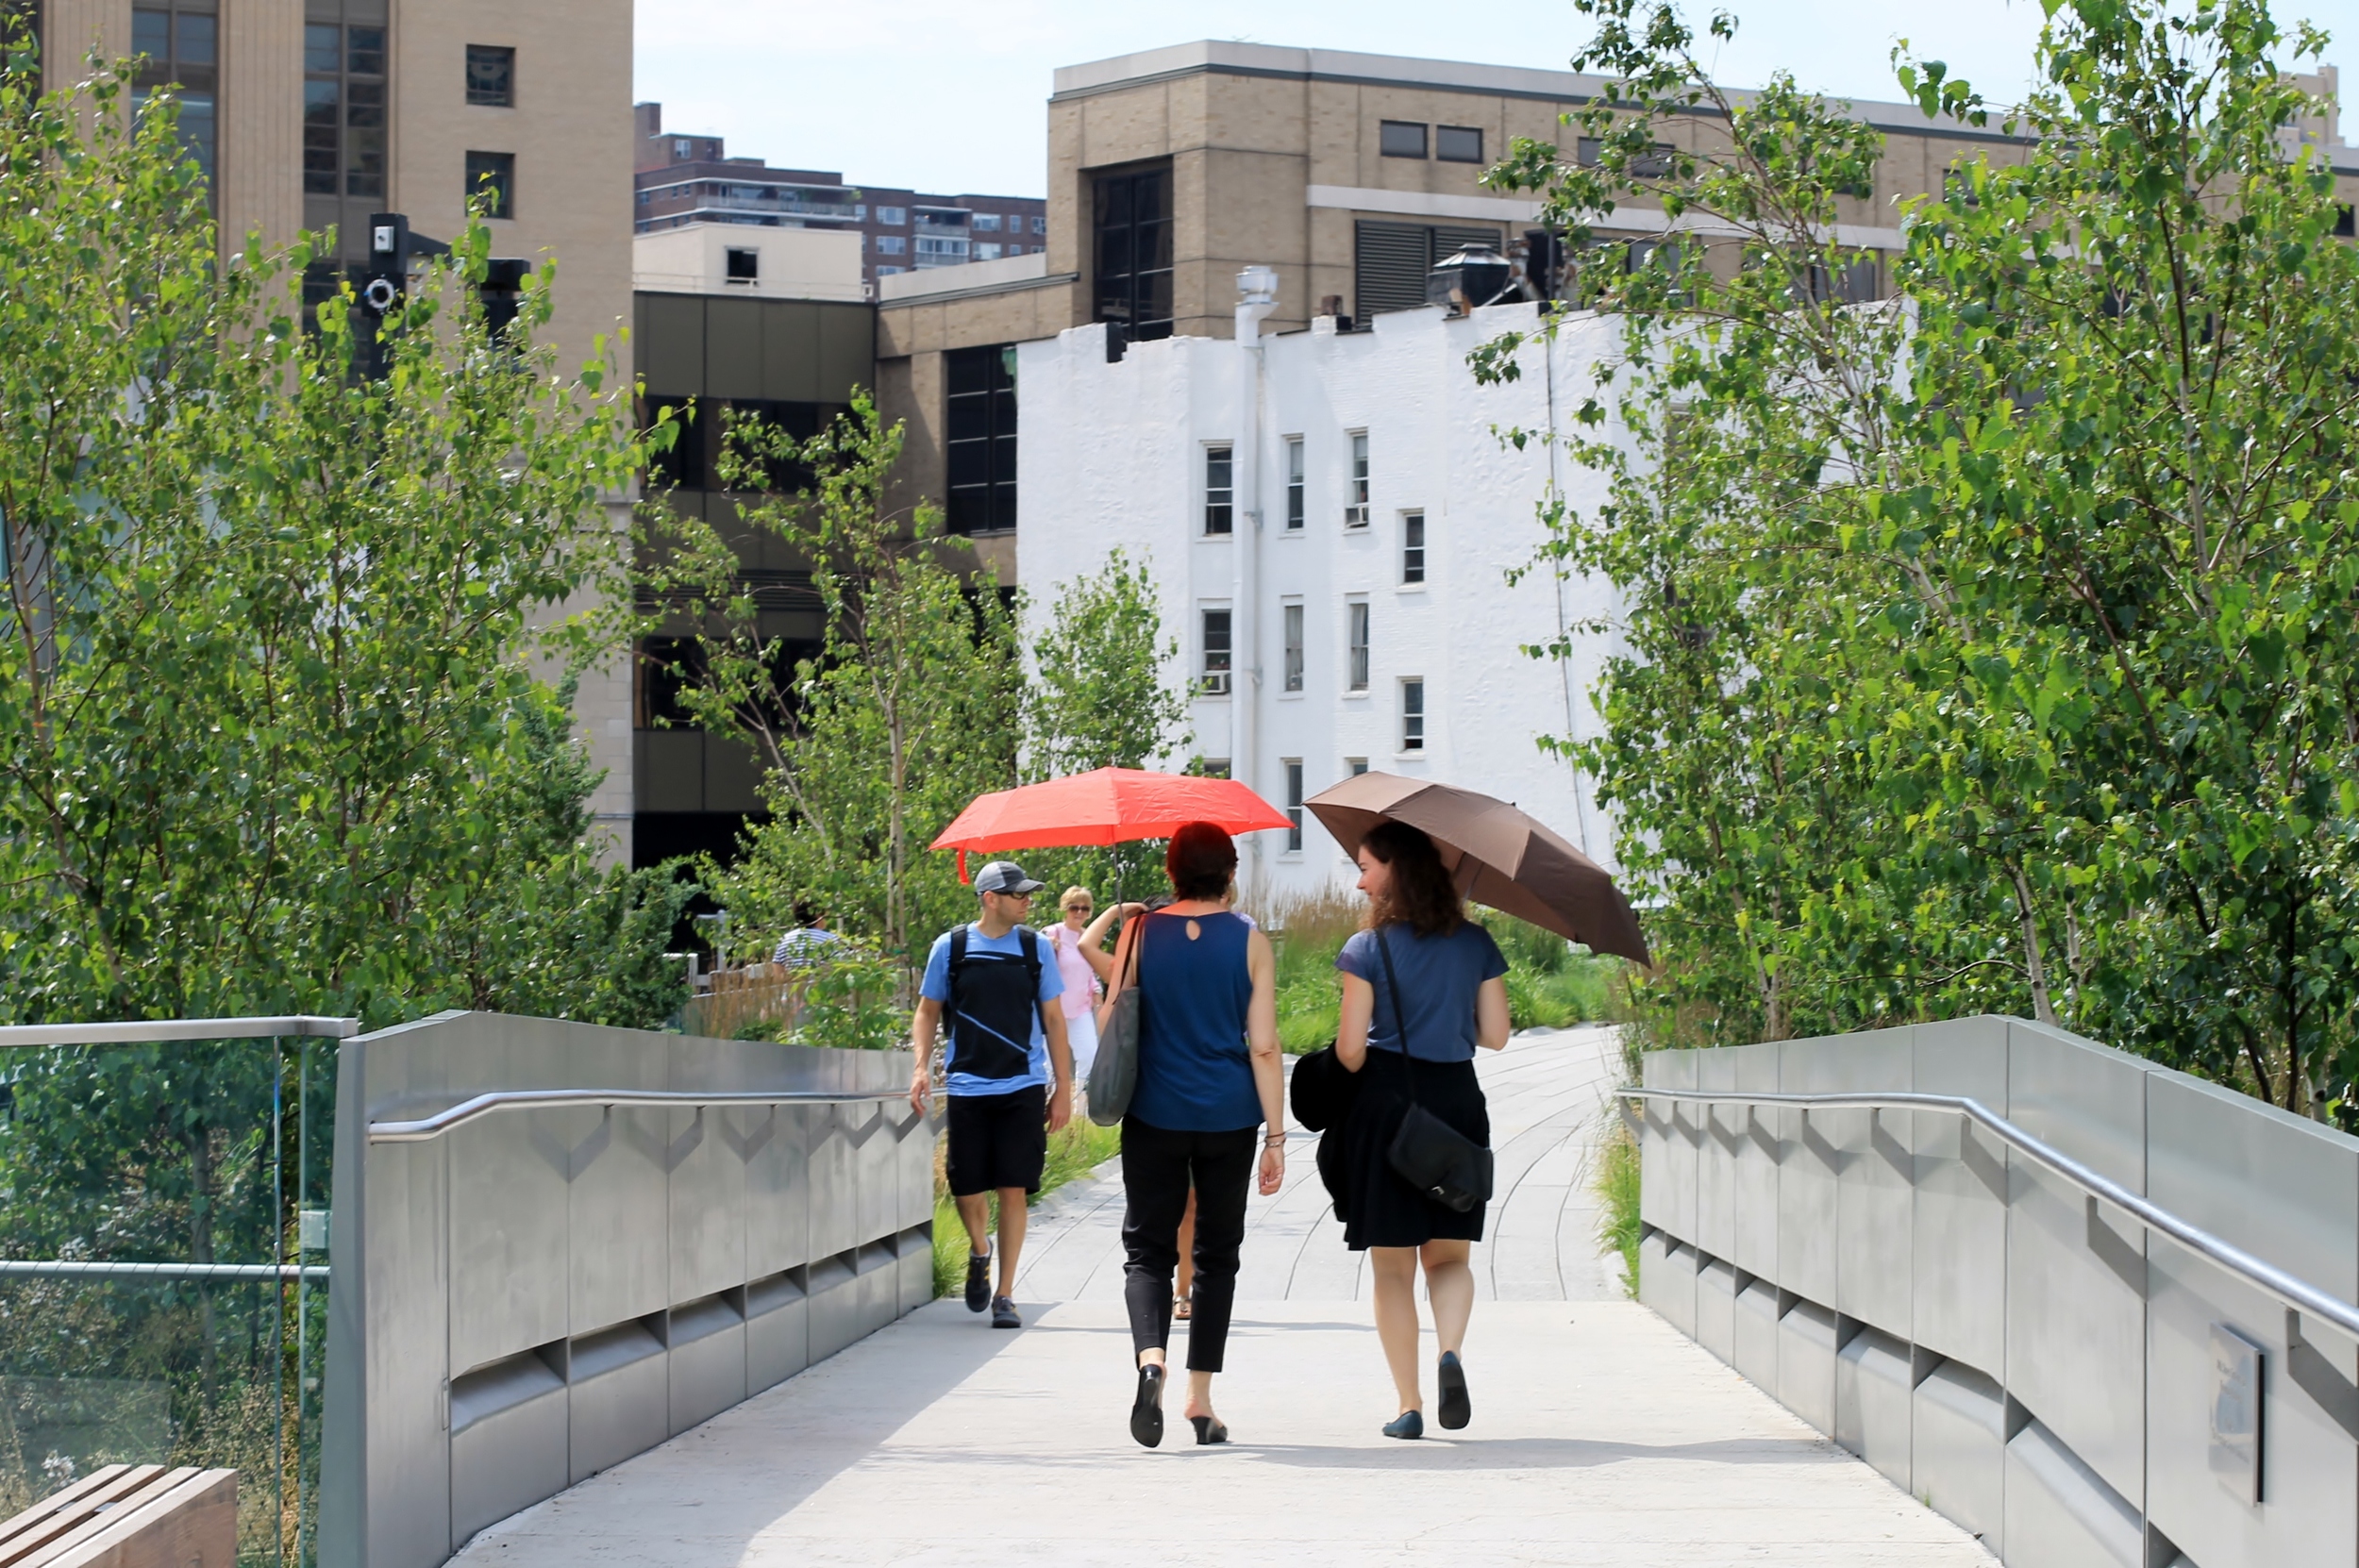
The High Line is a beautiful public park that is located on Manhattan’s West side. It was built on a historic freight rail elevated above the streets and runs from Gansevoort Street in the Meatpacking District to West 34th Street between 10th and 11th Avenues.

The park is owned by the City of New York but is maintained by Friends of the High Line, which was formed in 1999 in an effort to save the structure from demolition. The fabulous efforts of this non-profit conservancy have resulted in fantastic place for visitors to relax and enjoy. It is truly a remarkable space with so many beautiful things to see. The first section of the park opened on June 9, 2009.

We wanted to take a walk on the High Line last week when were in the city so we decided to start at West 30th Street and head toward Gansevoort Street.

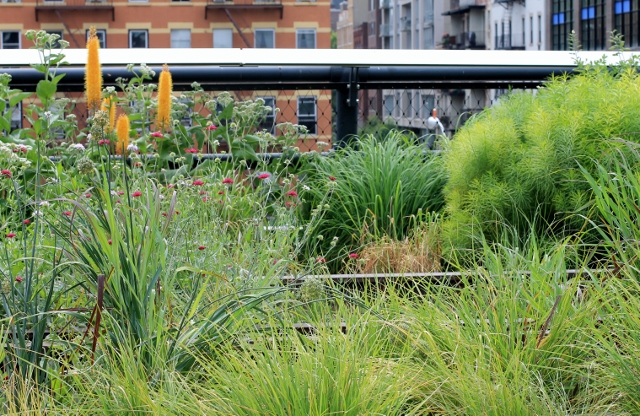
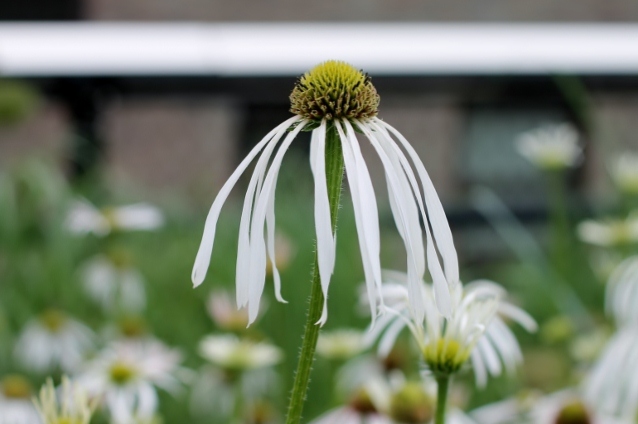
There are lush grasses, flowers and trees planted throughout the park.  You will see them growing along the train tracks.

There is an area that is called Wildflower Field. It’s beautiful and so unexpected in a city like New York.

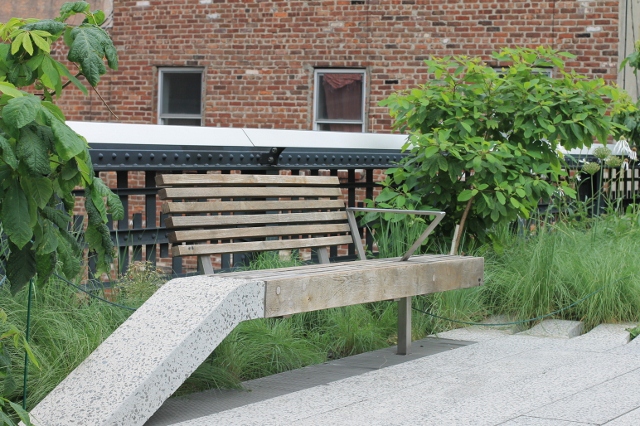
Park benches are scattered along the walkway giving visitors plenty of opportunity for relaxation.

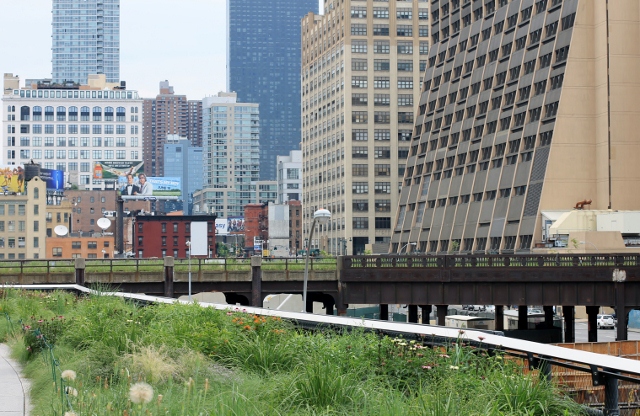
There are several viewing spurs where you can get a great look at the city from the High Line. This one is at 26th Street.

If you look West at certain points on the High Line you can see the Hudson River and a peak at New Jersey.

There are so many interesting things to look at along the way. I absolutely love this display of artwork that we spotted on the side of a building on the East side of the park.

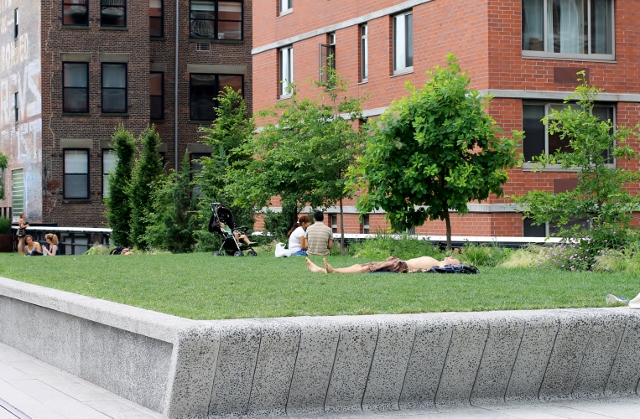
At the 23rd Street Lawn and Seating Area there is a grass lawn where you can spread out and get some sun or just sit and relax.

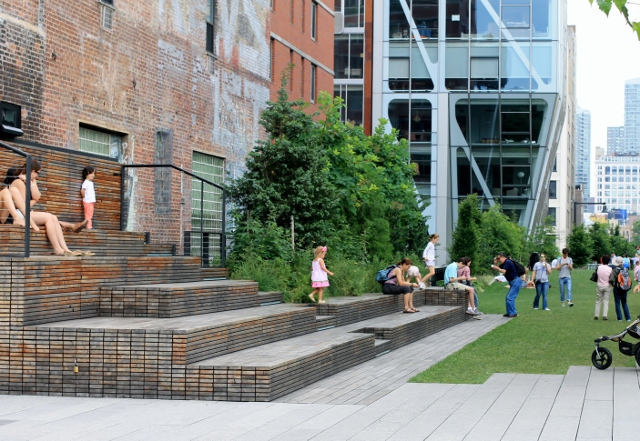
Or hang out on the steps.

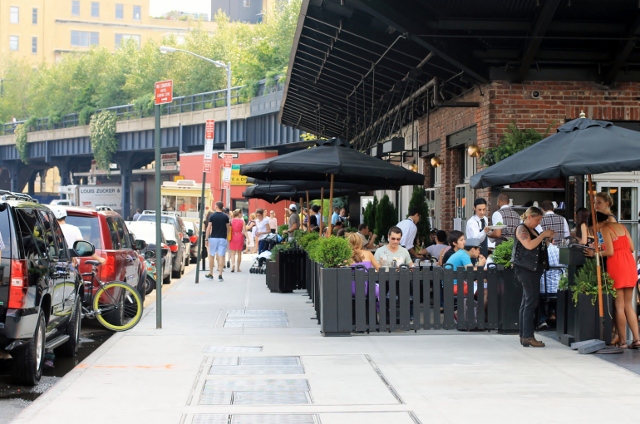
The 10th Avenue Square gives you a fantastic view of 10th Avenue looking north.

One of the nicest parts of the High Line is the Sundeck and Water Feature. There is an area where water is flowing over part of the walkway where you will see children playing and people walking around barefoot to cool off. On the opposite side there are built-in wooden lounge chairs where you can lay in the sun or sit and watch the kids play in the water.

The Gansevoort Woodland was the end of the line for us. It’s a beautifully landscaped area with trees and grasses where you quickly forget you are in the middle of a busy city as you are walking through.

When we came down from the High Line we were in Chelsea. We stopped at the Standard Grill at the Standard Hotel, which is literally right on the High Line, and had a drink and a bite to eat. Then we did some shopping and wandered around Chelsea.  It was the perfect ending to a great morning.

So if you want something unique to do the next time you go to New York City, I recommend you put the High Line on your list. There are so many fun ways to enjoy it and it just keeps getting better. If you want to learn more about the history and future plans for the High Line you can check out The Official Web Site of the High Line and Friends of the High Line

If you decide to visit the next time you are in NYC, I would love to hear about it! 

Leslie
 

Chocolate Cupcakes & Peanut Butter Frosting

Last week I showed you how to make your own parchment paper cupcake liners. I hope you thought about trying them. It's such a fun option! This week, as promised, I am sharing the recipes for both the cupcakes and the frosting that I made for that post.

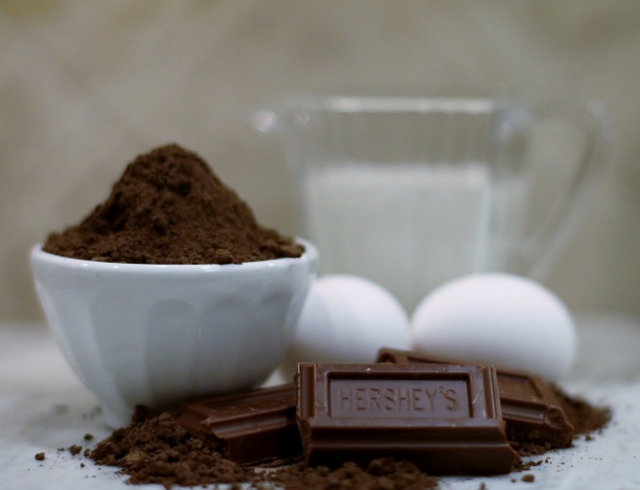
The cupcake recipe is something I found years ago in a little recipe book that came with a package of Hershey's Cocoa I bought at the grocery store. The recipe was for a Deep Dark Chocolate Cake. I still remember the first time I made it. It was the best chocolate cake I had ever tasted. It was so moist and delicious that I knew my search for the perfect chocolate cake was over. I have been making it ever since...

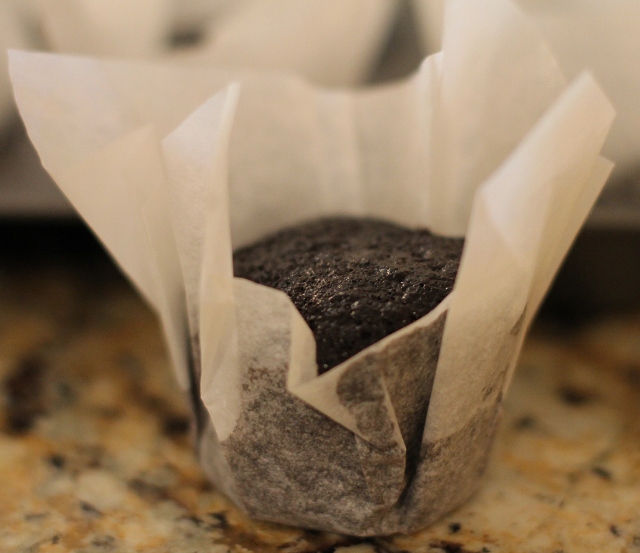
The cake is made with eggs, milk and cocoa which all contribute to the delicious flavor but I think the secret ingredient is the cup of boiling water that is added as the last step. It makes the batter thin but the result is an extremely moist cake that you could actually eat without frosting. Remember this when you make your cake or cupcakes using this recipe. When you check for doneness you may not get a completely clean toothpick. If there is wet batter on the toothpick the cupcakes are not done. If there is a little bit of cake on the toothpick, as in the photo below, they are done (trust me and don't over bake them).

I thought I found the perfect peanut butter frosting recipe several years ago. I would have said there wasn’t a better one out there. I made it to top off my Deep Dark Chocolate Cake and I swore I heard Halleluiah when I took my first bite. The combo became a family favorite.  Then one day, a few weeks ago, my daughter Elizabeth emailed me and told me she found a peanut butter frosting recipe that just might be better than the one we had. Was she serious? I didn’t think it was possible but I decided to try it and she was right! This peanut butter frosting is so good I think you could eat it by itself without the cake and you would be in heaven. This is now our favorite peanut butter frosting (maybe one day I'll share the other recipe too because they are both amazing!).

Deep Dark Chocolate Cake (adapted from Hershey’s Deep Dark Chocolate Cake)

Makes 2  9”layer cakes or 24 cupcakes

Ingredients

2 cups sugar

1 ¾ cups flour

¾ cup Cocoa ( I use Hershey’s Special Dark Cocoa for a deeper chocolate flavor but regular cocoa is fine)

1 ½ teaspoons baking powder

1 ½ teaspoons baking soda

1 teaspoon salt ( I toss in a pinch of sea salt instead)

2 eggs

1 cup milk

½ cup vegetable oil

2 teaspoons vanilla extract

1 cup boiling water

Method

Preheat oven to 350 degrees. Grease and flour two 9” cake pans or prepare cupcake pans with liners. In a large bowl combine dry ingredients. Add eggs, milk, oil and vanilla; beat on medium speed for 2 minutes. Add boiling water and stir until combined. Batter will be thin. Pour batter into prepared pans or cupcake liners (fill cupcake liners 2/3 full). Bake 30-35 minutes for 9” pans, 25-30 minutes for cupcakes or until toothpick comes out clean (or almost clean as shown above).

Cool in pans for 10 minutes; remove from pans and place on wire racks. Cool completely.

*TIP ~ when I use standard cupcake liners I will lightly (key word-lightly) grease and flour the tops of the cupcake pan. That way if the batter rises above the liner it will not stick to the top of the pan and the cupcakes will come out easier

Peanut Butter Frosting

Ingredients

8oz cream cheese, room temperature

4 Tablespoons butter, room temperature

1/2 cup creamy peanut butter

3 1/4 cups confectioners’ sugar

1 cup whipped topping (I use cool whip)

Method

Mix cream cheese, butter and peanut butter together in mixer fixed with paddle attachment until well blended. Slowly add powdered sugar until blended. Add whipped topping and mix until the frosting is smooth and creamy.

Refrigerate frosting.

*TIP ~ this frosting will become soft if it sits too long. Frost your cake or cupcakes right away or place frosting in the refrigerator until you are ready to use it. I like to pop a decorating bag filled with frosting into the fridge until it reaches a desired consistency for decorating. Refrigerate your cake or cupcakes until 15 minutes or so before serving.

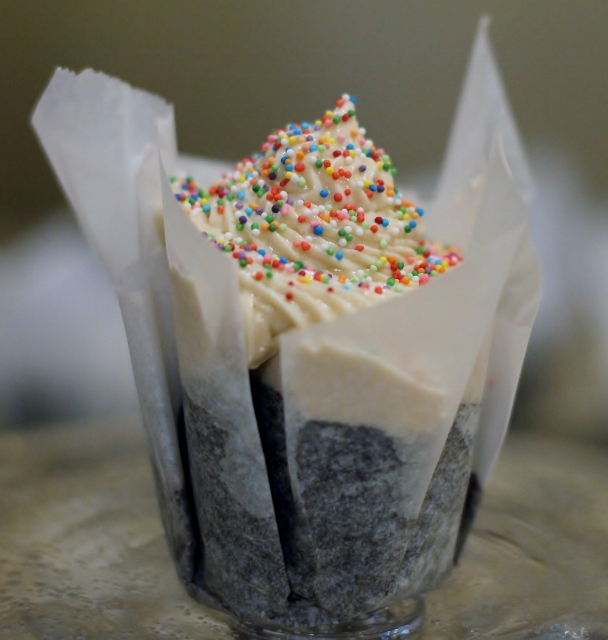
*TIP ~ I used a Jumbo French tip and a pastry bag to decorate the cupcakes you see in the photos.

Enjoy!

Leslie

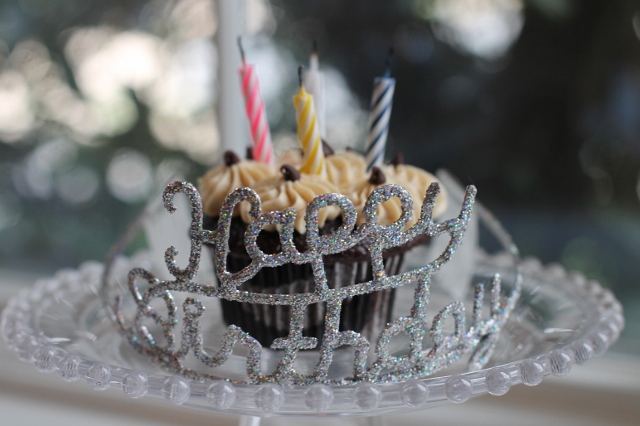
Happy Birthday!

Birthdays are a funny thing. When we are little we anticipate parties, friends, cake and presents. We get excited to be one year older and we count the days until our next big day. As we grow older we don’t necessarily want a party, we don’t need presents, we eat much less cake and we don’t want to admit to our friends how old we are. But there is always a reason to celebrate, and that’s why I love birthdays!

One of the things that I celebrate each year is the fact that I am lucky enough to have a twin sister. Her name is Linda. She is my soul sister and my best friend. Every year we celebrate our special day together. If we can’t actually be together we call each other all day long and celebrate from a distance. She is amazing and I love her.

I love being a twin. We had so much fun growing up. We are fraternal twins but people still couldn't tell us apart when we were little. I think it was because our mother dressed us alike and gave us the same super cool haircuts (we love you mom!)

We have been close all of our lives and have always been best buddies. For that I am truly grateful. I love this picture. It's old so it's not the best quality but it speaks volumes!

Birthdays in our house were always fun. We would have a joint birthday party but there were always two cakes. We loved having our own cake! And we always, always wore a birthday hat! That was standard birthday attire in our family!

When we get the chance to celebrate together we like to do something special. This was our 40th birthday. We spent it together at the Ritz Carlton in Key Biscayne, Florida. It was a wonderful trip and it made turning 40 a lot less painful!

In my family it doesn’t matter how old you are, if it is your birthday you will be celebrated! It will be a big deal and you will feel special. It’s just what we do. My mother always made each one of us feel special on our birthday. It made us realize we were loved but it also made us realize that it was important to celebrate and appreciate the people in our lives. It gave me something to pass along to my children and to this day we make a big deal out of birthdays…no matter how old you are!

When my kids were little, on the night before their birthday, I would sneak into their room and put balloons all over the floor. It gave them something to smile about as soon as they woke up. I still do it if they are home on their birthday.

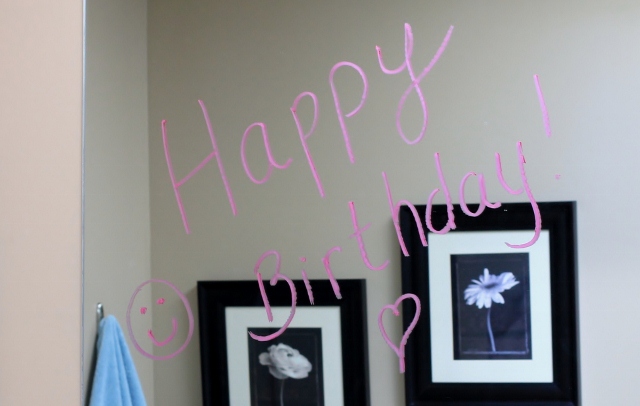
I will also write Happy Birthday on the bathroom mirror at night so when they get up in the morning it’s the first thing they’ll see. (I use lipstick)

For me birthdays are about celebrating life, cherishing those around you and being grateful for all of the good things in life. Even if you haven’t had a great year for some reason, you have things to be thankful for and there are always things to celebrate! Your birthday is the perfect time to reflect on those things and look forward to a wonderful year ahead.

Take time to celebrate the people in your life whenever you can. Remember it’s the little things that make a difference, so whether it’s simply remembering to say happy birthday or filling a room with balloons, you will be making someone smile and that just feels good!

Cheers and Happy Birthday to my twin sister Linda! May you have a beautiful day and fabulous year! Xoxo Leslie


Photos by and property of Leslie Reese


DIY Cupcake Liners

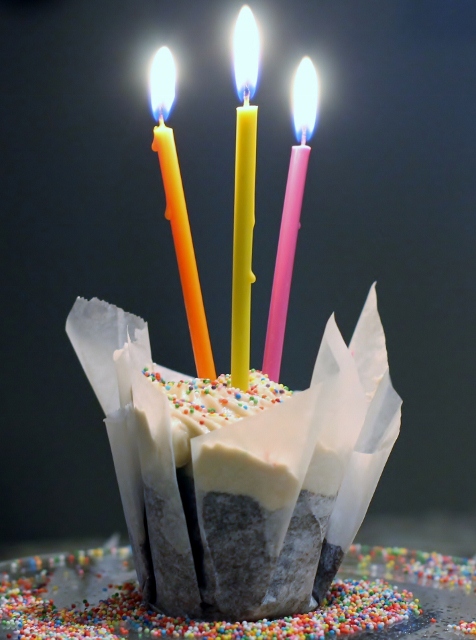
Last fall I entered a local cupcake contest. I love to bake so I thought it would be fun, and anything that allows me to be creative and do my own thing is something I am interested in! I didn't win but it was a great experience and I definitely learned a few things. In an effort to make my cupcakes stand out and look unique I decided to create my own cupcake liners. There are a lot of pretty ones out there but I wanted something different. I decided to use parchment paper and as you can see the result was beautiful. It was so simple to do and it looked great so I thought I would make them again and show you how to do it.

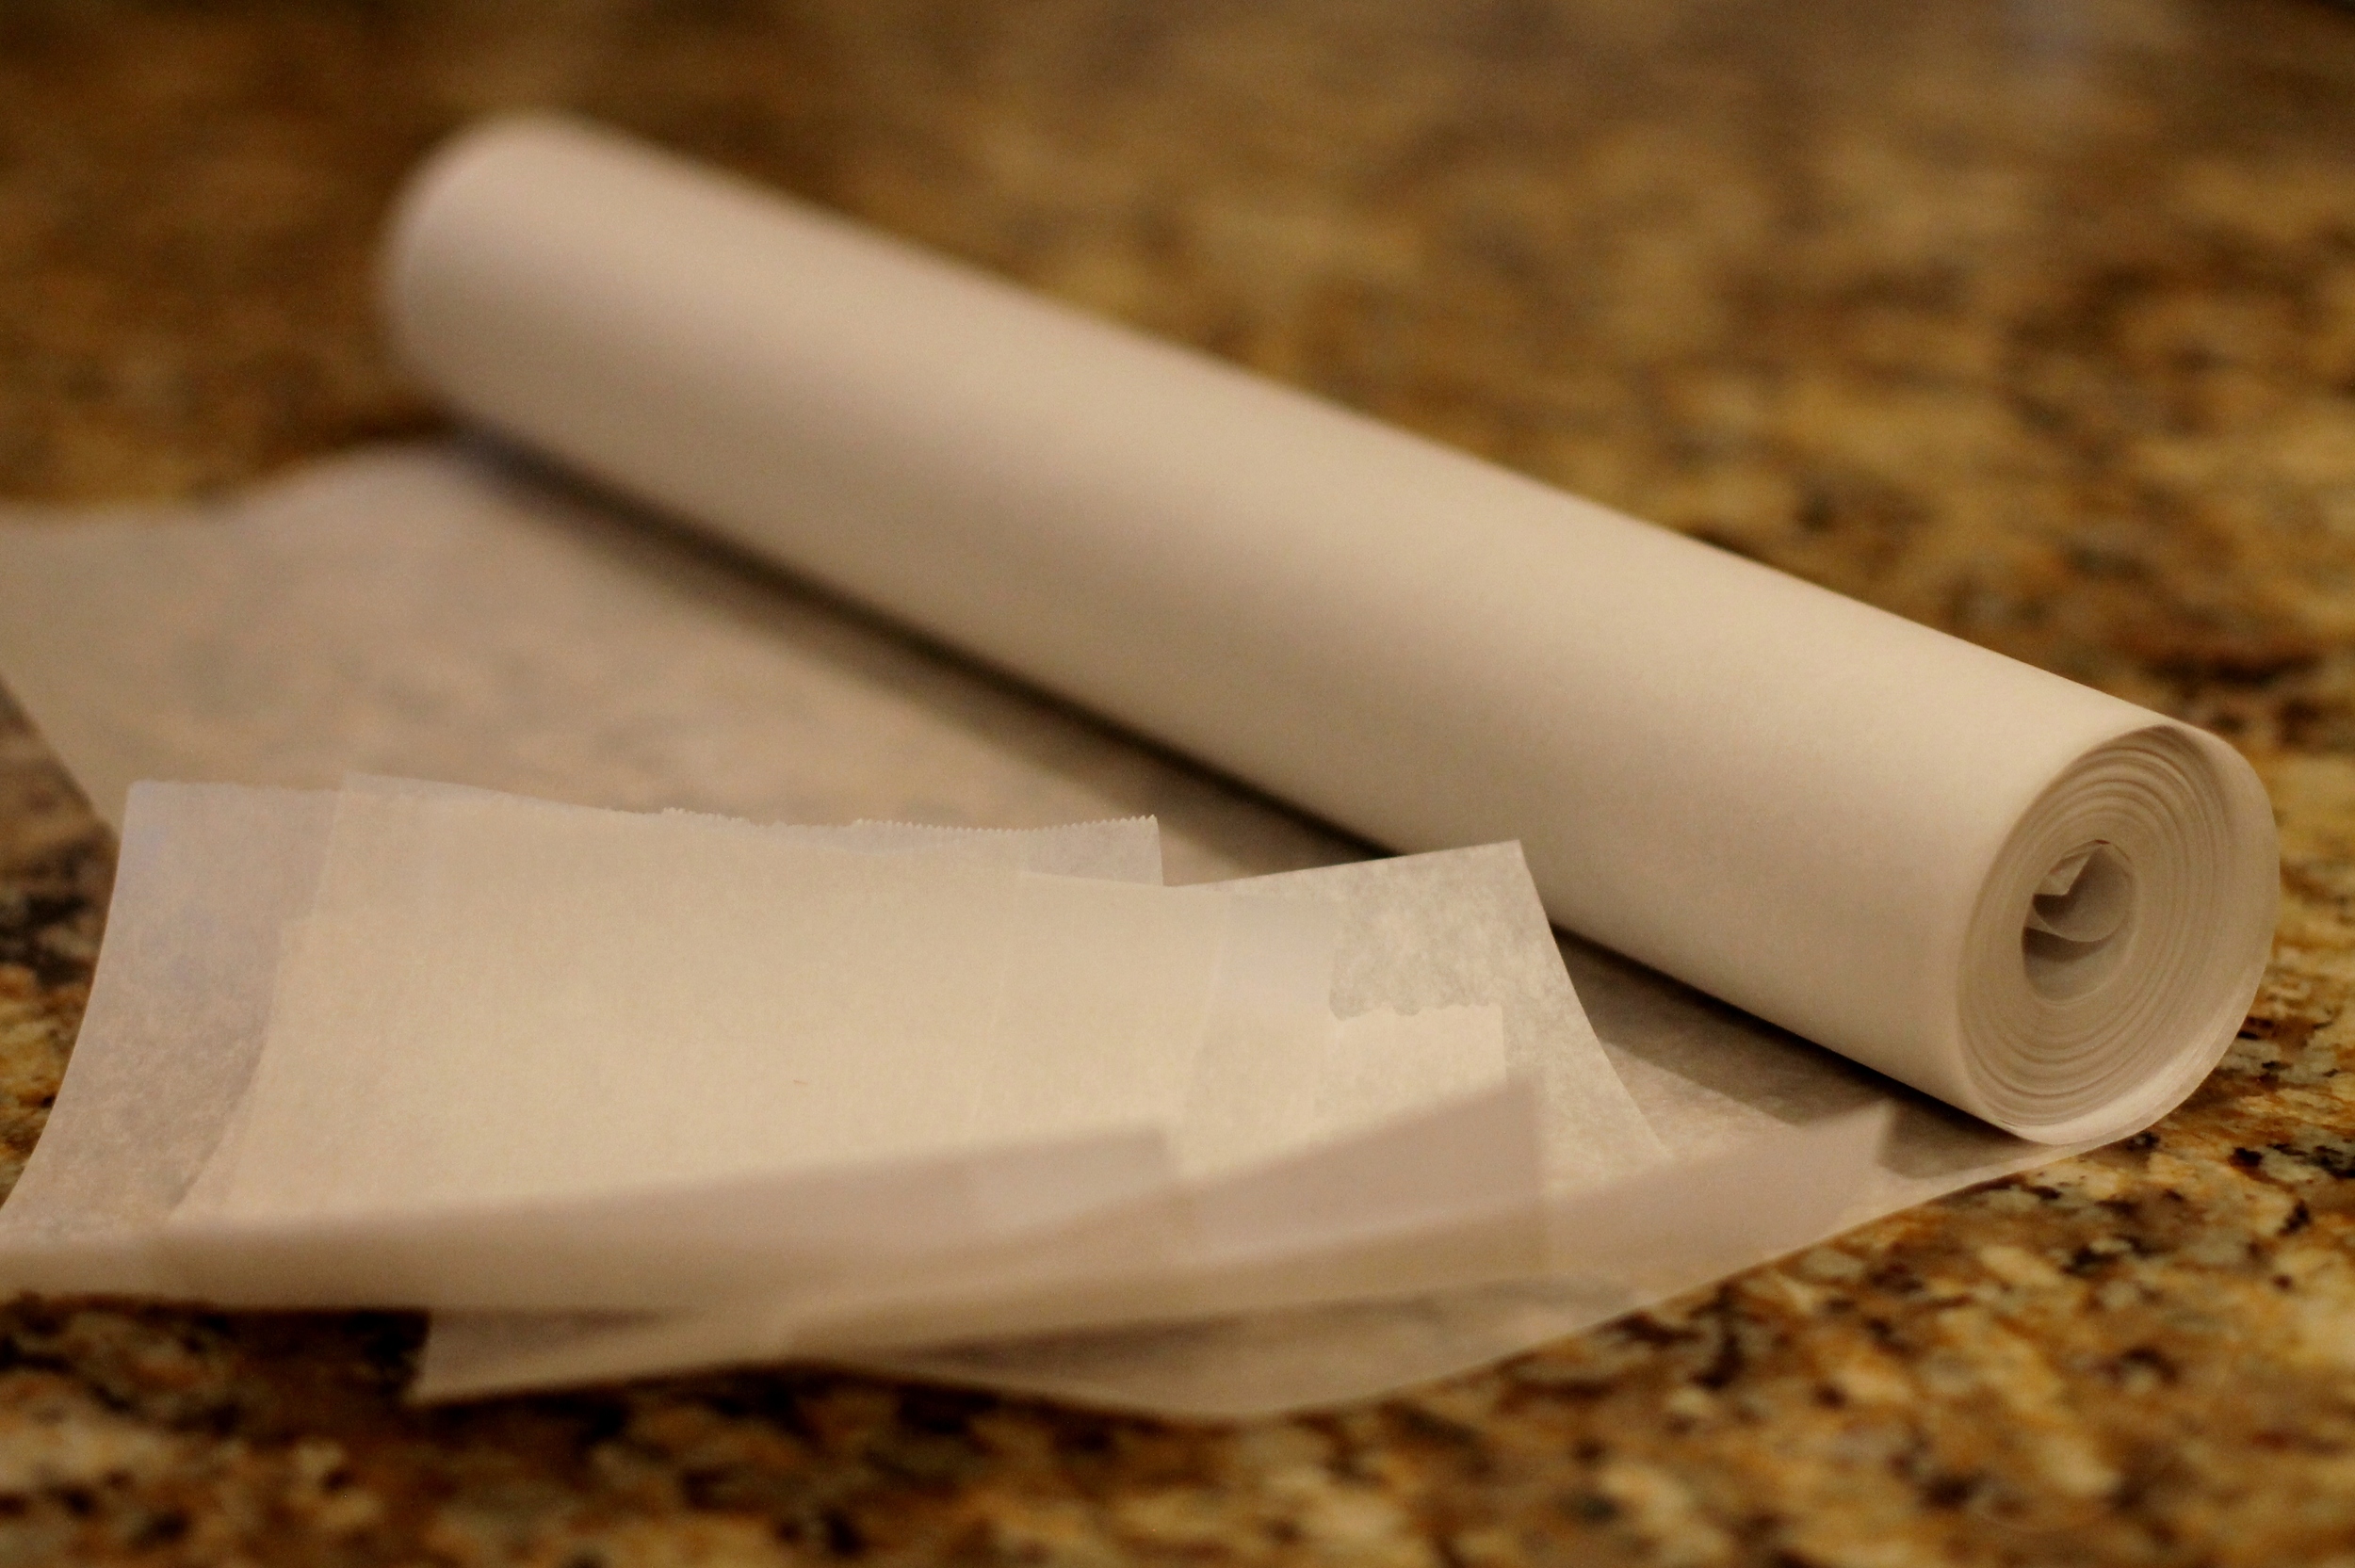
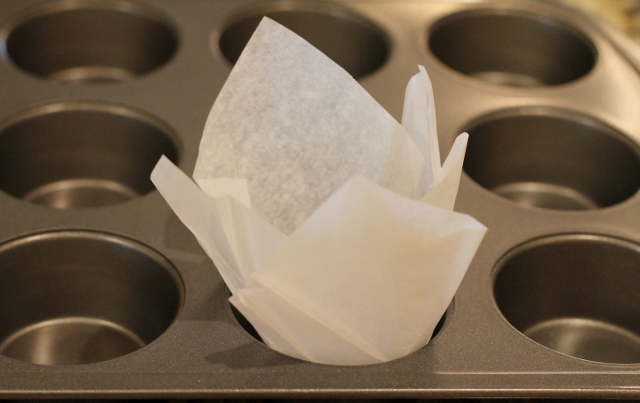
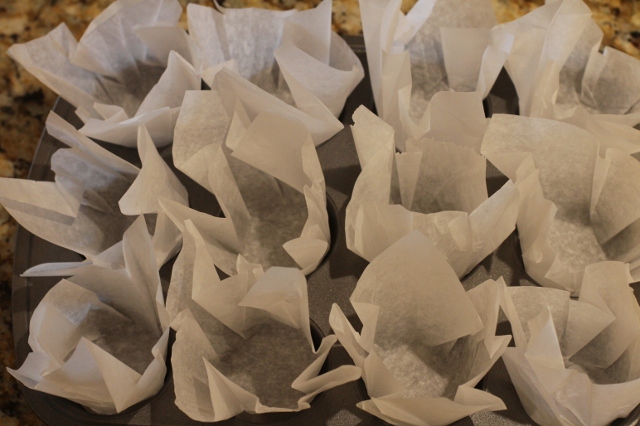
Cut pieces of parchment paper into approximately 7” X 7” squares. Cut as many pieces as you need for the batch of cupcakes you are making (and maybe a few extra). Using a small juice glass push the parchment paper into the well of a cupcake pan and twist the glass so that the paper takes the shape of the pan.

 You may need to take the glass out and fold the paper around it with your hand to reinforce the creases. Place the paper back into the pan and repeat with the next sheet.

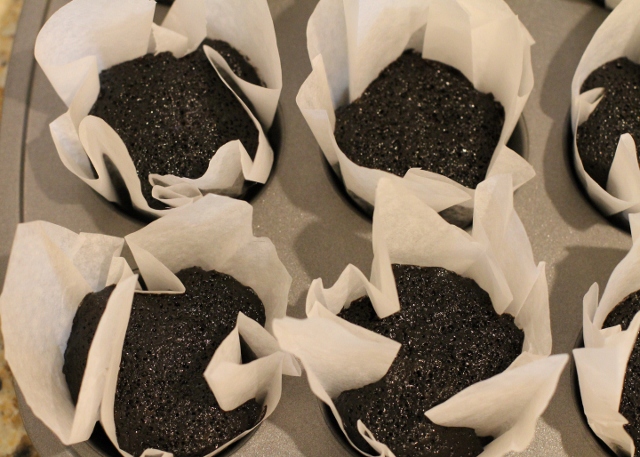
Once your cupcake pan is full it will look something like this. Don't worry if your liners are popping up out of the pan. They will stay down when you pour the batter in.

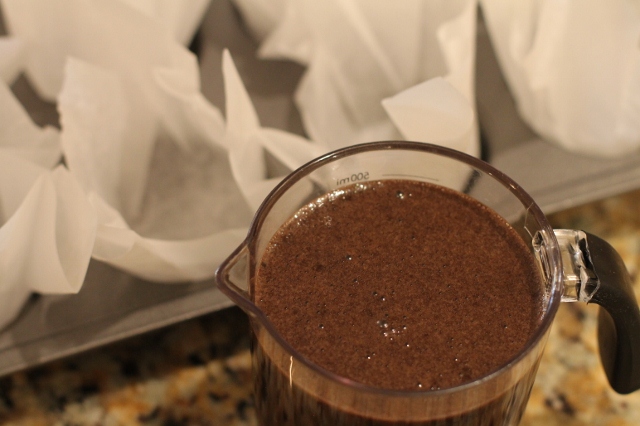
Prepare your cupcake batter and carefully pour it into the pan. I use a measuring cup with a spout for more control.

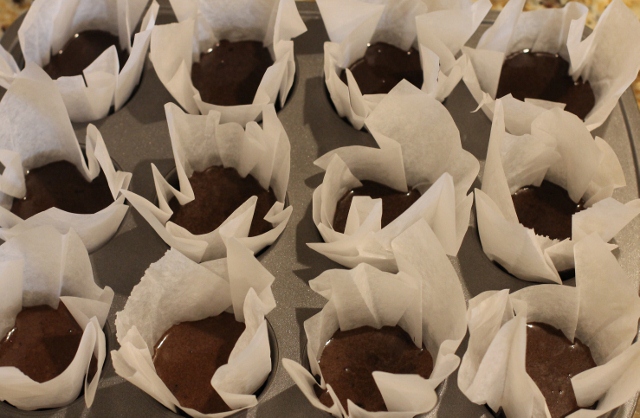
The batter will go into the folds of the cupcake liner. Don’t worry, if you cut your liners big enough it will not leak out.

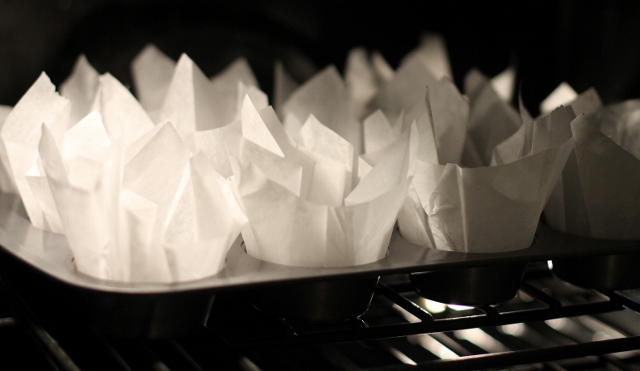
Place pan in a preheated oven and bake according to the cupcake recipe you are using.

Once baked, remove cupcakes from oven. Leave the cupcakes in the pan for 5-10 minutes until they begin to cool. You will notice the cupcakes have taken the shape of the liner and have baked evenly.

Remove the cupcakes from the pan gently to cool completely. The cupcakes are delicate and the papers will pull away from them if you  are not careful.

Finish the cupcakes with your favorite frosting and just wait and see how much attention they get!  All it took was a little parchment paper!

*Be sure and stop back next week because I'll be sharing the recipe for these Deep Dark Chocolate Cupcakes and the frosting on top! Guess what flavor it is?

Photos by Leslie Reese
Coffee Talk

I love to travel. I think one of the best things about traveling is having the opportunity to discover new and interesting restaurants and cafés. Two of my favorite places to visit are bakeries and coffee shops and I look for unique places wherever I go. They vary so much from town to town and it’s fun to see what each one has to offer. Many independently owned establishments have a local flavor and charm that you won’t find in a larger chain.

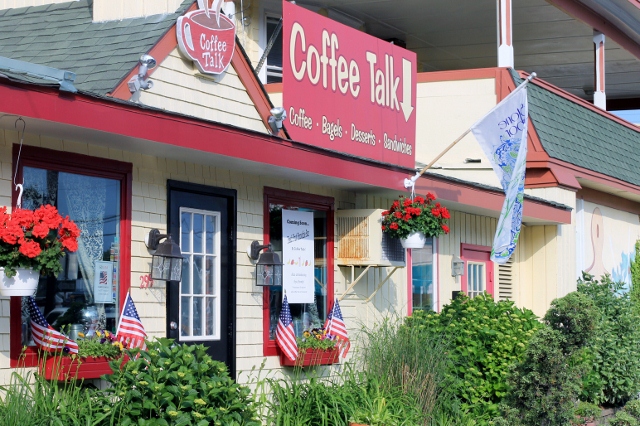
Coffee Talk in Stone Harbor, New Jersey is one of my favorite coffee shops. It’s been around for 17 years and is still the best place in this quaint little beach town to grab a great cup of coffee, a light breakfast and perhaps some conversation with the locals. On certain days you might find a new artist performing at the cafe. In fact Taylor Swift spent many summers in Stone Harbor with her family and played acoustic shows at Coffee Talk. Dave Matthews has also been a visitor at Coffee Talk. It’s a special place to a lot of people.

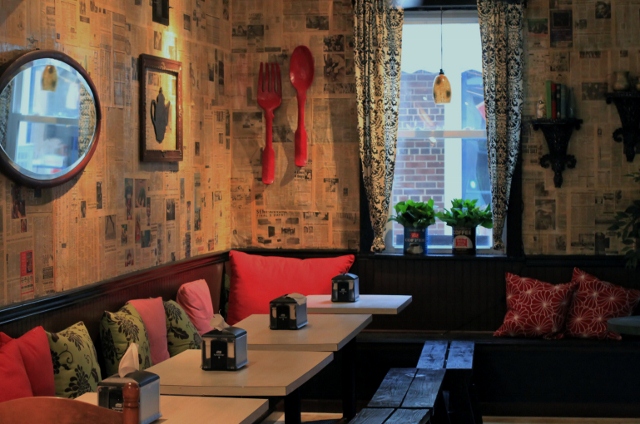
The atmosphere in Coffee Talk is very welcoming. The décor is eclectic and the café has tables and chairs, and cozy couches, offering a comfortable place to dine or relax and unwind. Free Wi-Fi is available for those who would like to access the internet, always a good thing.

I love how the walls are covered in old newspapers. There are so many interesting things everywhere you turn. You really need to stop and look around to fully appreciate the great interior of this cute little place.

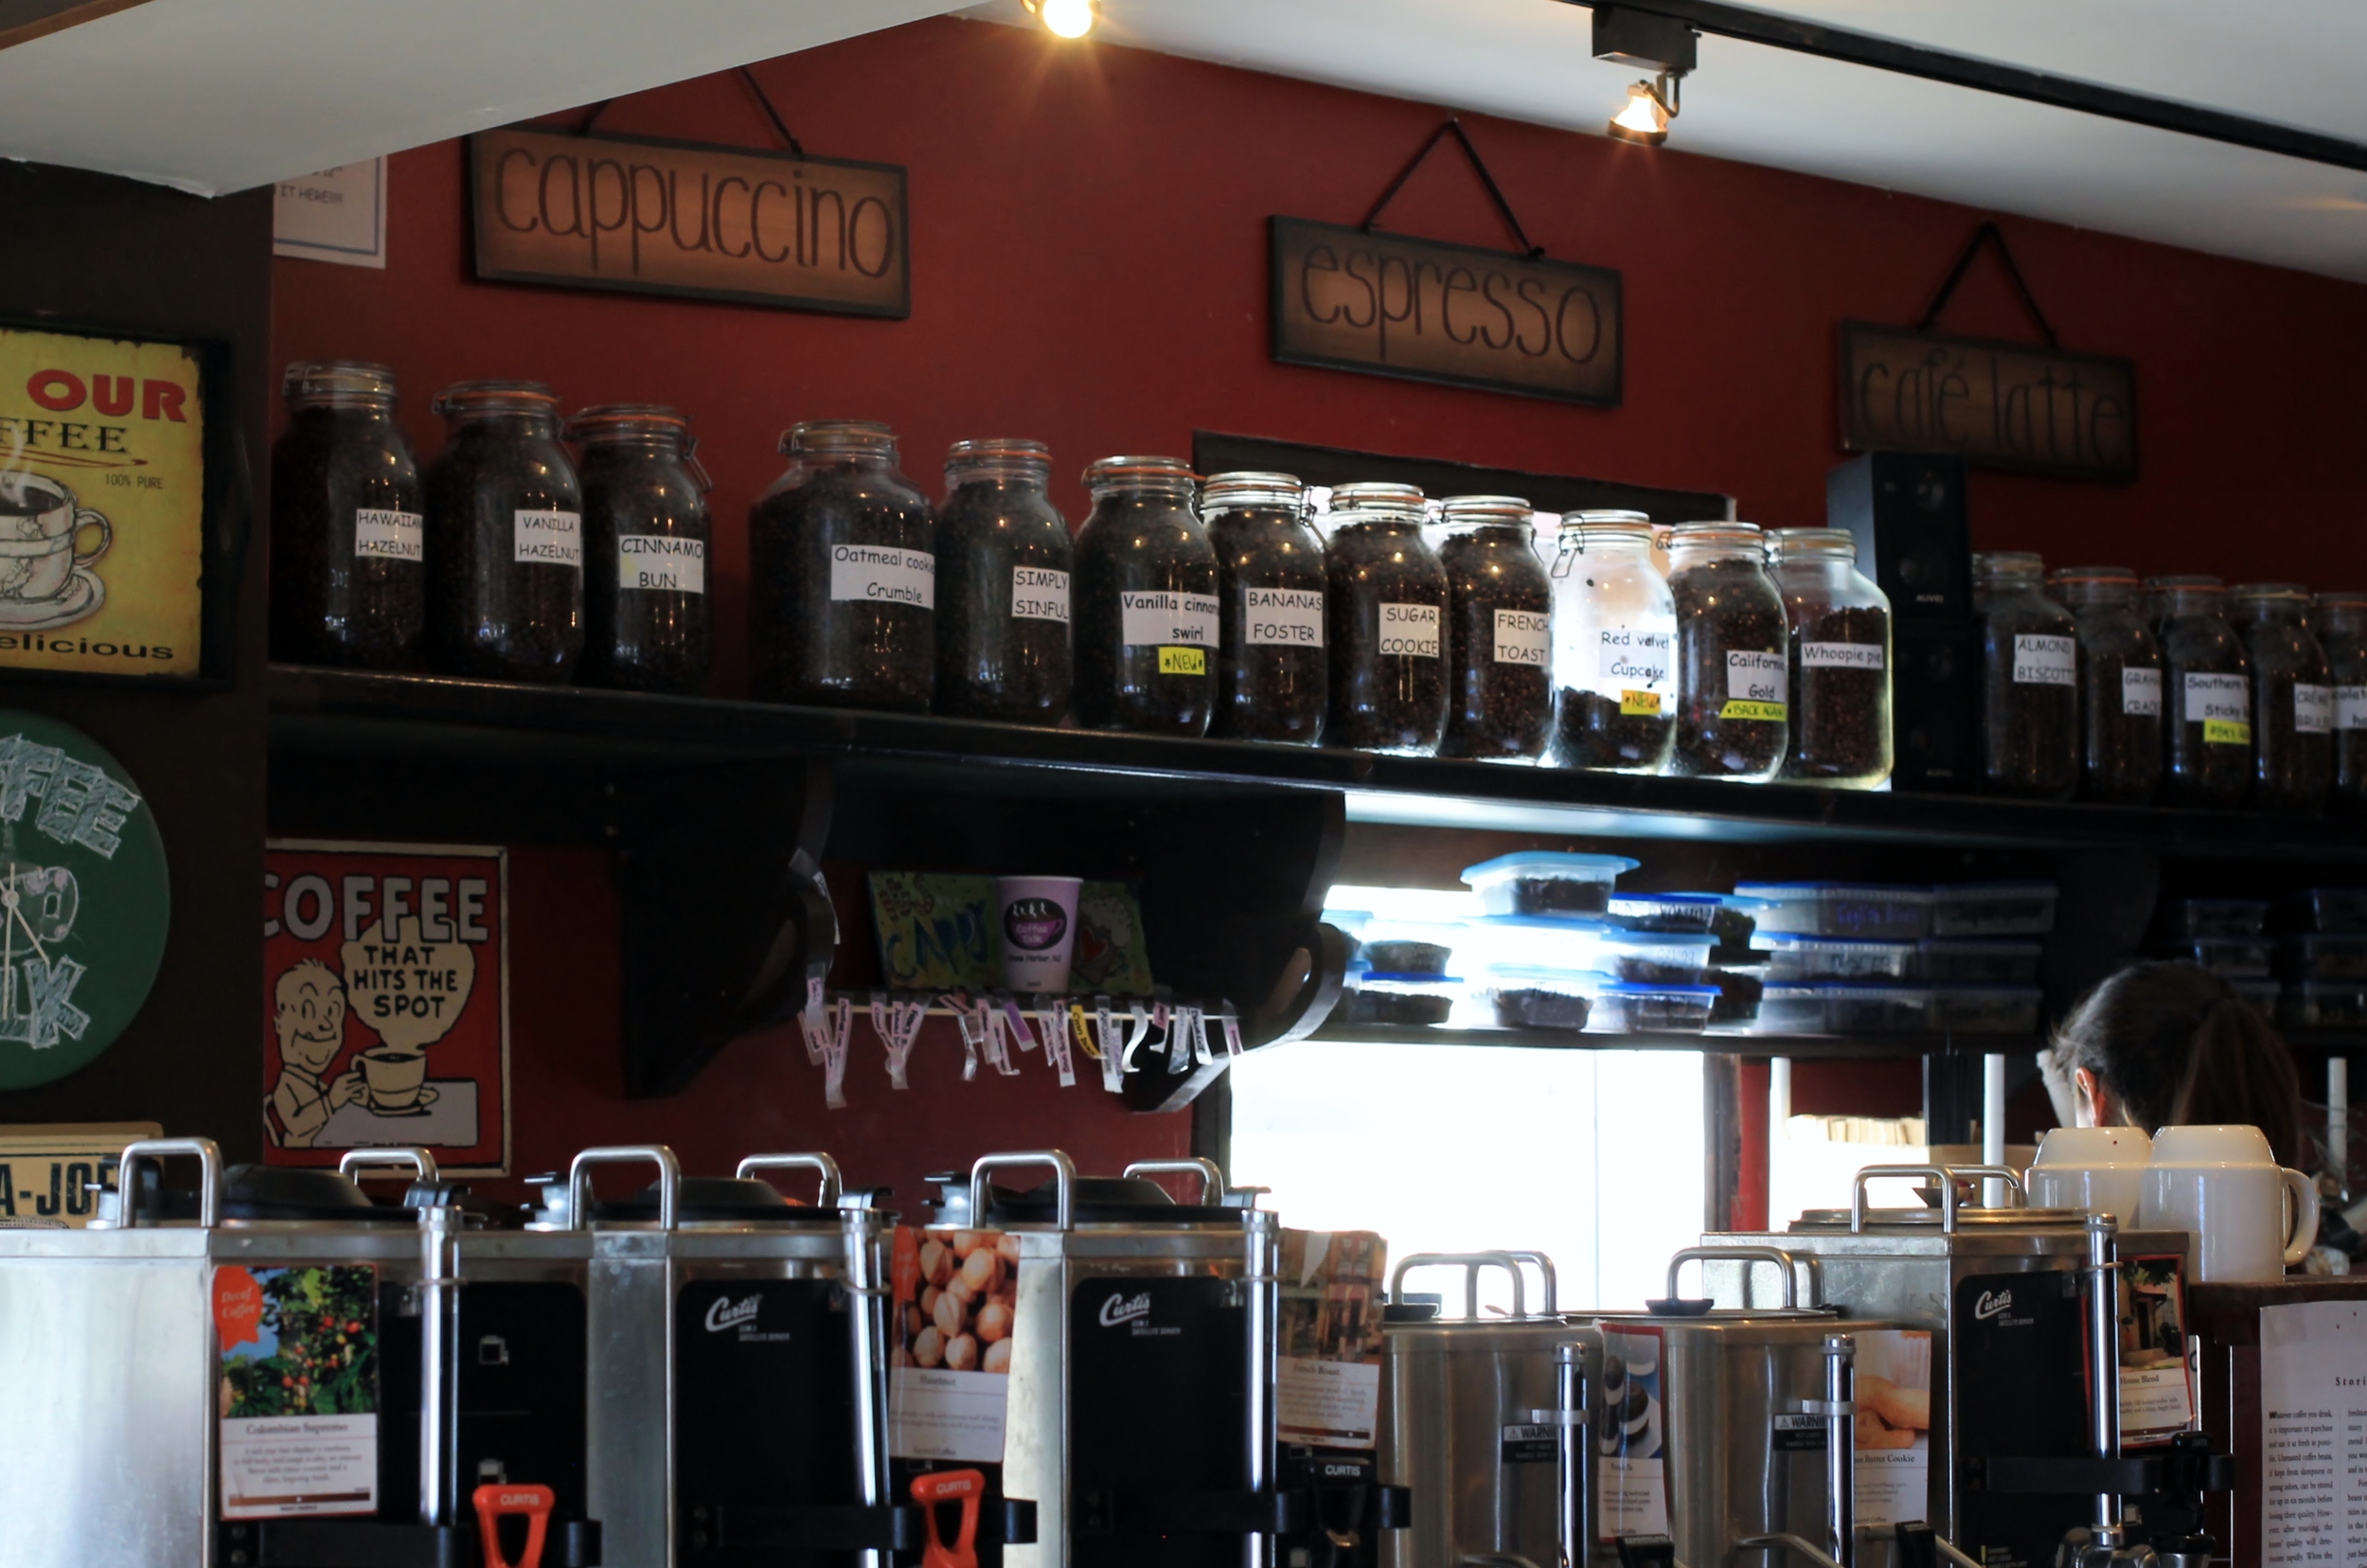
The owner of Coffee Talk, Madlynn Zurawski, and her staff are friendly, knowledgeable and on the ball.  They are ready to greet the crowd when the doors open and they have a great system for ordering and pick-up, including a quick serve station right inside the door for those who just want to grab their coffee and run. For those with a passion for flavor, Coffee Talk has a wonderful variety of infused coffee beans for delicious flavored coffees like Bananas Foster and Sugar Cookie. Of course if you are a latte lover like I am, there are all of those drinks too!  My go-to is a small sugar free vanilla latte with a double shot. I call it my morning power dose.

Everyone has favorite places. Whether they are in your own town or in your favorite vacation spot, they are the places where traditions start and places that become part of your favorite memories. I have a handful of favorites in Stone Harbor and Coffee Talk is one of them.  Maybe it’s being at the beach and coffee just tastes better there. Or maybe it’s just that it’s a comfortable place with the perfect atmosphere to chill out. Whatever it is, Coffee Talk is one of those feel good places that for some reason I look forward to visiting. So if you are ever in Stone Harbor, visit Coffee Talk. You’ll be glad you did!

visit Coffee Talk ~ 299 97th St ~ Stone Harbor, NJ 08247 ~ 609-368-5282


Photos by Leslie Reese


Fresh Cut Flowers

As the seasons change and the weather gets warmer one of the things I look forward to is having fresh cut flowers inside. I love fresh flowers any time of the year but there is something I like about walking outside and cutting just a few stems of whatever happens to be blooming and bringing them inside to enjoy.

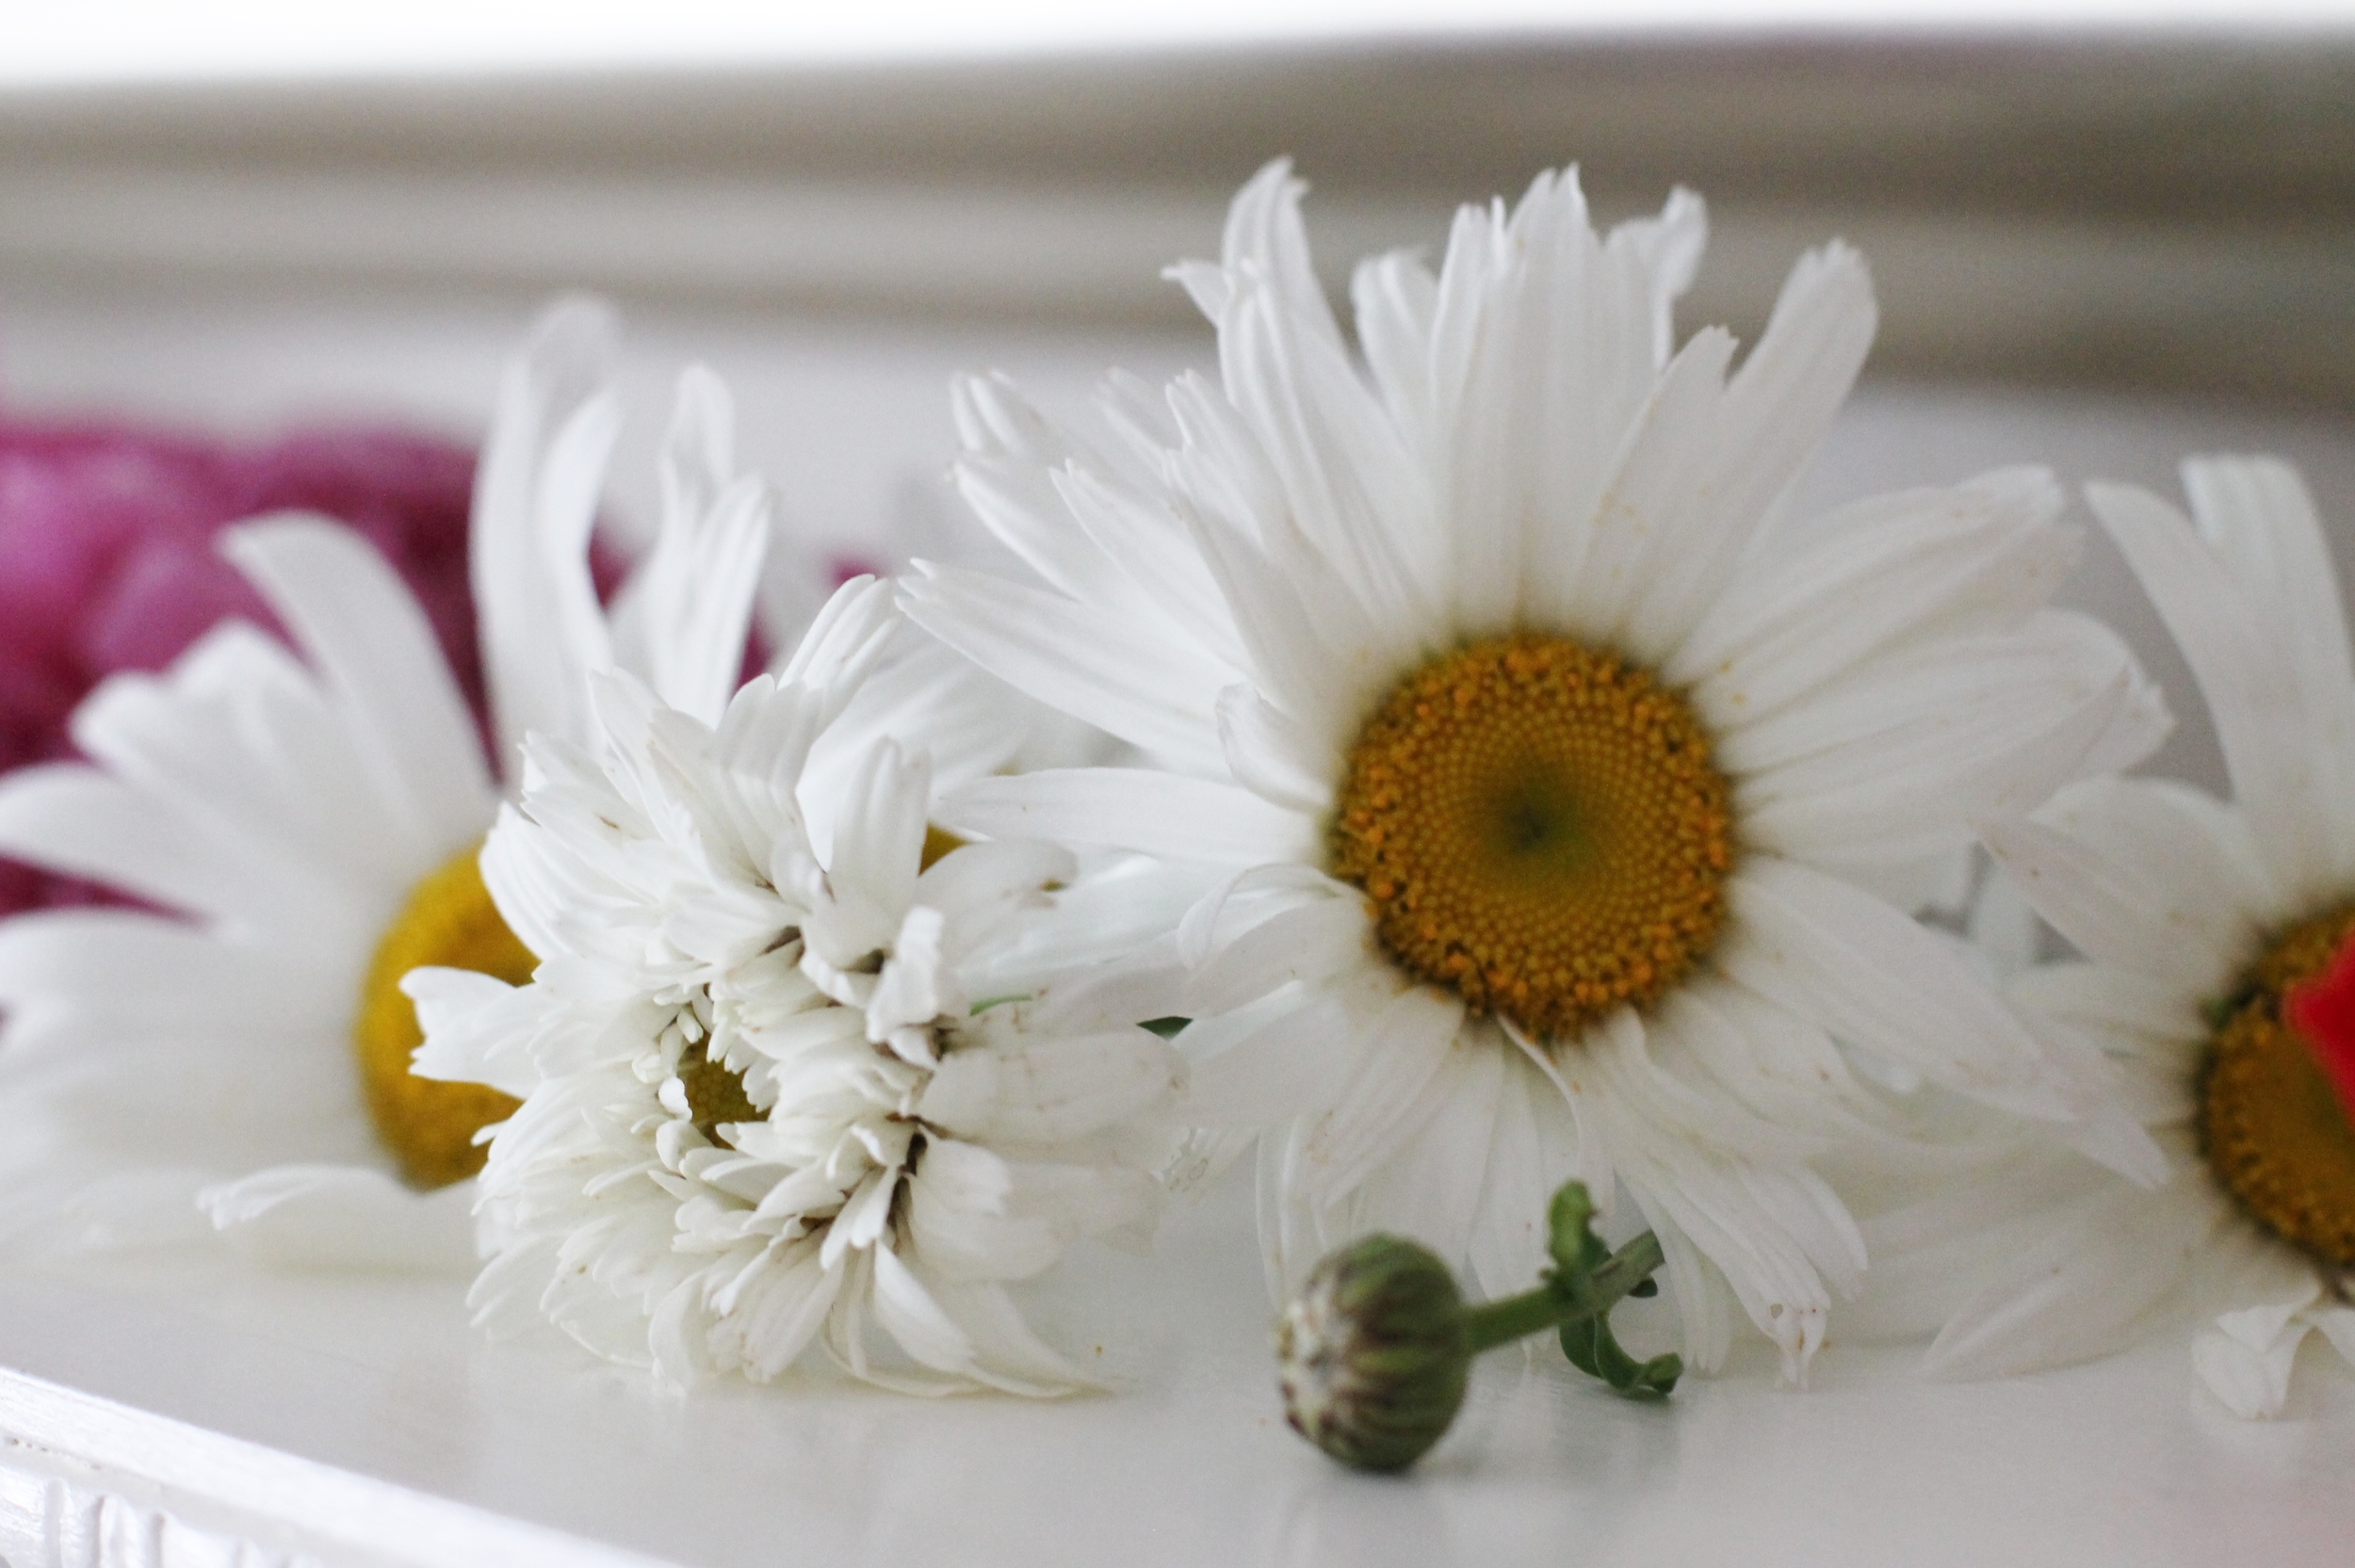
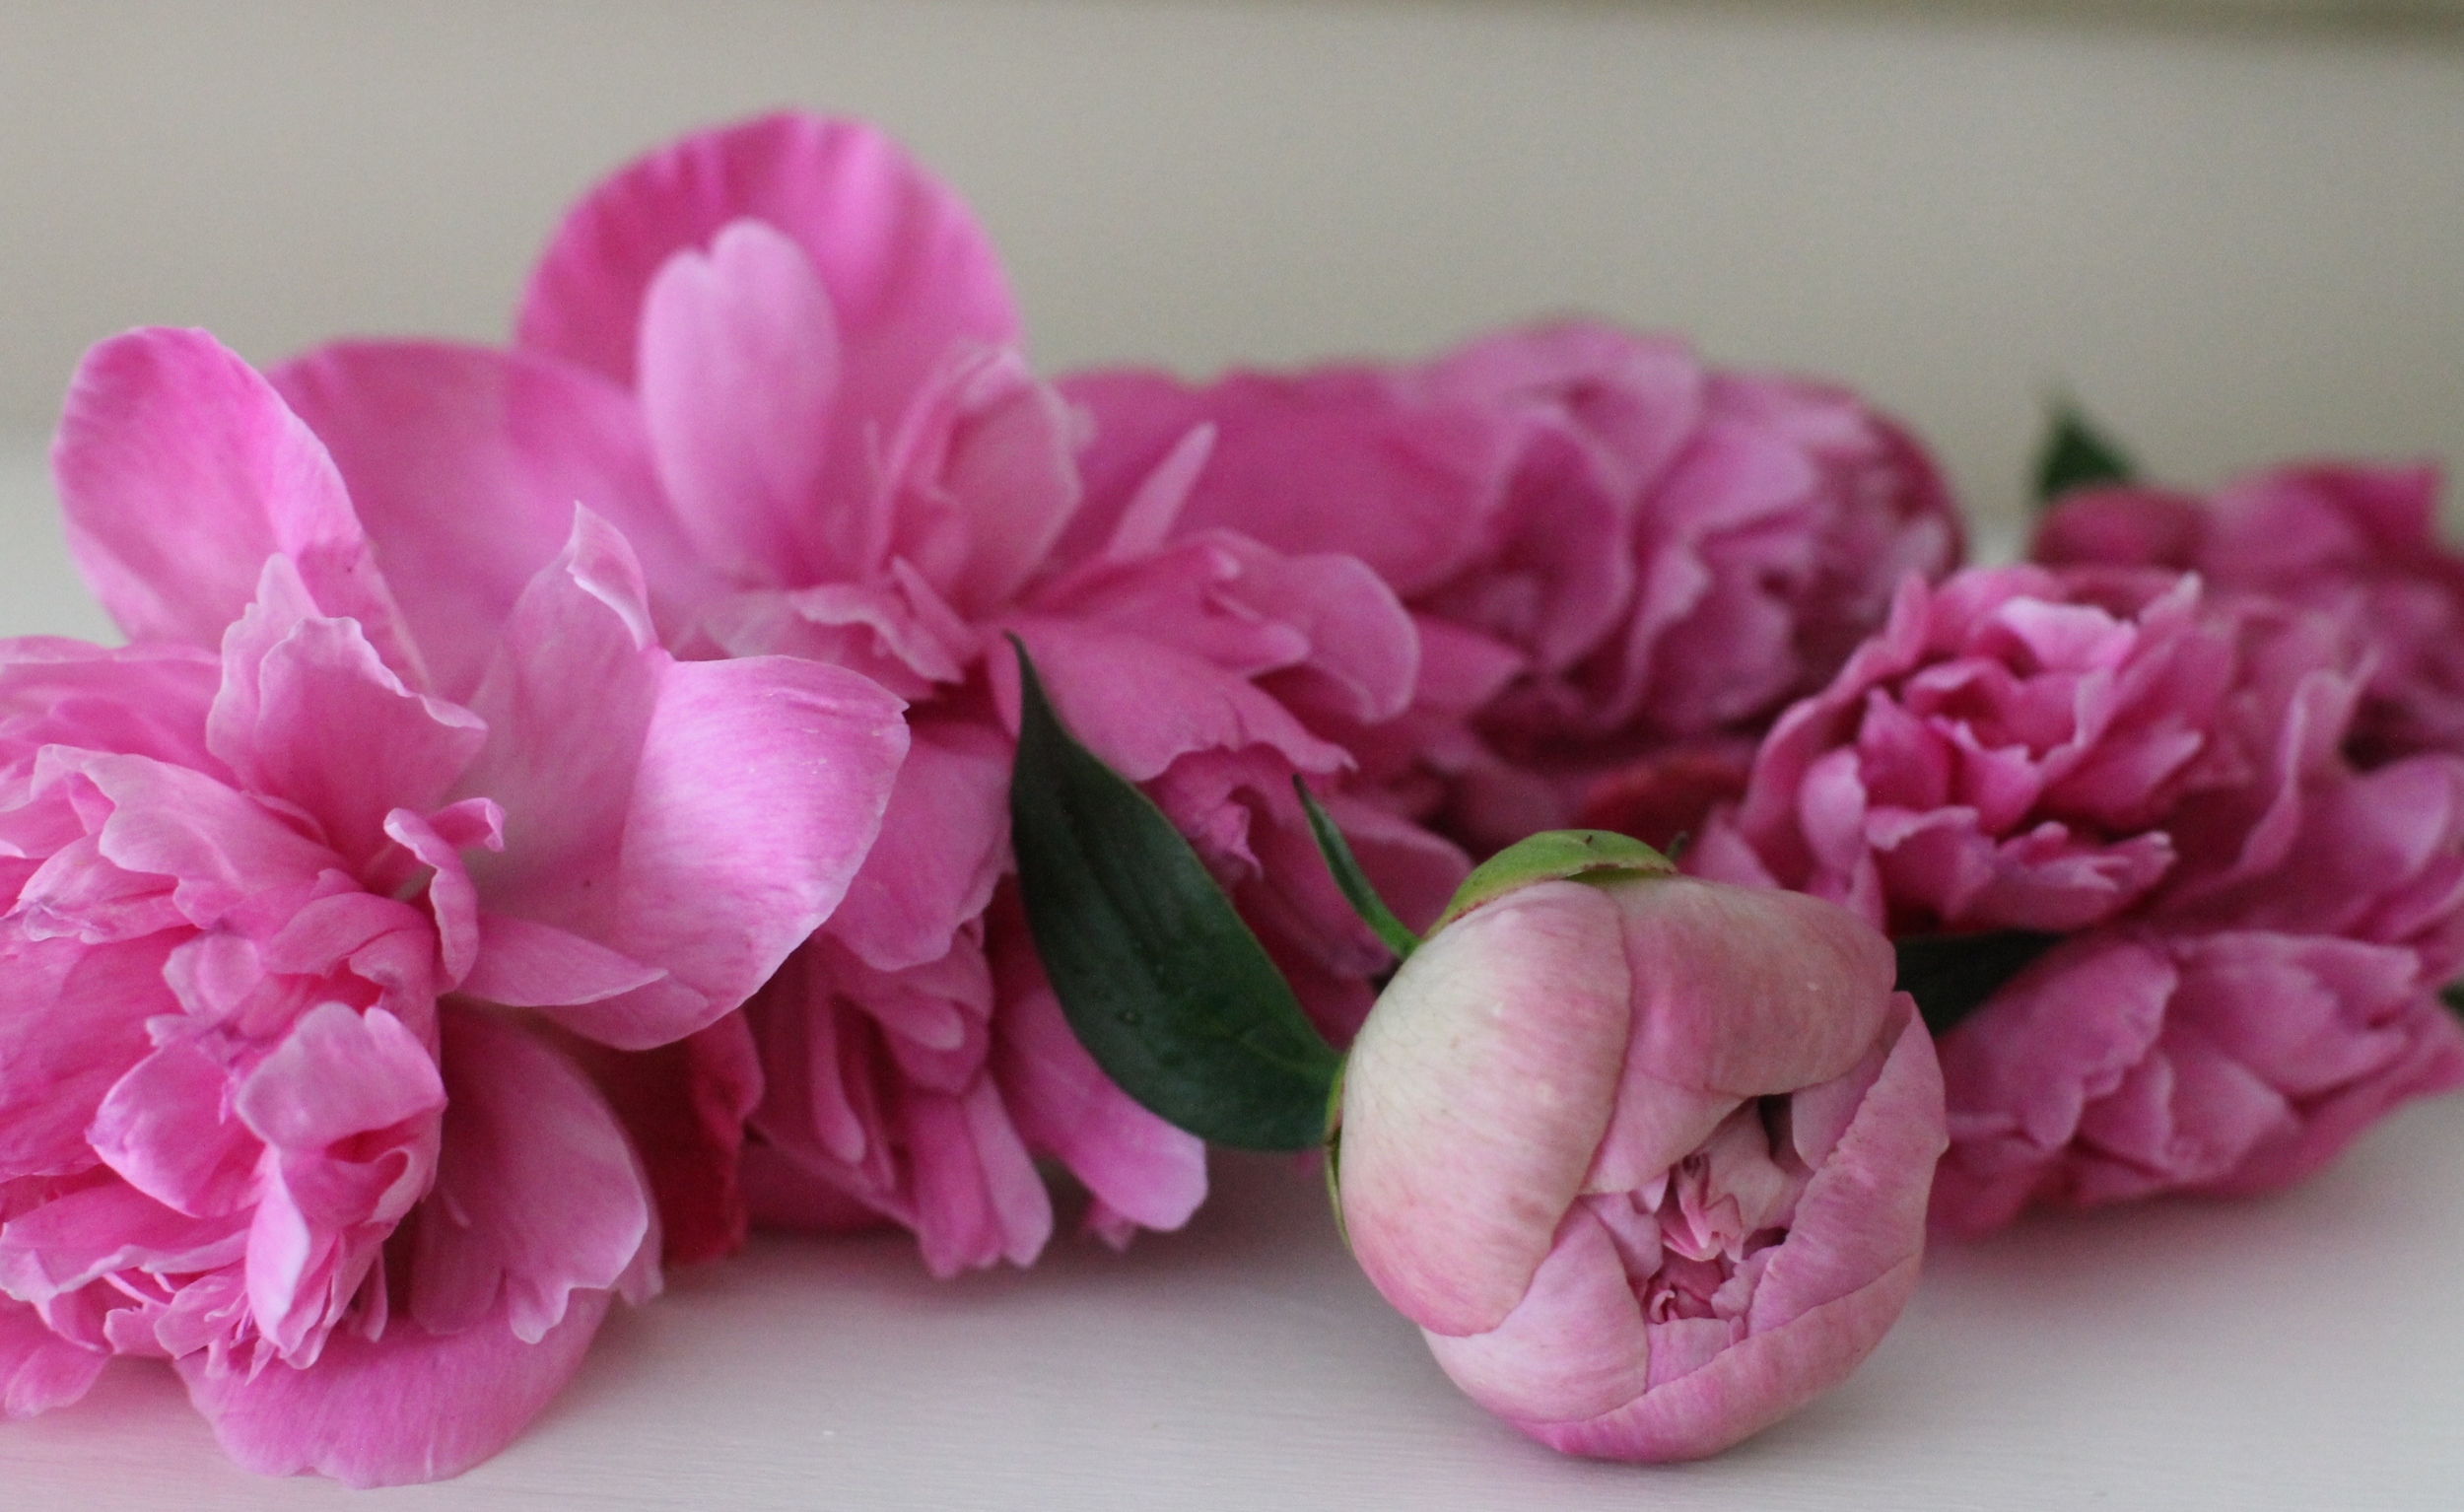
One of the things I realized a long time ago is that you don’t need to have a flower garden in order to enjoy fresh flowers. If you have perennials around your house you can just snip a few blooms from those plants. We don’t have a flower garden but we have beautiful flowers scattered around our yard. We have a peony plant that I love and some pink and red knock-out roses that bloom all summer. We also have a small patch of daisies that are great for cutting. Once in a while when I need just a few flowers for a small vase I will even  snip some from the flower pots on my patio. You would be surprised what you will end up with if you just take your scissors outside and start looking around. Do not, however, wander into the neighbor’s yard…

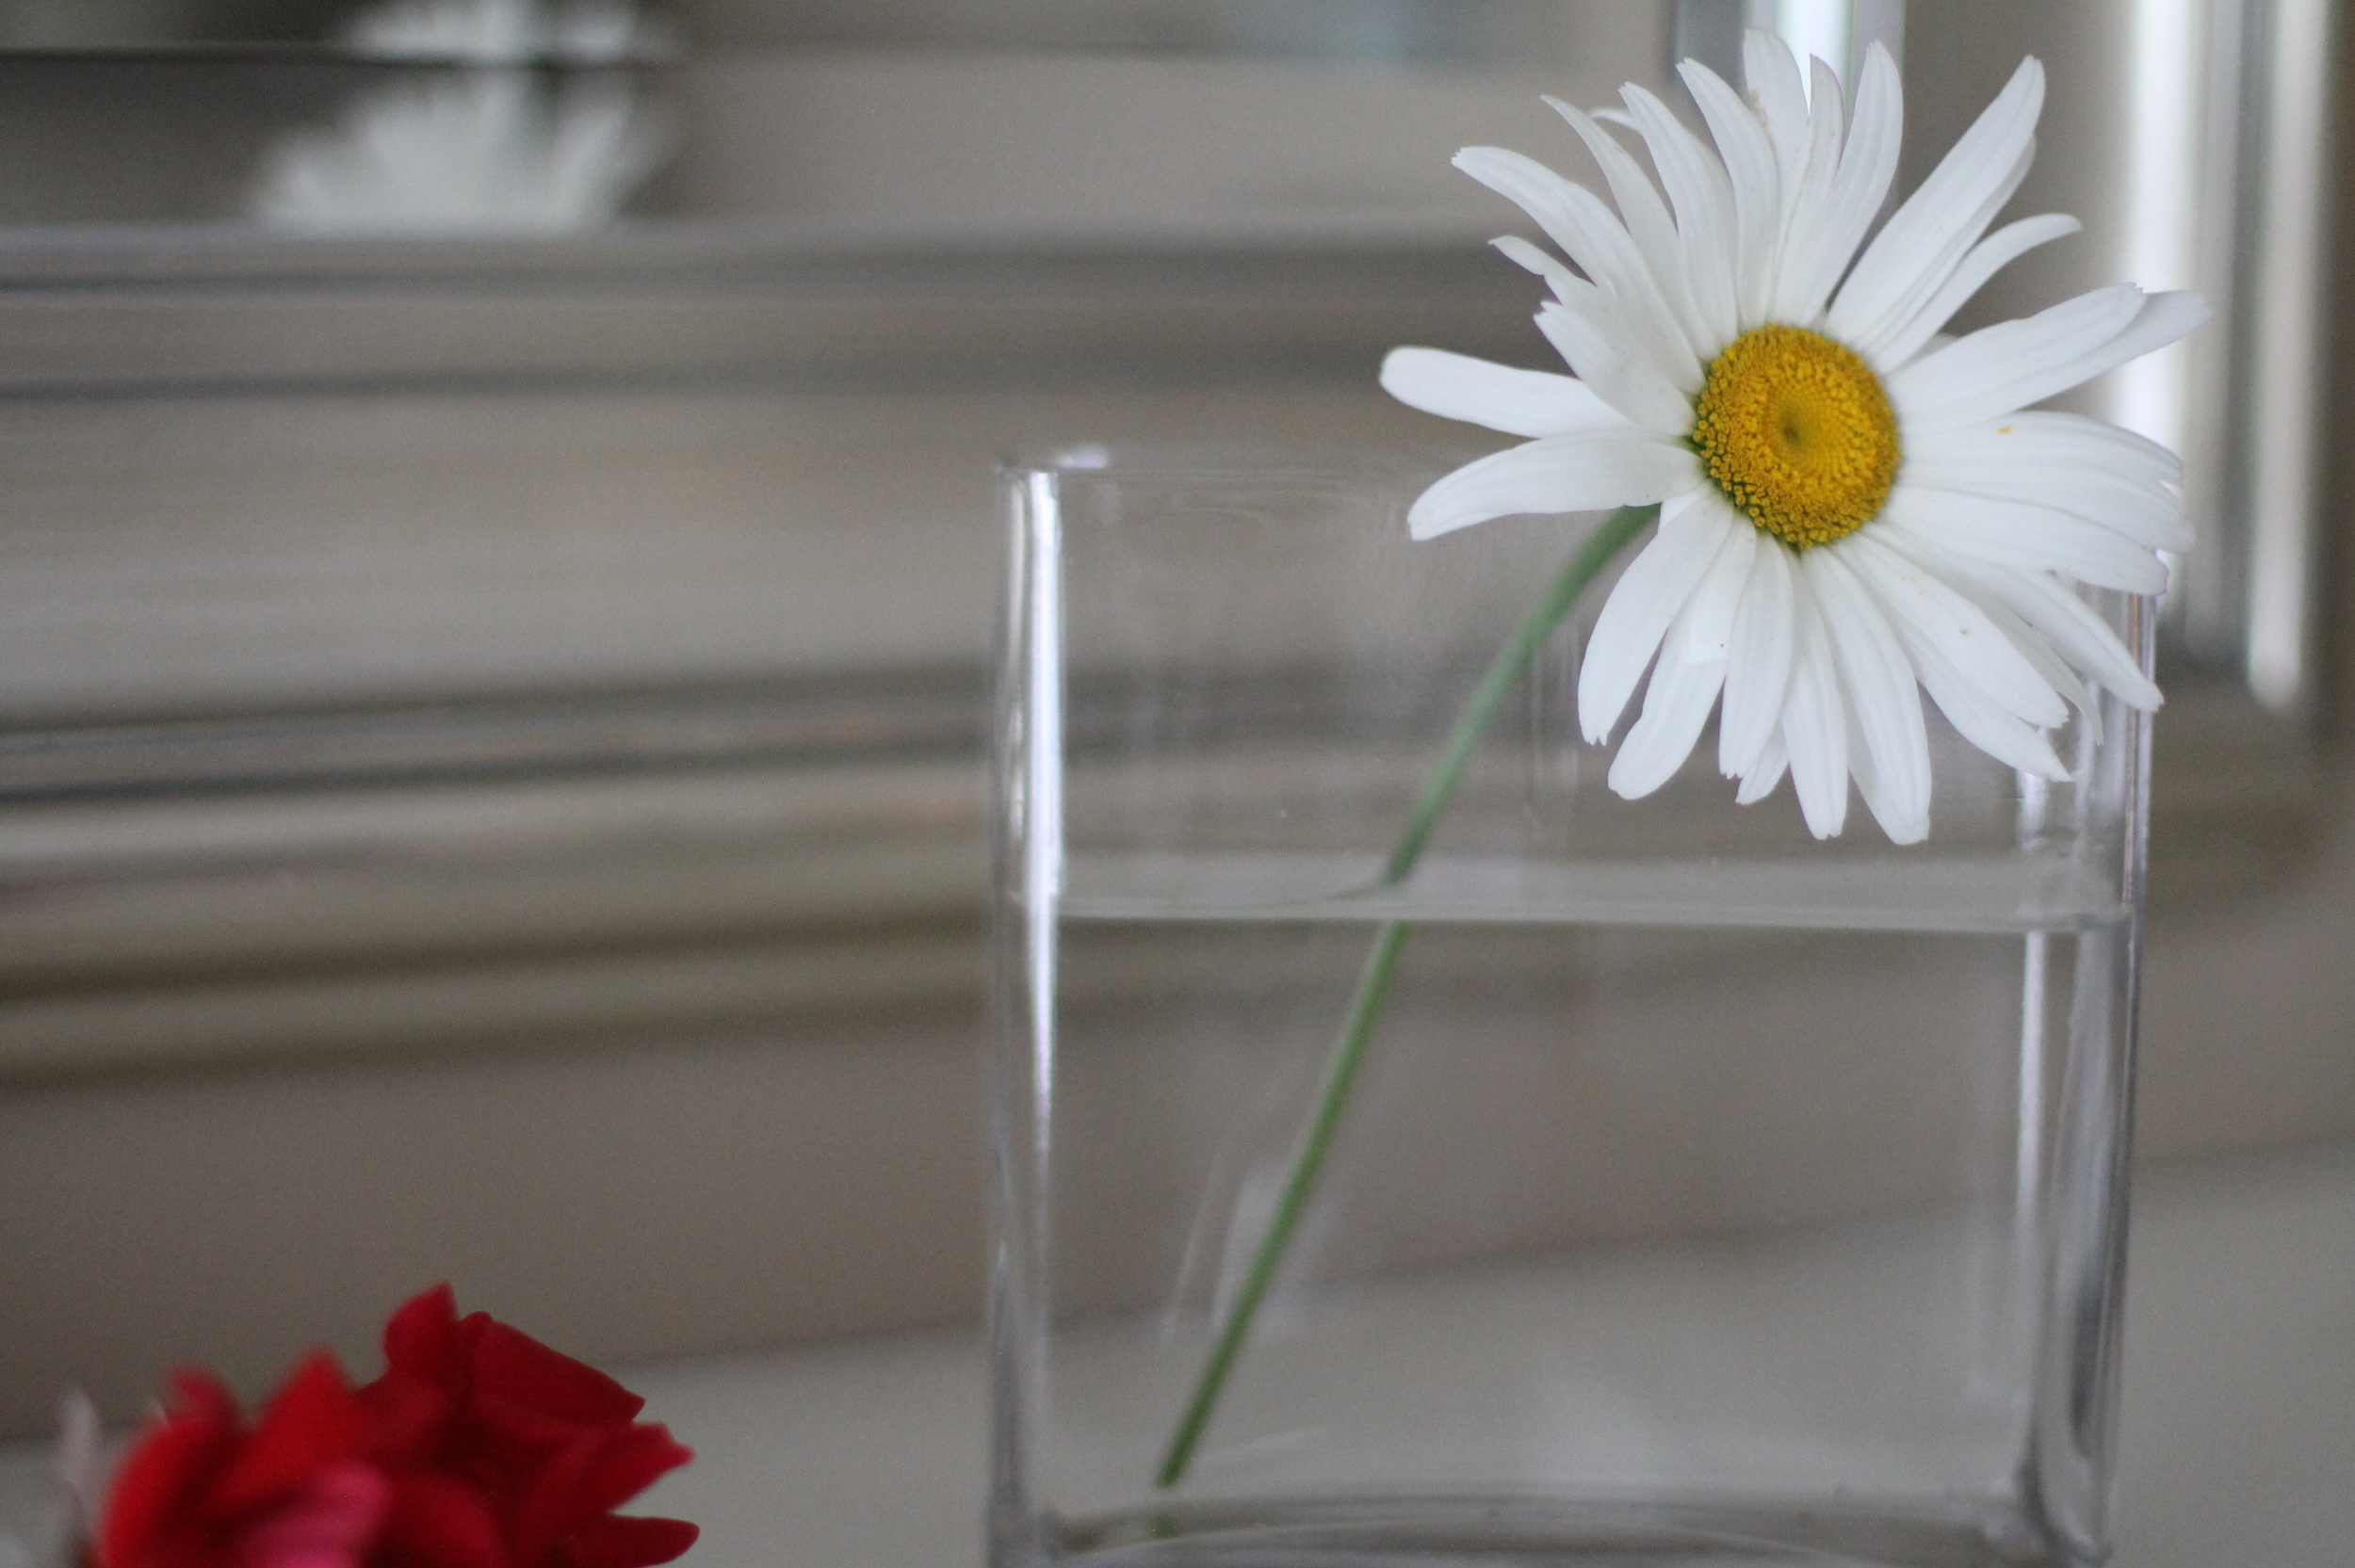
My mother is famous for having fresh flowers in her house at all times. It doesn’t matter what time of year it is, if you go there, there will be fresh flowers somewhere in her house. It’s one of the little things in life she appreciates and I love that about her. Her favorite flower was always a daisy and every time I see one I think of her.

My favorite flower by far is a peony. I think they are the most beautiful and interesting flowers there are.  I love the way they grow and the wonderful fragrance they have. When my daughter Lauren decided she wanted peonies for her December wedding I was thrilled. I knew it was going to be absolutely beautiful.

Once you cut your flowers you can arrange them however you’d like to. Choose a vessel and fill it with water. Start with one flower and just keep adding. Don’t overthink it. If you do you will take the joy out of it. Trust your own eye and do what feels natural. Fresh flowers are beautiful…period.

It's fun to use vases in different shapes and sizes. Use whatever you can find around your house. For this bouquet I chose a narrow vase.

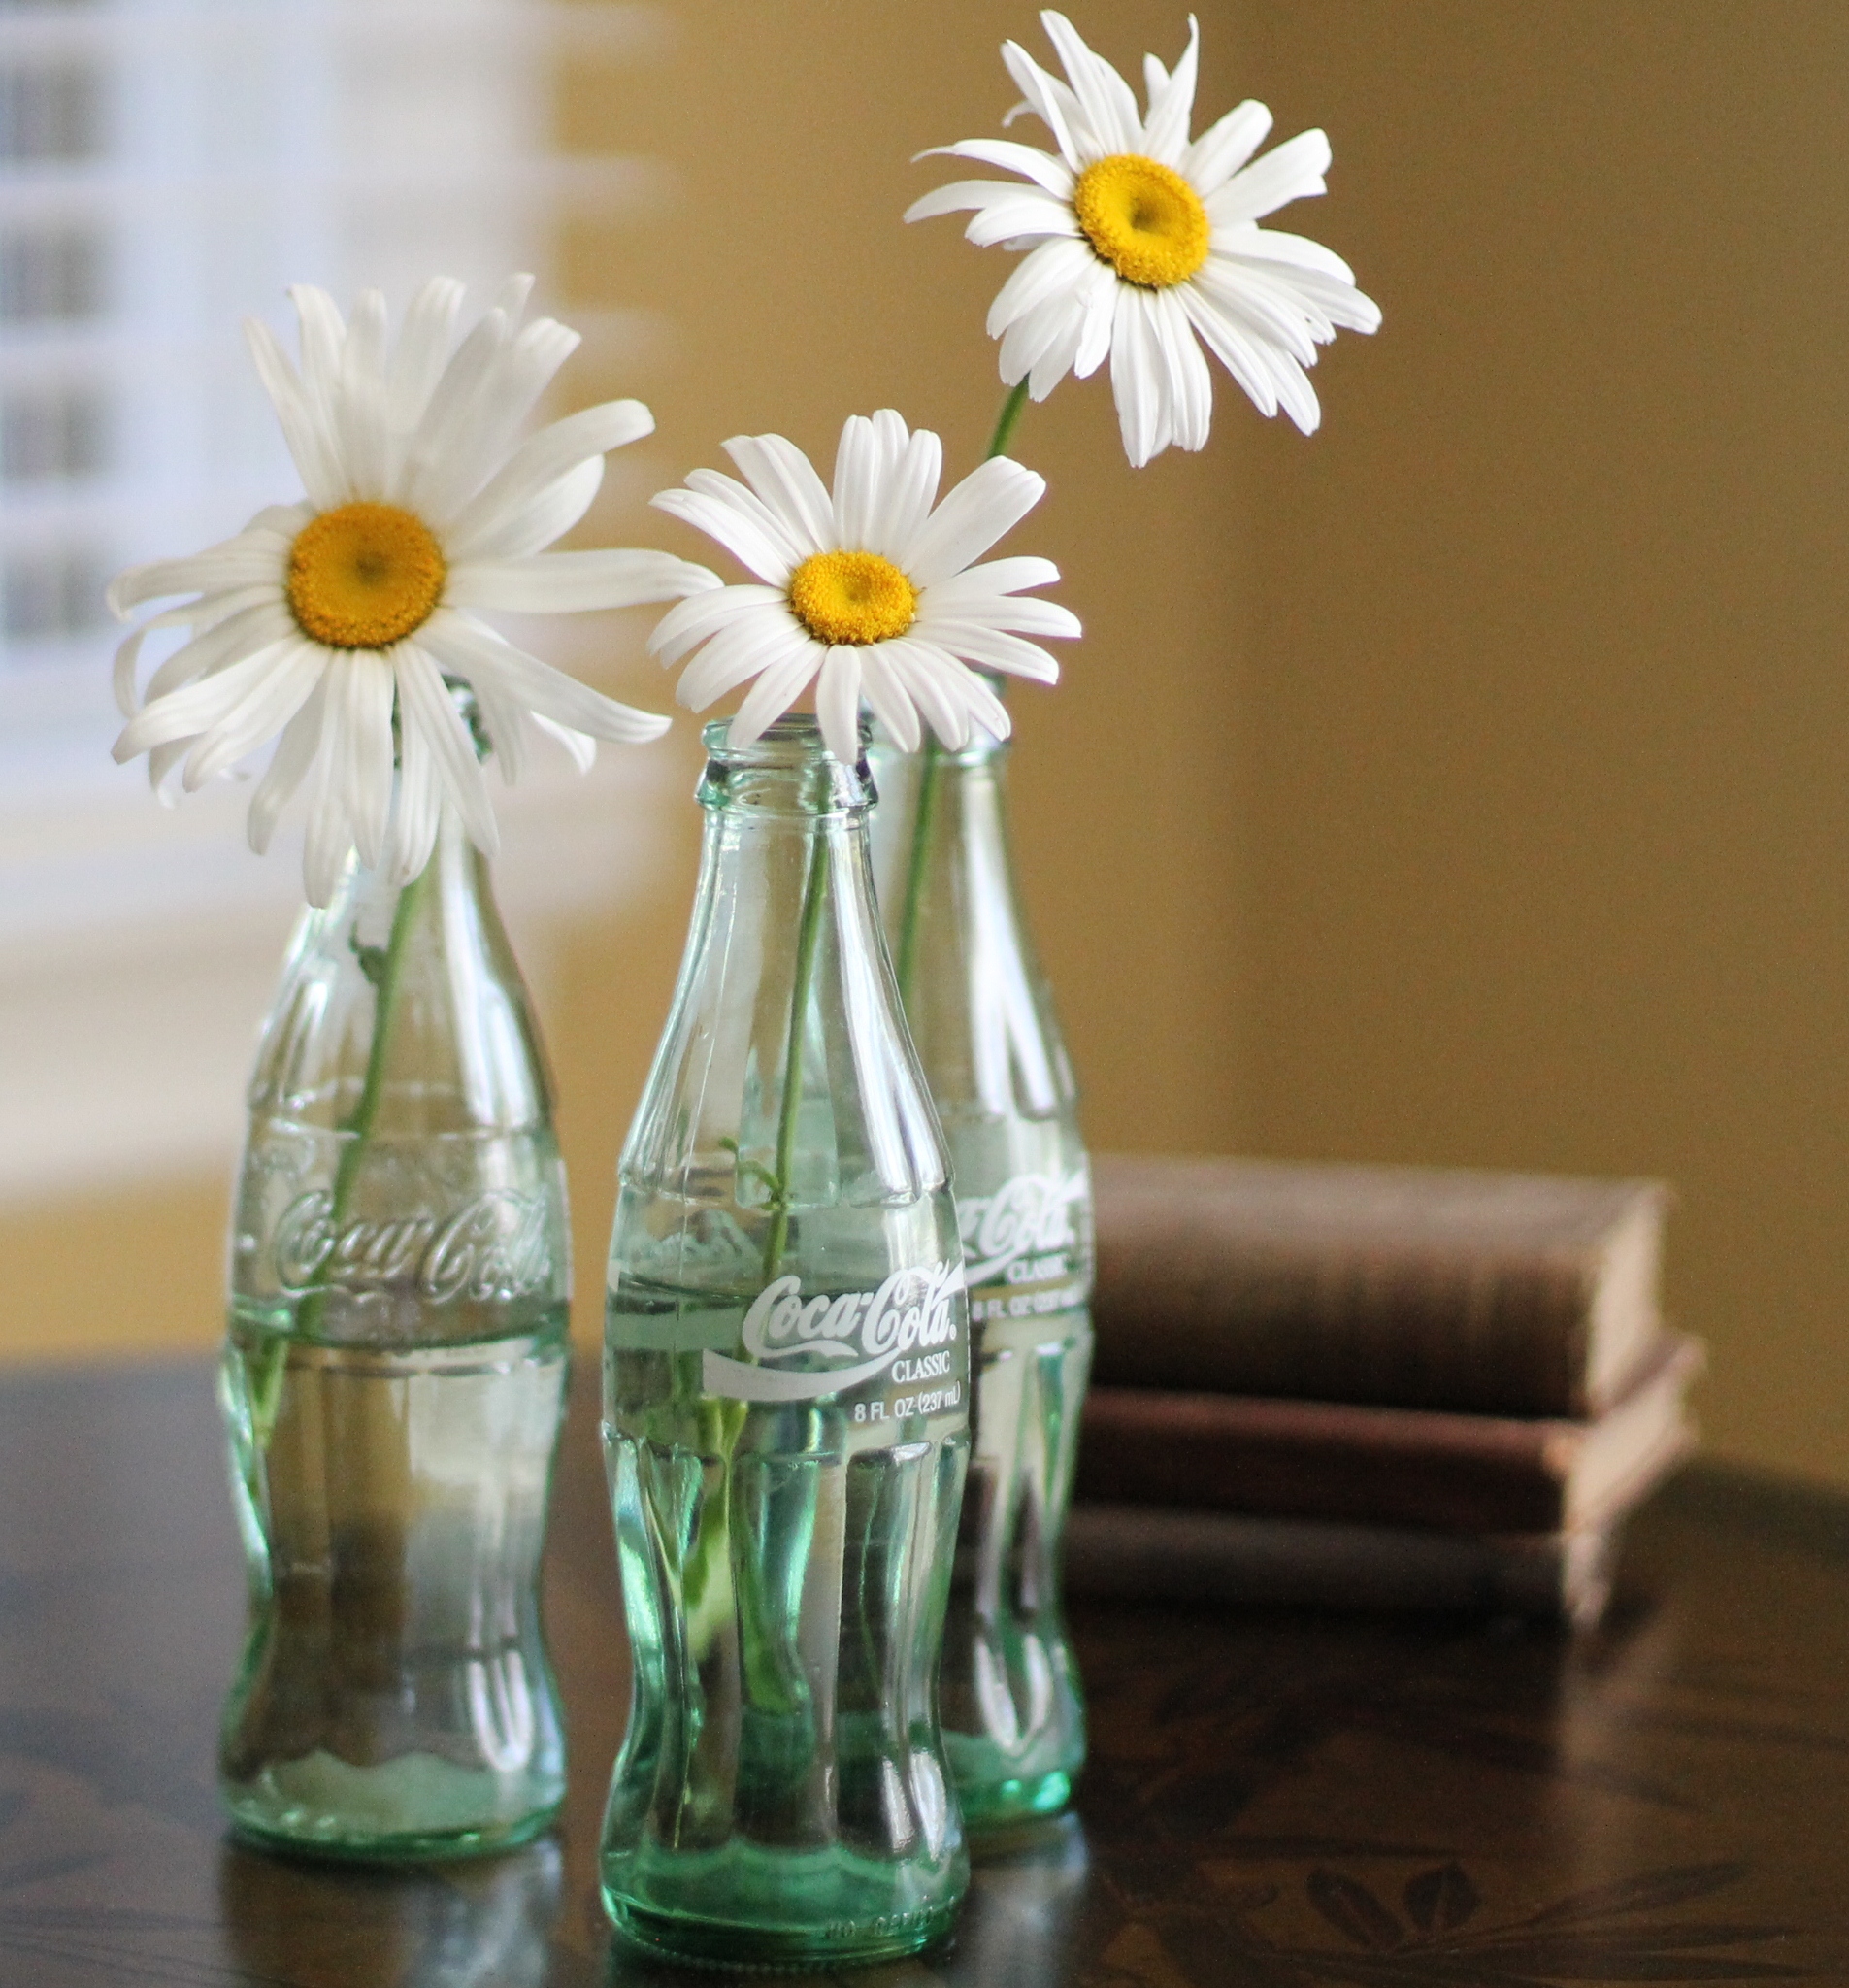
These old fashioned Coke bottles are perfect for single stems.

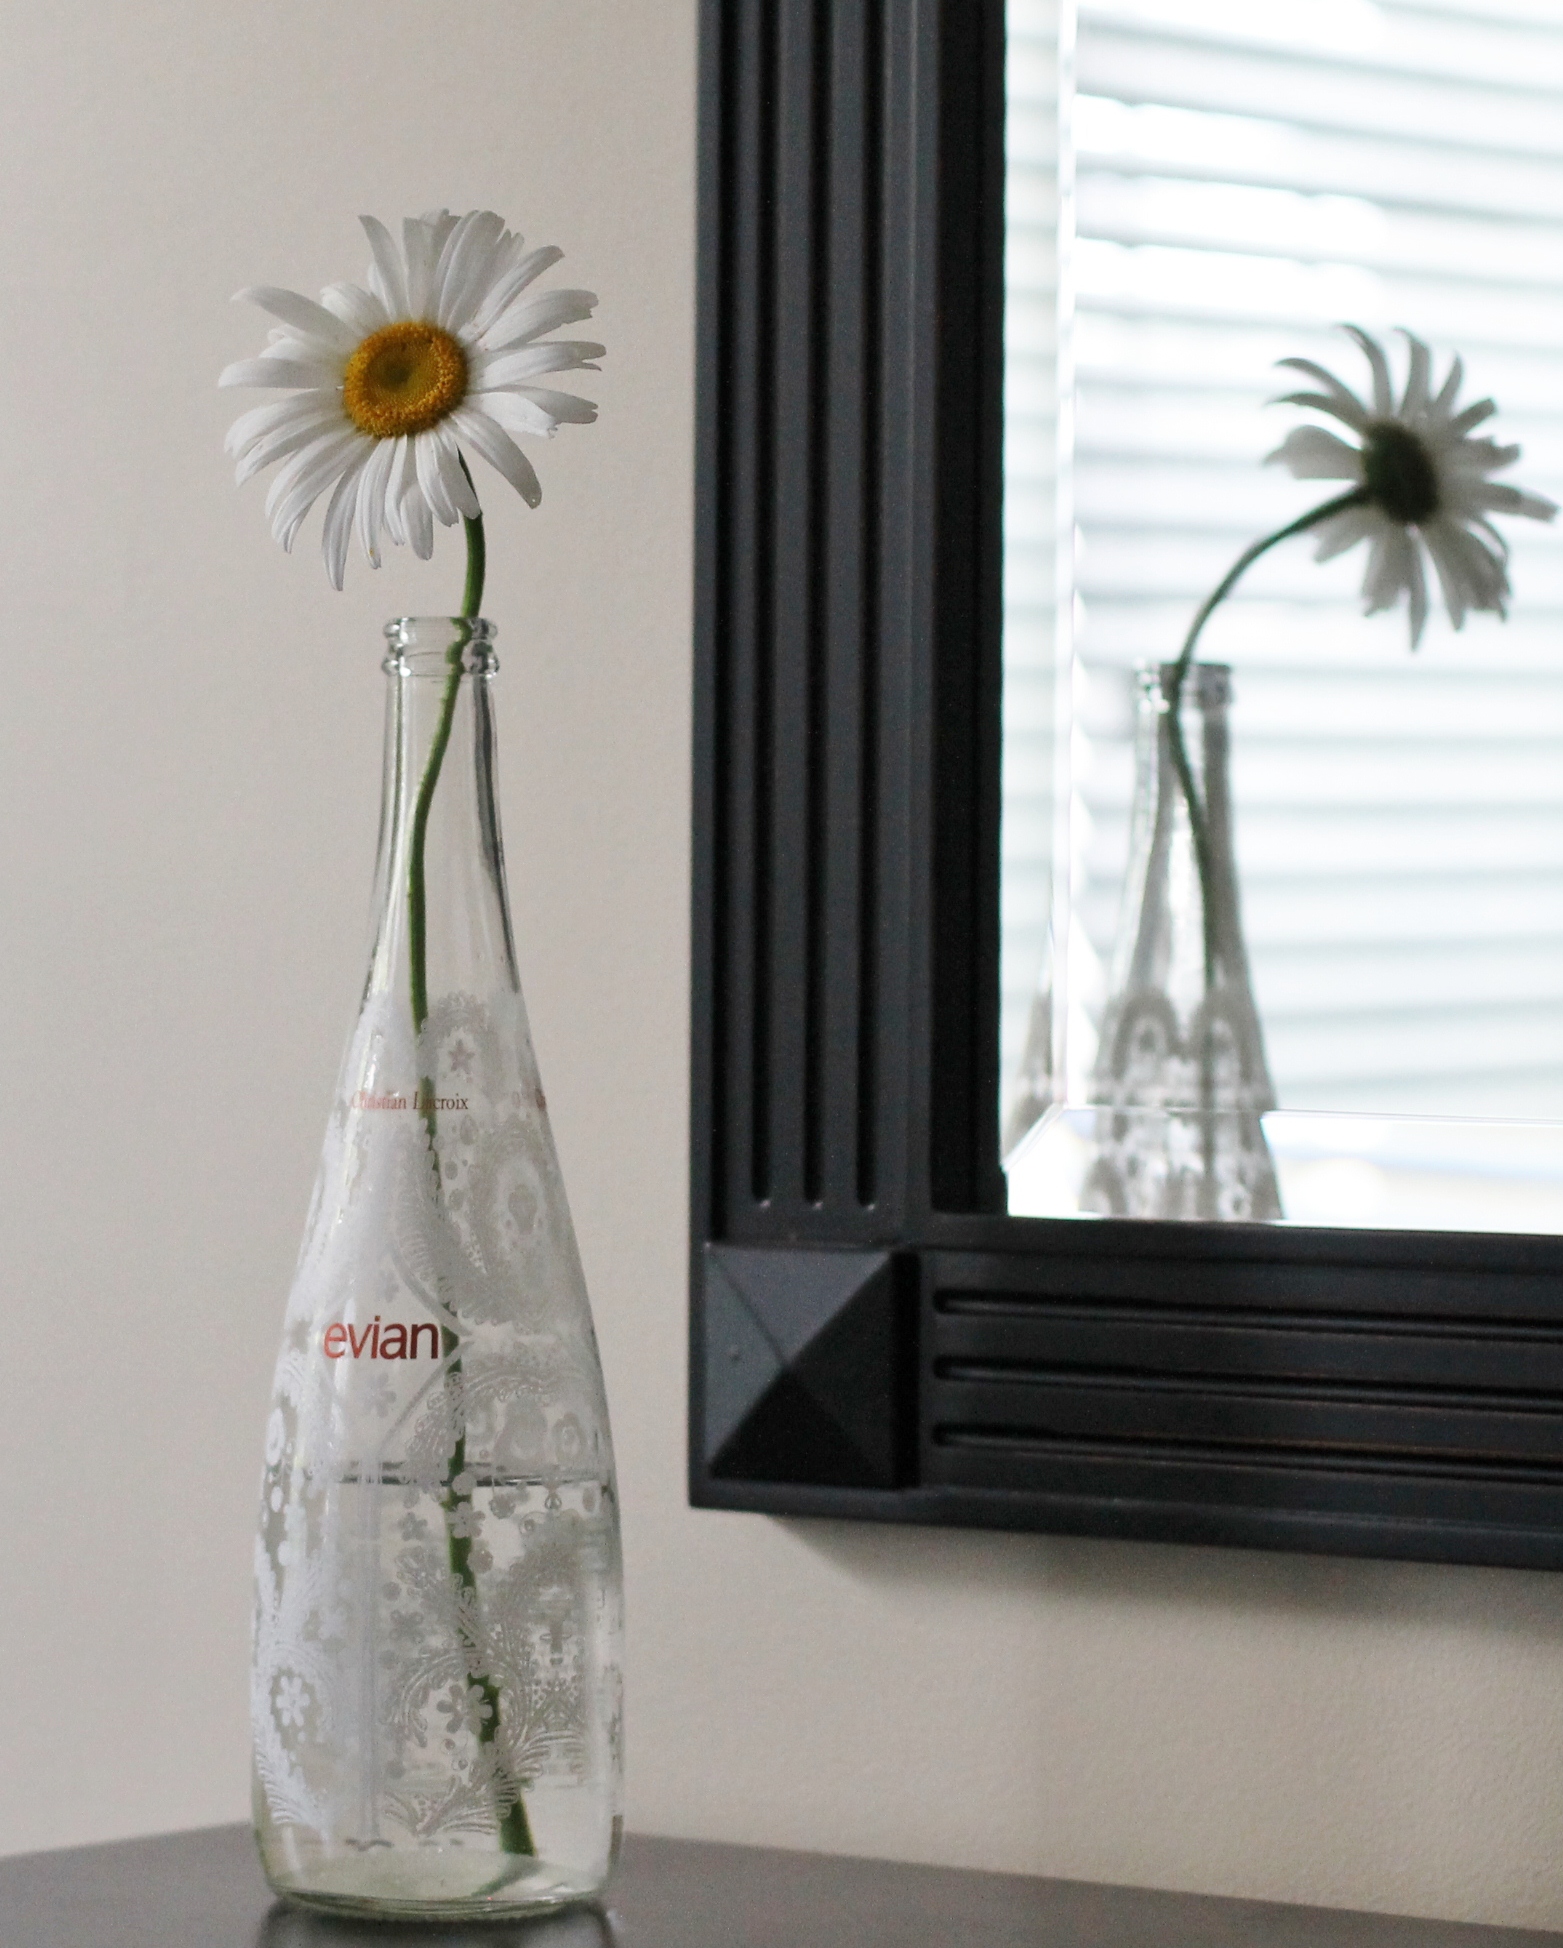
This is a limited edition Christian Lacroix Evian bottle that we found at Target a few years ago. My daughter loved them and bought them for one of the events during her wedding. I saved a few for just this purpose. I think a single stem daisy looks so pretty in this bottle.

I’m sure there are a ton of tutorials out there on flower arranging. And if you want to learn how to make amazing arrangements then it’s a great idea to look into them. What I want to share with you though is that you don’t have to know how to arrange flowers to enjoy them. Look around, see what’s out there and bring the beauty inside. And find a way to share that beauty with others. It’s a little thing that can make a difference in someone’s day, just ask my mom!

Photos by Leslie Reese

Sea Glass

I feel very fortunate to live in a place where I am able to enjoy all four seasons in a year. Each one is different and each one has something wonderful to offer.  Summer is a time for freedom, lighter schedules, family vacations and days at the beach.  Some of my most cherished memories are summer memories. It’s a time when little things like taking a walk on the beach become something that you hang onto forever. For me, searching for sea glass was one of those little moments that ended up turning into so much more than a walk on the beach. If you have never heard of sea glass or you are wondering what is so great about it, I’ll tell you why it’s special to me.

My four sisters and I are lucky enough to have parents who fell in love with a little beach town on the eastern shore of New Jersey called Stone Harbor. For well over forty years we have been traveling to Stone Harbor to spend weeks at a time enjoying the town, the beach and most of all family. It has become a place that holds some of our happiest memories. We are all parents now and it has been fun watching our own children enjoy the time they spend with their cousins, aunts and uncles, and grandparents. Now Stone Harbor is also a special place for them.

I’m not sure exactly when it started but a number of years ago my sisters and I started picking up sea glass while we were walking on the beach in Stone Harbor.

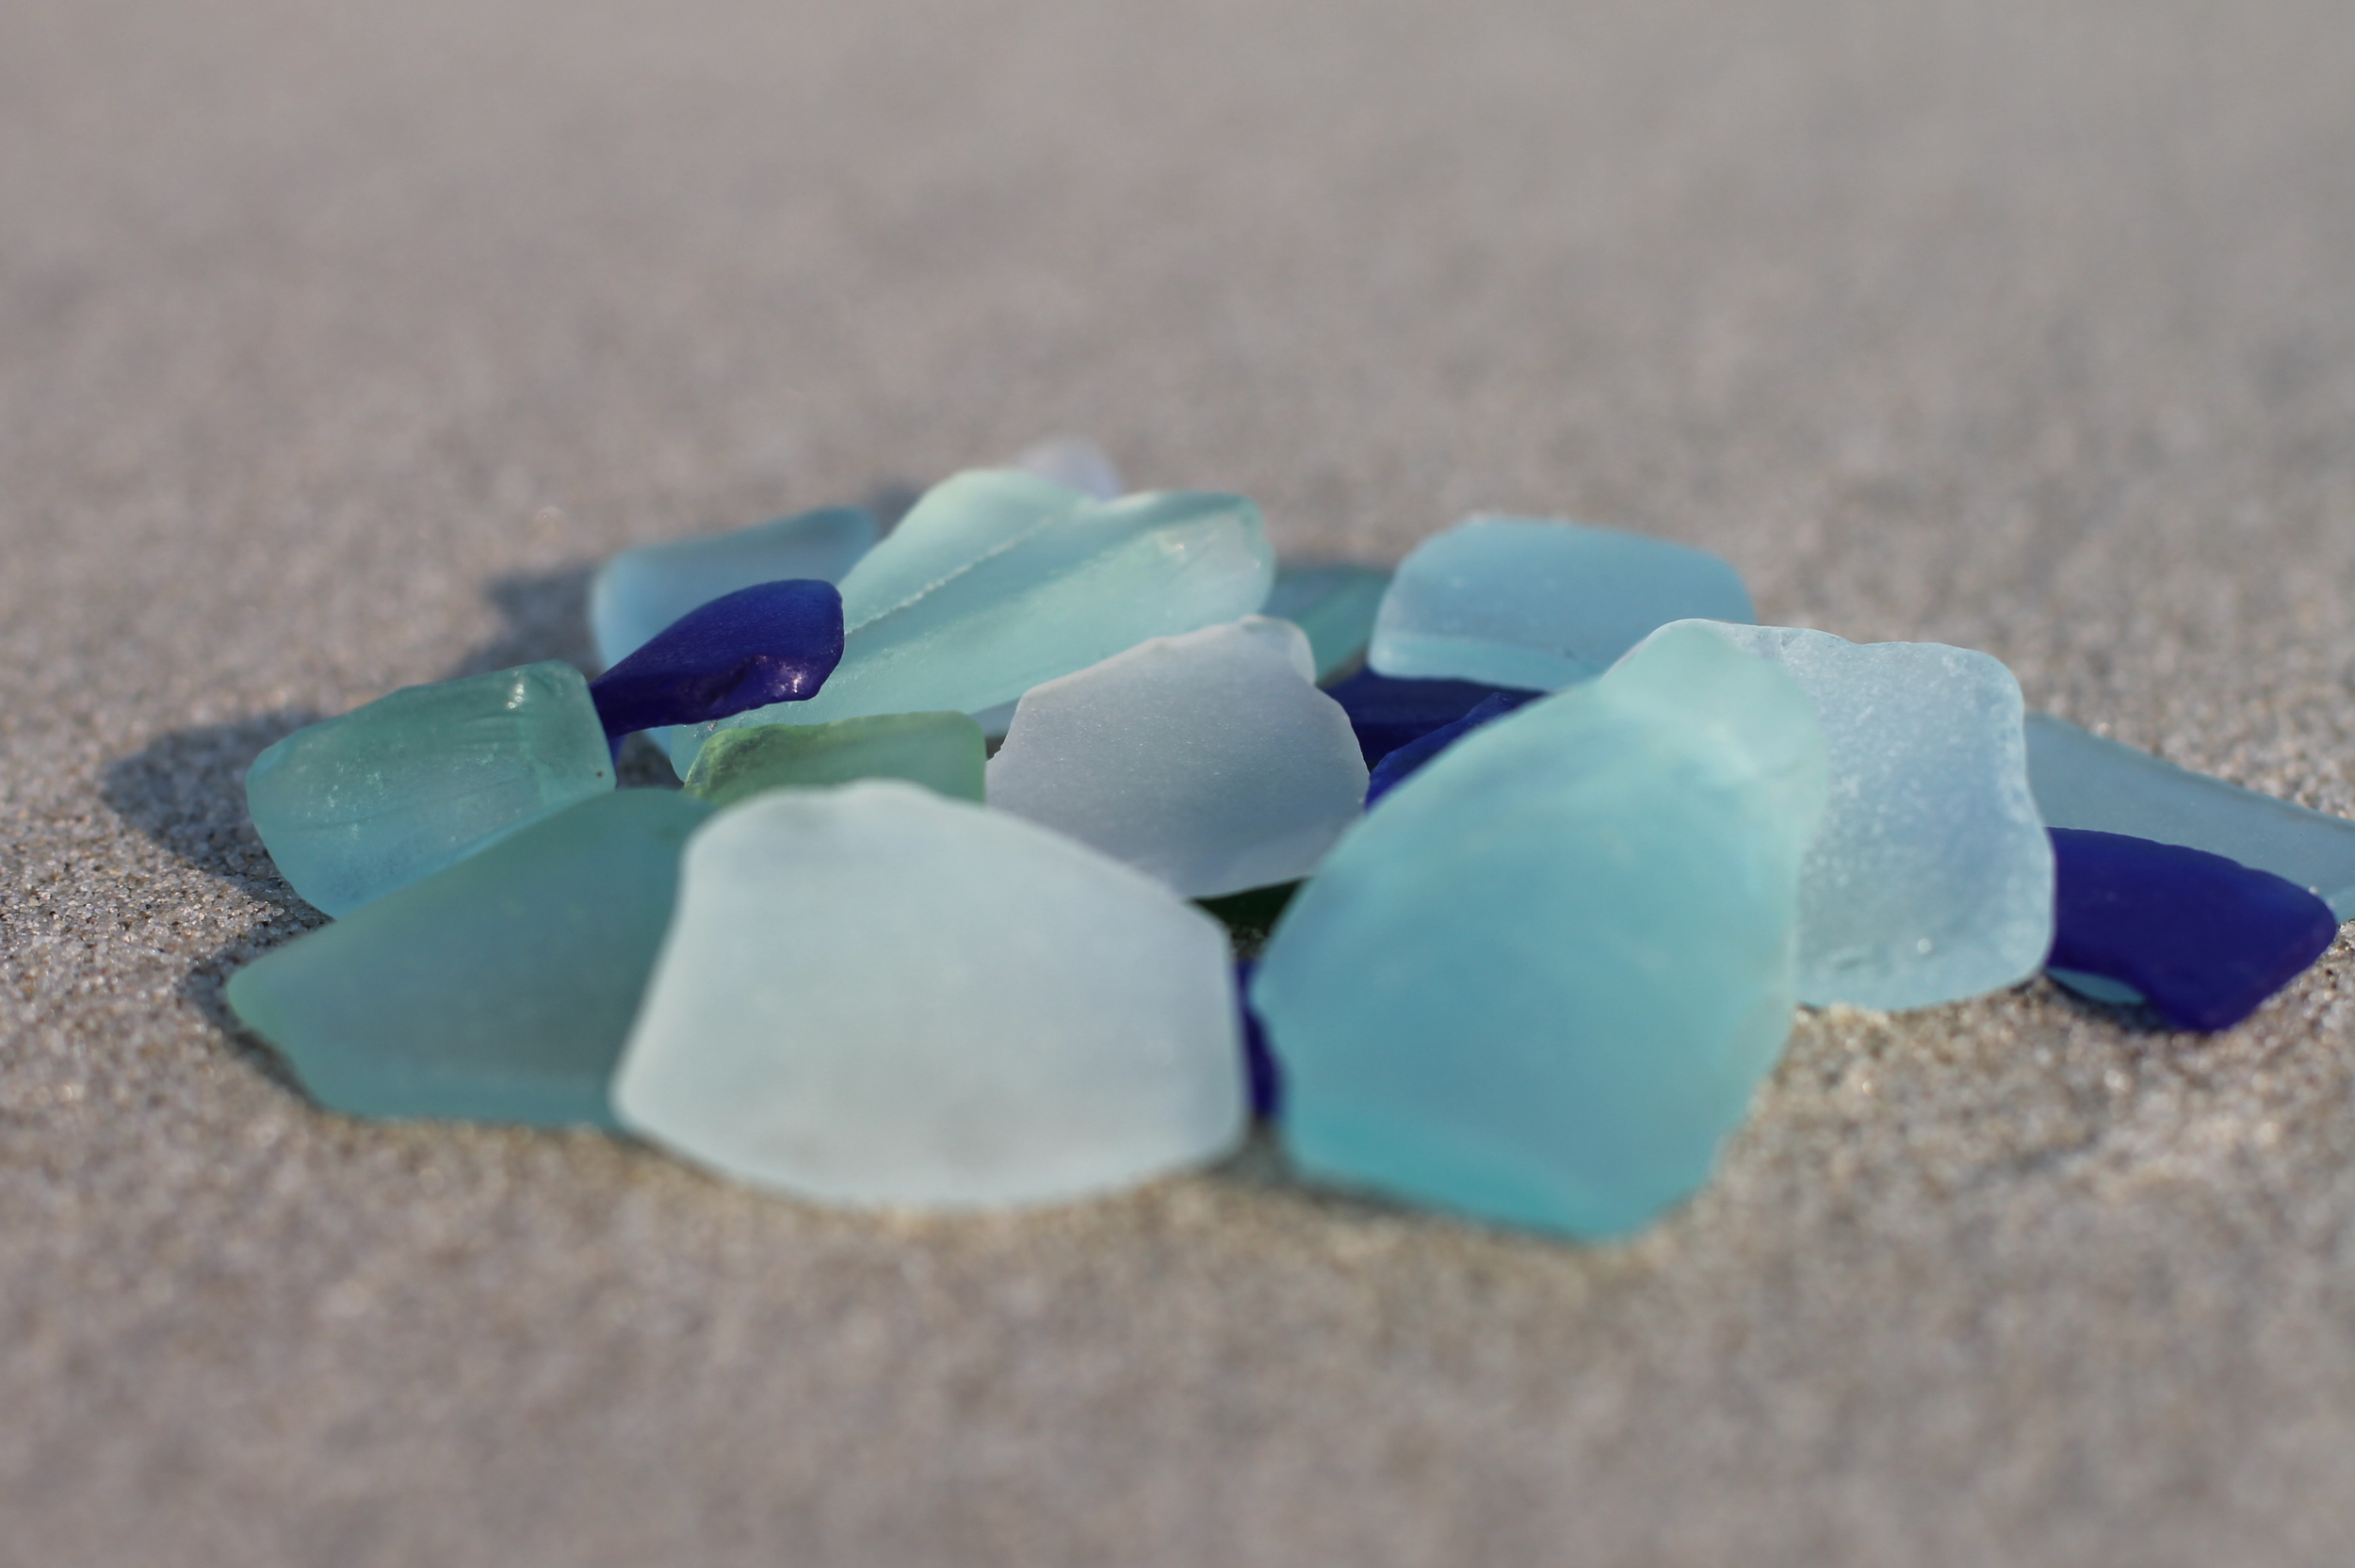
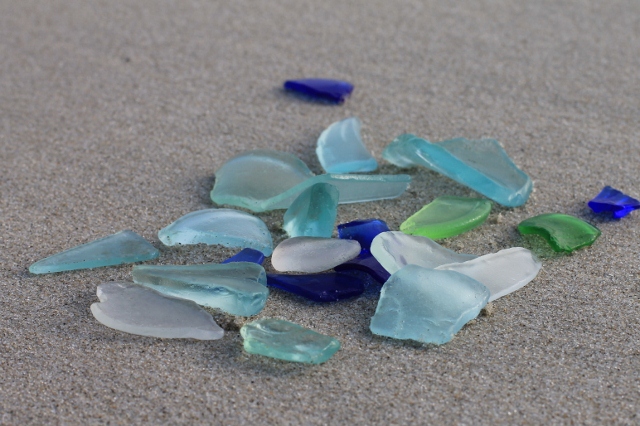
Sea glass is basically broken glass from old bottles or glassware that is weathered by the natural elements over time and ends up hidden in the sand on the beach.  The cool part is that there is some real history behind sea glass. Certain colors, like turquoise, are very rare and hard to find. Some of the glass that is found dates back to the 1800’s and could have been anything from a whiskey bottle to an ink bottle. It’s fascinating.

Searching for sea glass has become something everyone in our family loves to do. It doesn’t matter if you are on a walk with other people or you are running alone. You are usually looking, at least part of the time, for sea glass. It has sparked interesting conversation and created investigation into what each color might mean. At times it has been an unspoken competition, trying to find the most glass or the first cobalt blue piece of the summer. For years, three of my sisters were convinced my sister Lisa and I had a secret sea glass spot because we seemed to find so much of it when we were together. It was a coincidence but we played along. Our kids collect it now and as a matter of fact I think my niece Jillian has found the best piece yet . We have enjoyed all that searching for sea glass has turned into. For us it’s about family.  It’s about being together. It’s about the little things and the memories that are created. For us it’s so much more than a walk on the beach.

Photos by Leslie Reese

Baked Oatmeal

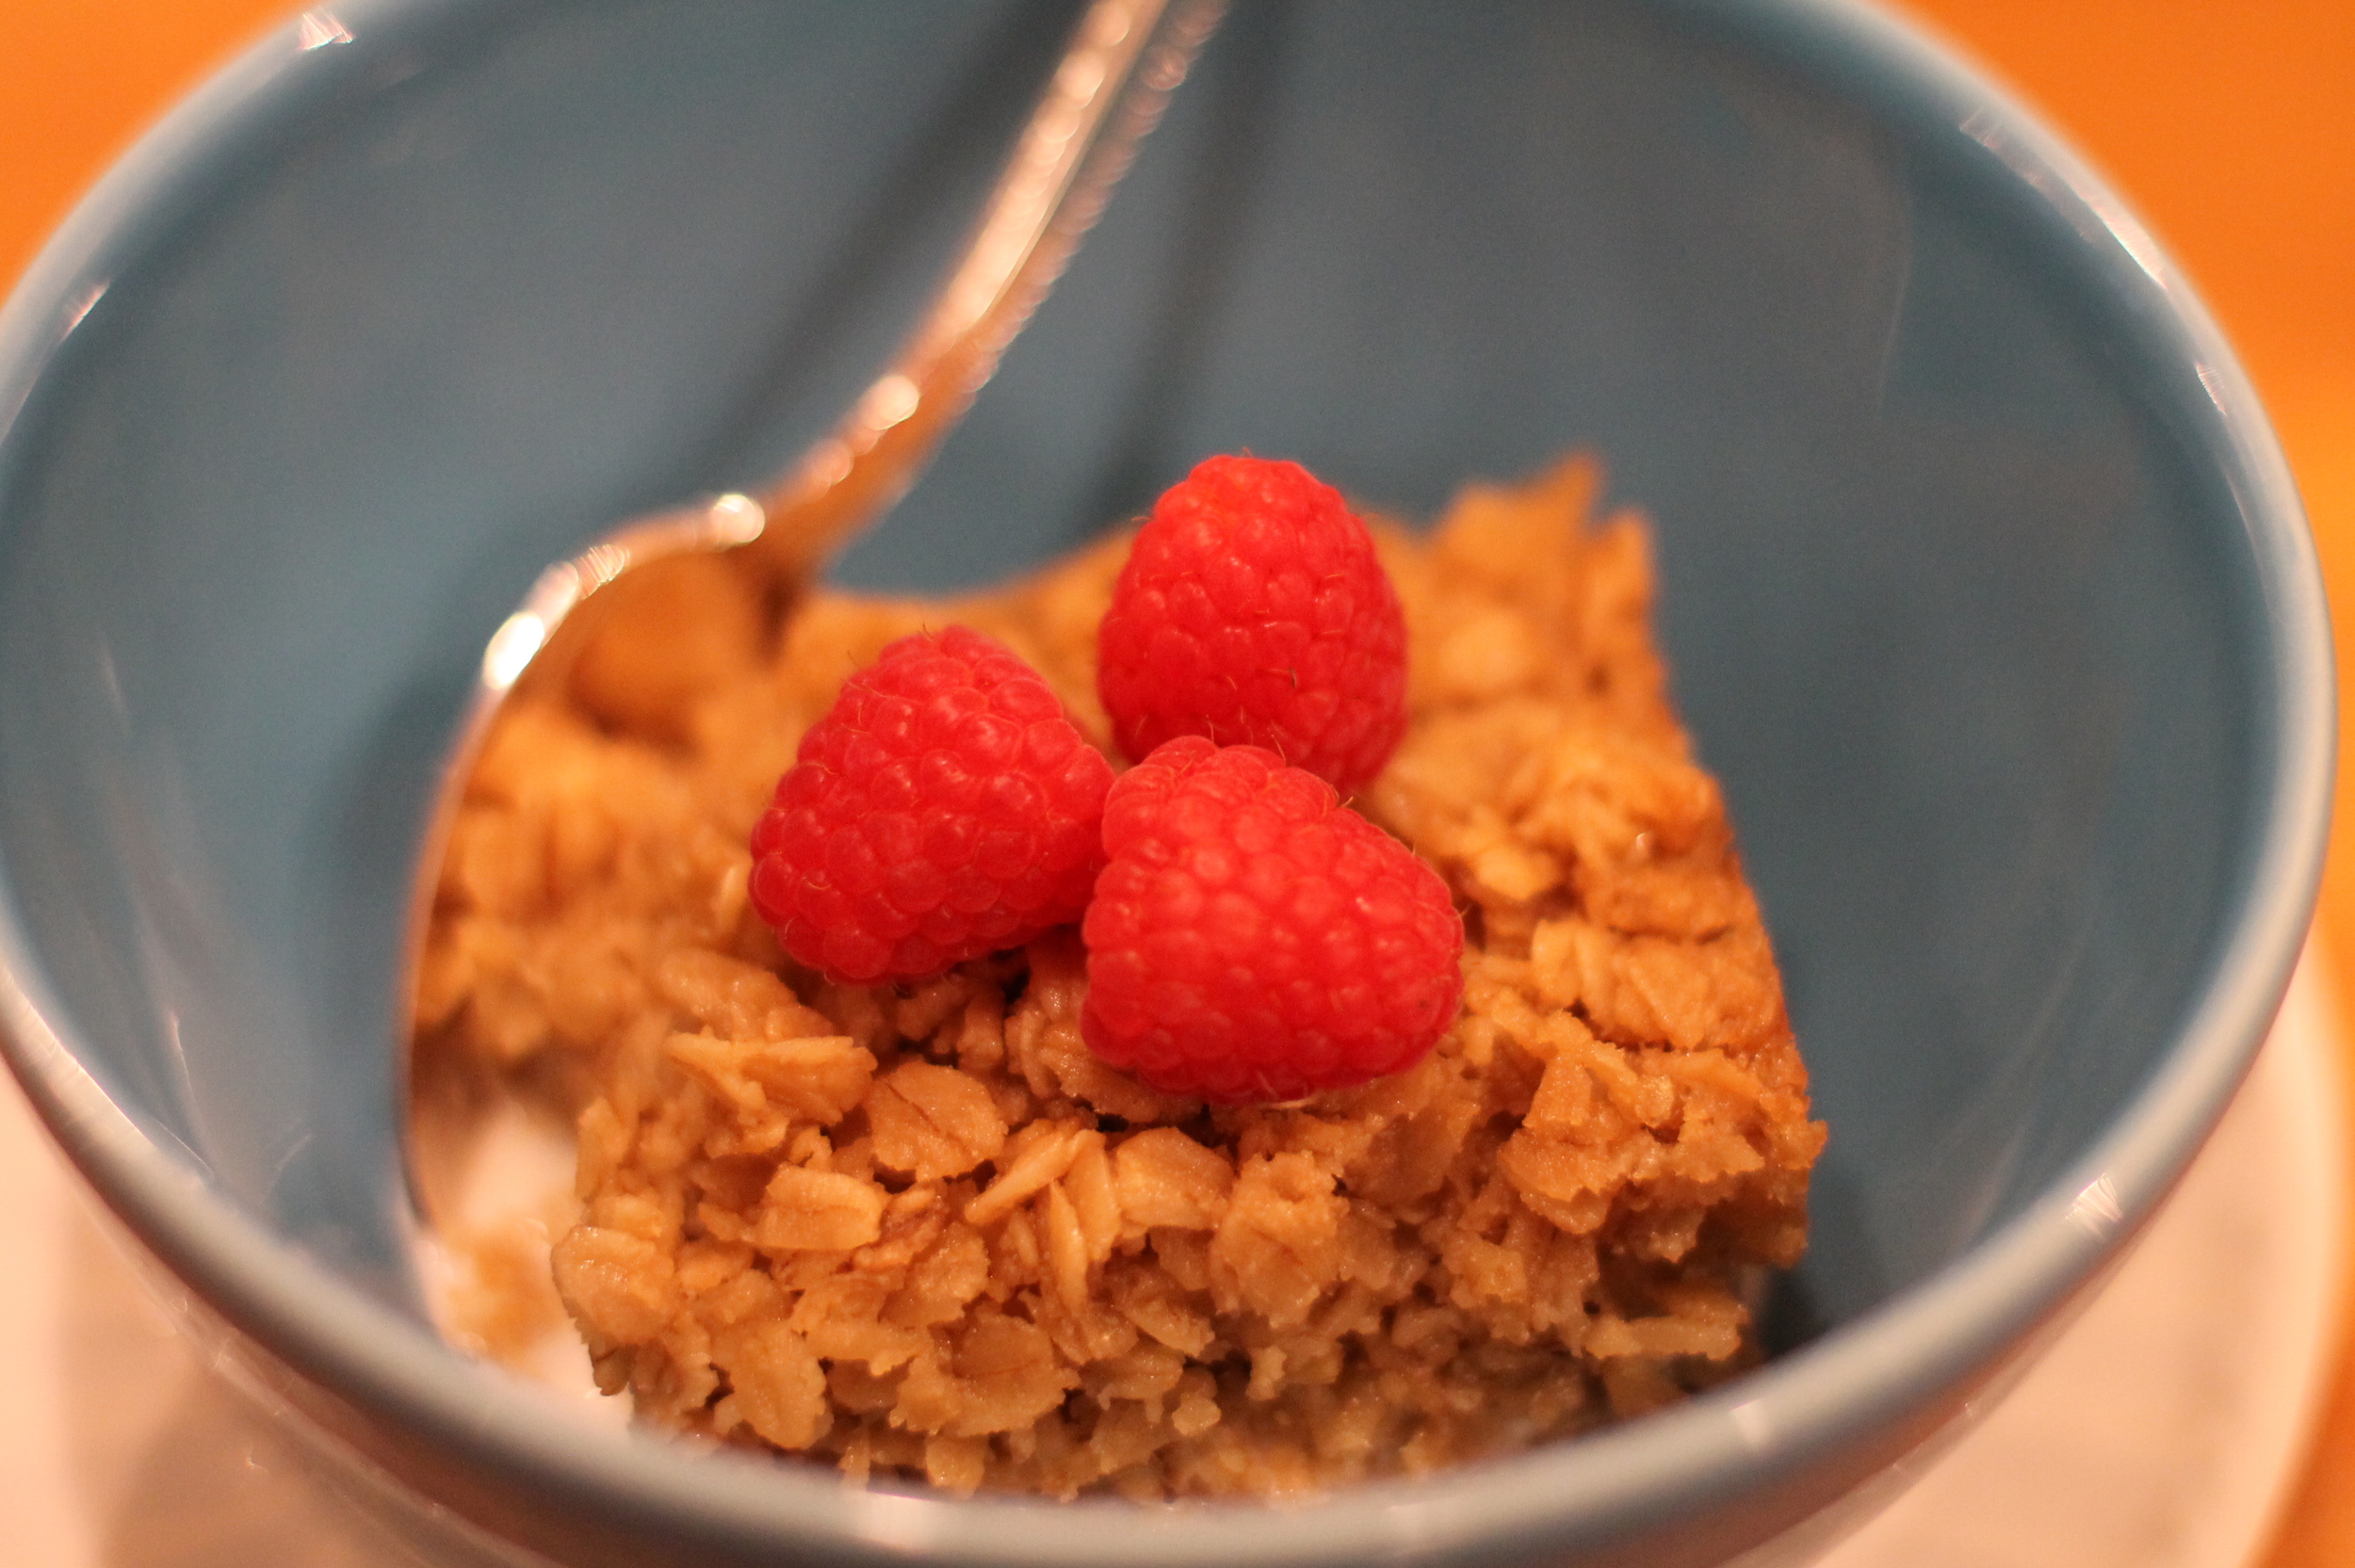
I am a big fan of oatmeal. I love the steel cut variety because of the texture and nutty flavor that it has. I’ll eat it plain but I prefer it with nuts, dried fruit and on occasion a spoon of brown sugar. A healthy breakfast for the most part, right? Well if oatmeal tends to be what you choose when you want a healthy breakfast, where does baked oatmeal fit in?  Baked oatmeal is just one of those things that makes me happy. It’s not as healthy as the good old fashioned stuff so it has an occasional place at my breakfast table but when it shows up people are smiling! My dad shared this recipe with me years ago and it has become a favorite for us.

I should tell you that you can alter the recipe by replacing the oil with applesauce to make it healthier but seriously, unless you absolutely have to, don’t do it. Just make the regular recipe and ENJOY it! Then don't make it again for a while…

I suggest serving your baked oatmeal warm. I usually make it a day ahead of time and reheat it just before serving. Try adding fresh seasonal fruit and vanilla almond milk for a breakfast you can enjoy any time of the year.

Baked Oatmeal

Ingredients

3 eggs

2 cups milk

2 tablespoons vanilla extract

1 cup oil (I used canola oil)

5 cups uncooked oatmeal ( I use the old fashioned slow cook oatmeal, not quick cook)

1 cup brown sugar (dark or light is fine, I like dark)

1 1/2 teaspoons salt

4 teaspoons baking powder

dried fruit and nuts (optional)


Method

Preheat oven to 350 degrees.

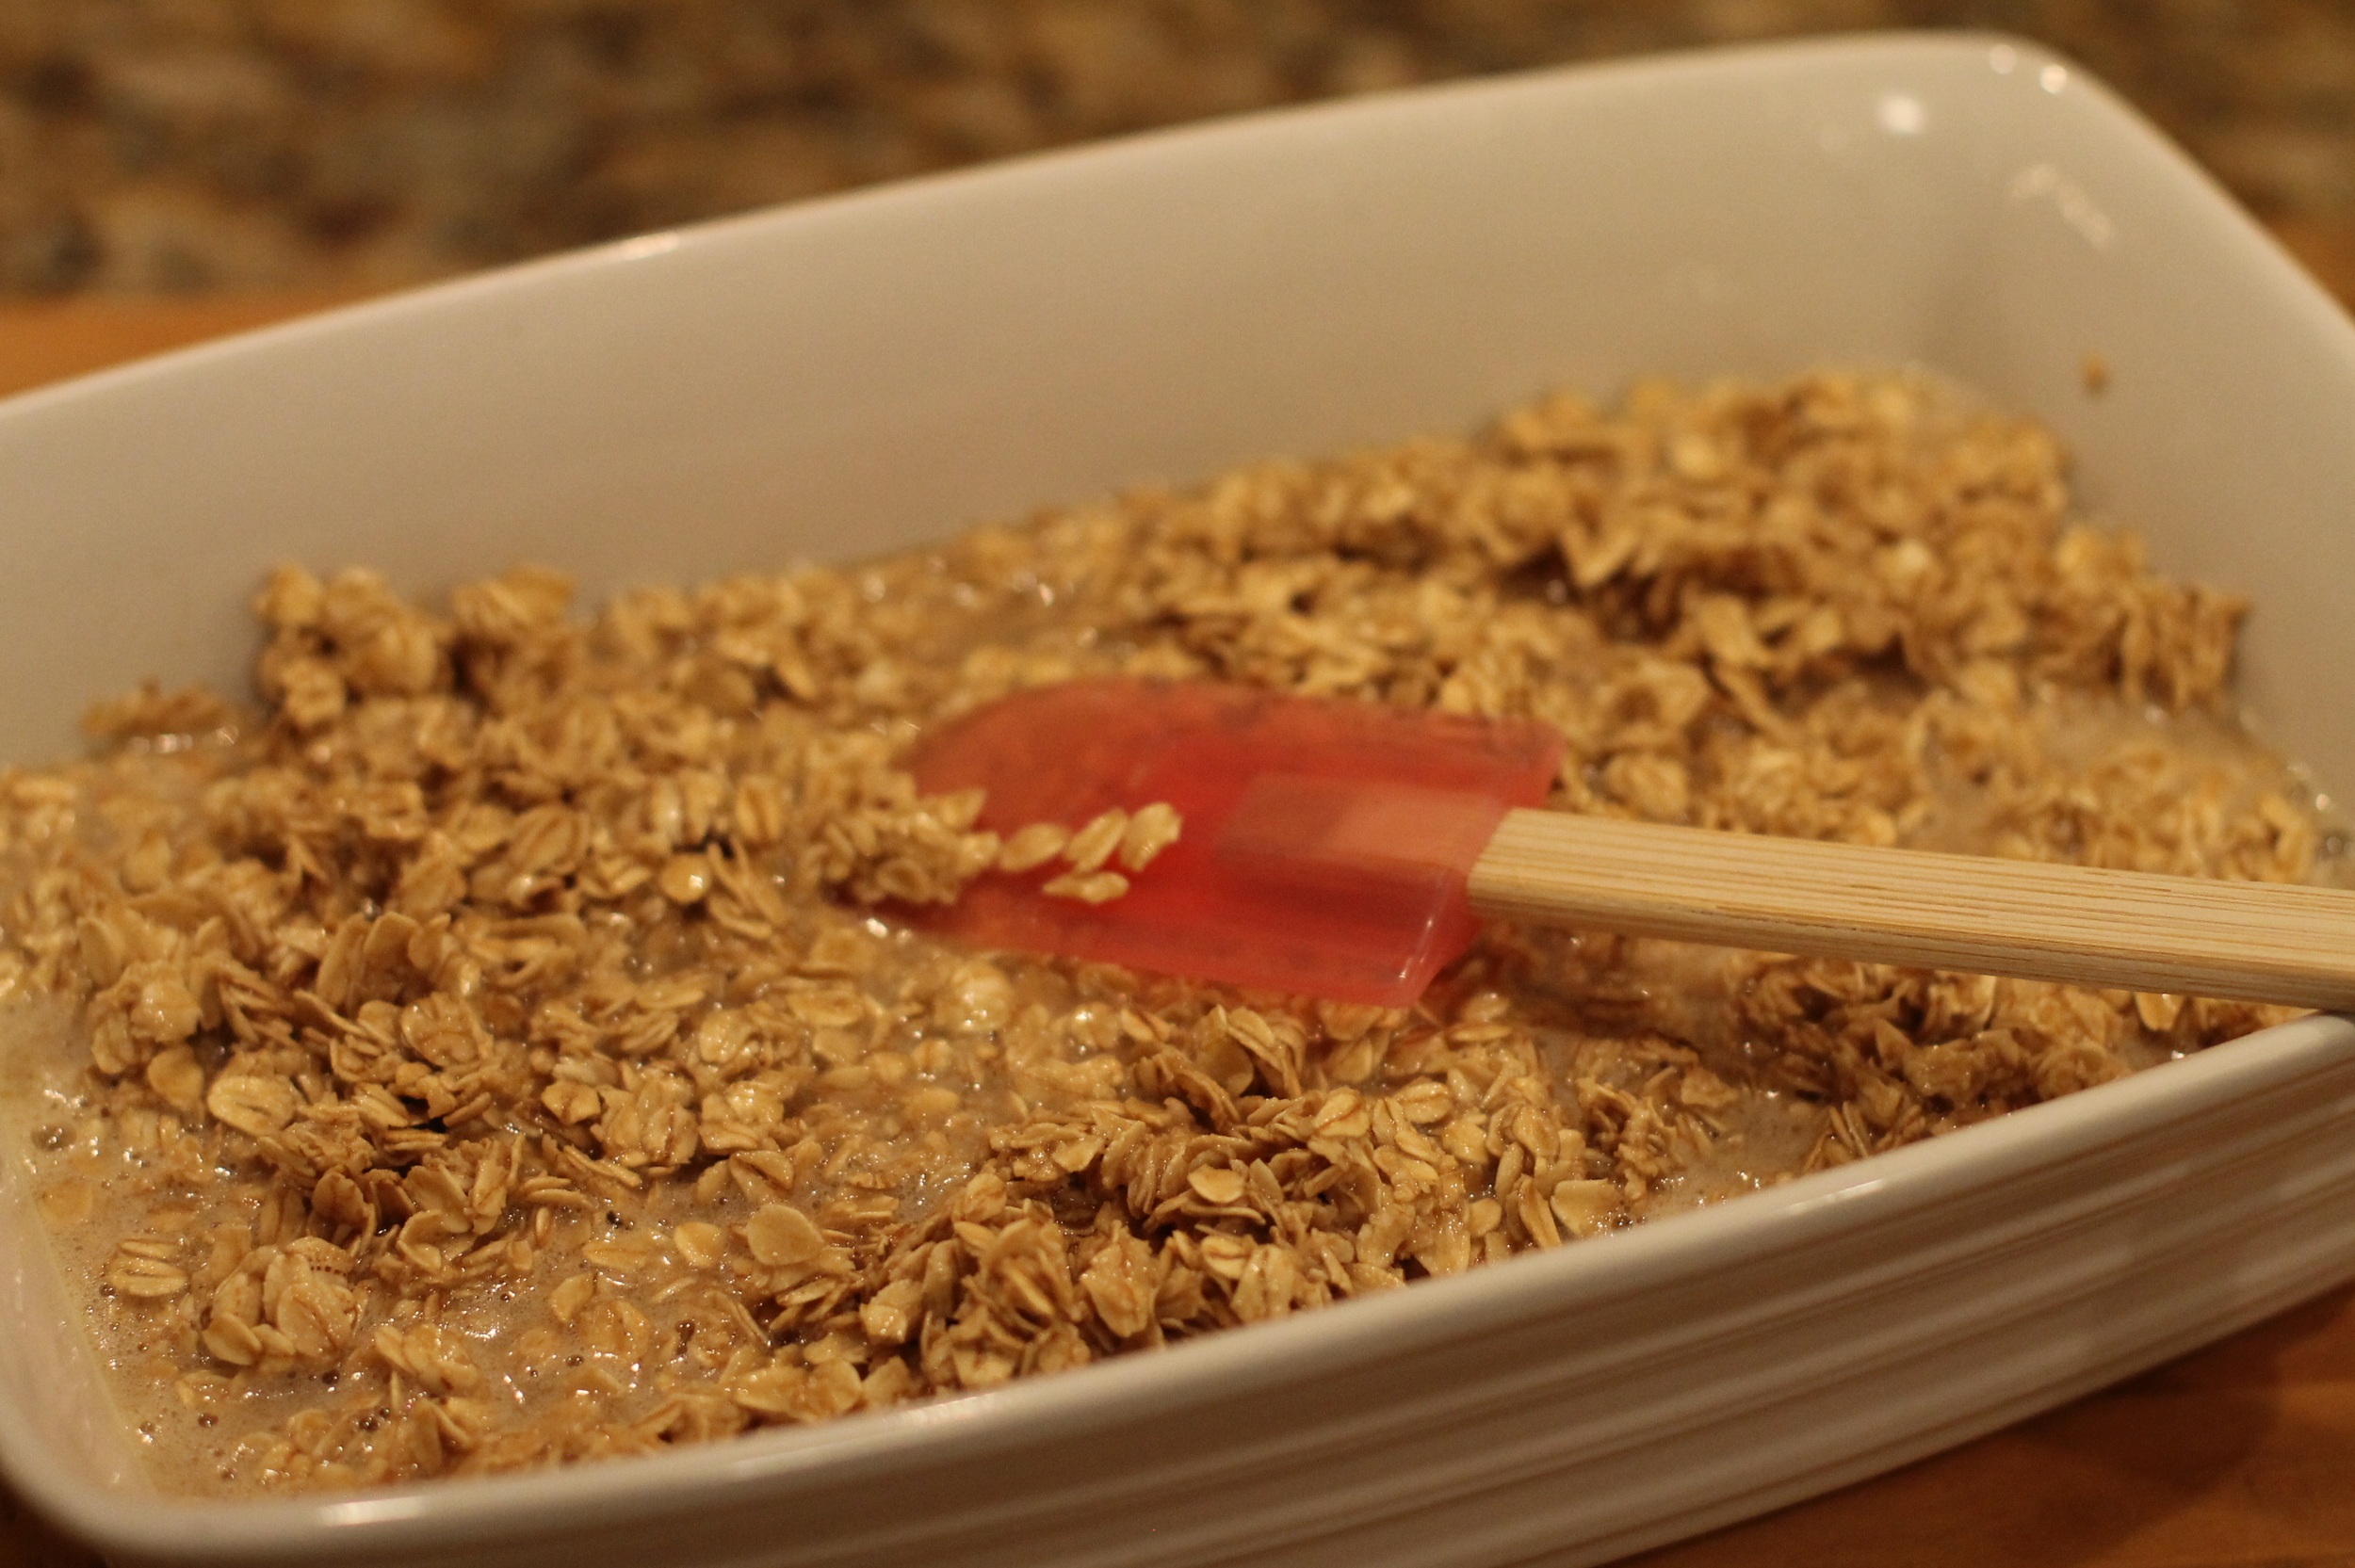
Hand beat eggs. Add milk, vanilla and oil and stir until blended. Stir in brown sugar, salt and baking powder. Add oats and stir until combined. If you are going to add dried fruit or nuts you can add them now, stirring to combine.

Pour into greased 13 x 9 pan.

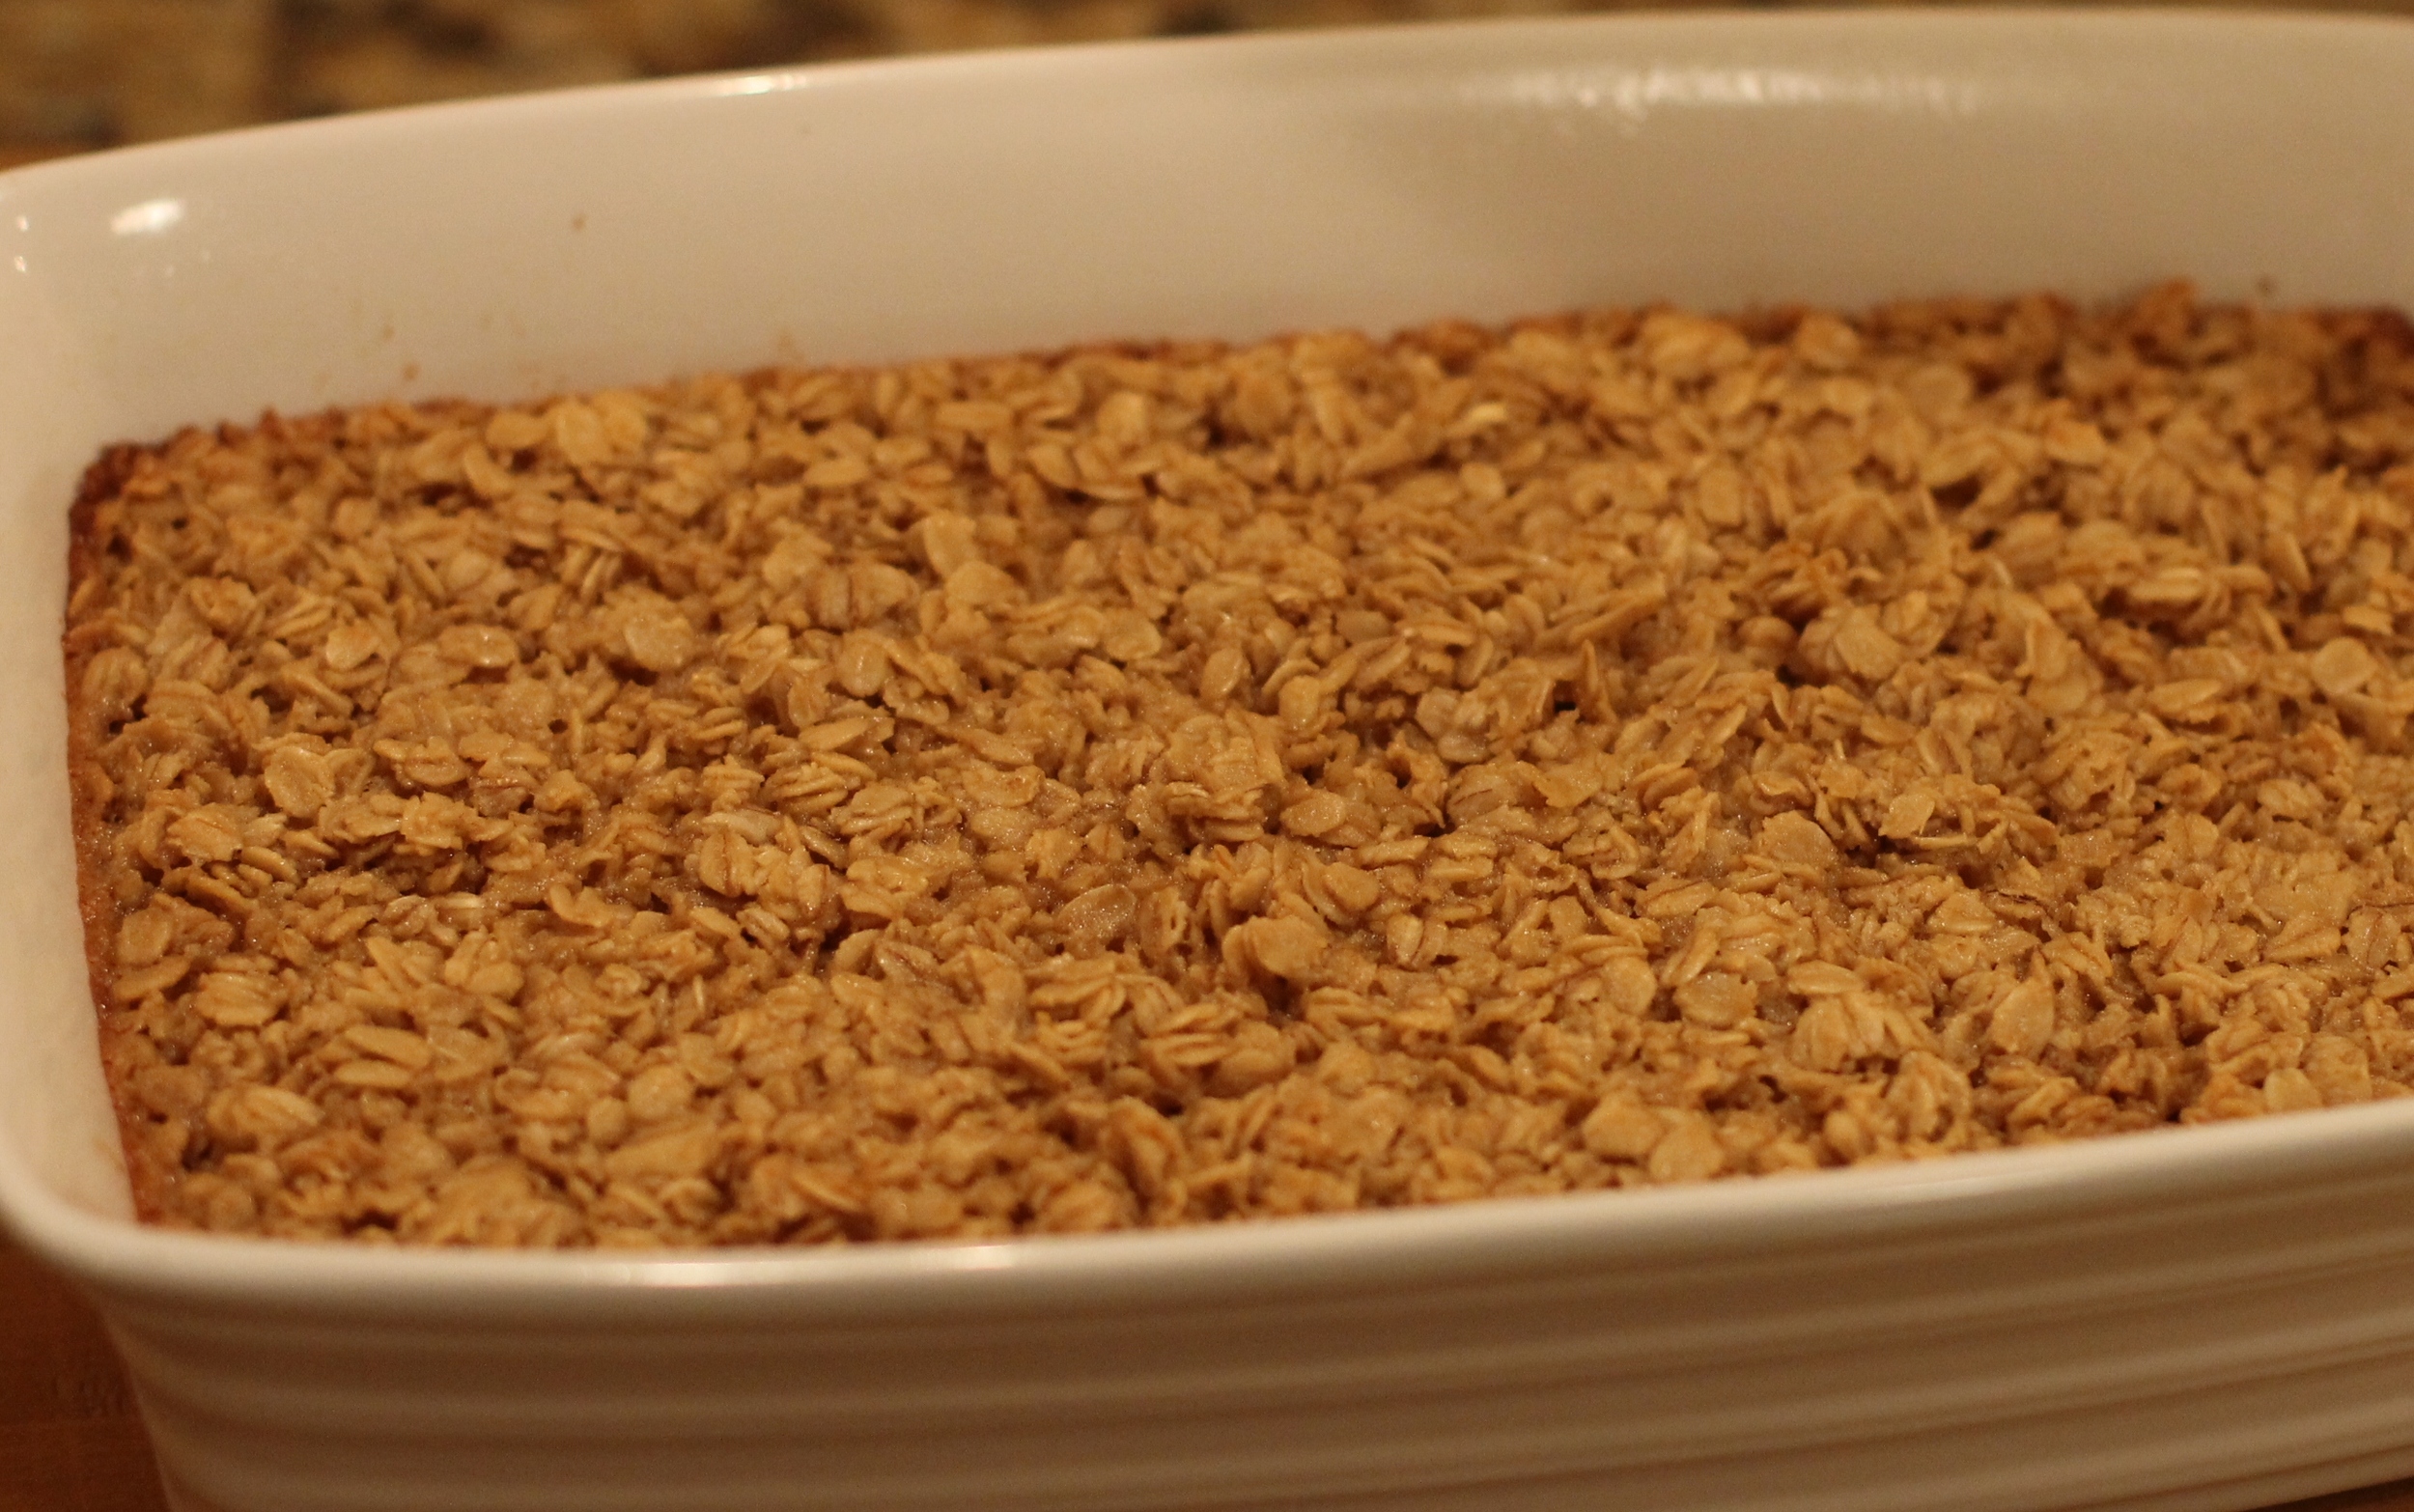
Bake for 30-35 minutes or until the top is light brown and oatmeal is set.

*serving suggestion ~ top with fresh fruit and almond milk


Photos by Leslie Reese


Lemon & Sugar

Lemon and sugar have always been two of my favorite things. I think it all started years ago when my sisters and I were kids and spent most of our summer days hanging out at the pool. The snack bar at the pool had packets of lemon sugar that they would serve with the iced tea. We didn't drink iced tea then but we loved the lemon sugar. There was nothing like it and we ate it right out of the pack! We always found a way to get the snack bar attendant or one of the lifeguards who coached our swim team to go and grab some for us. It was a simple thing, but it was our thing and those summer memories are some of the best! In honor of our lemon sugar days I’m sharing some fun ideas that make serving lemon and sugar a little more interesting!

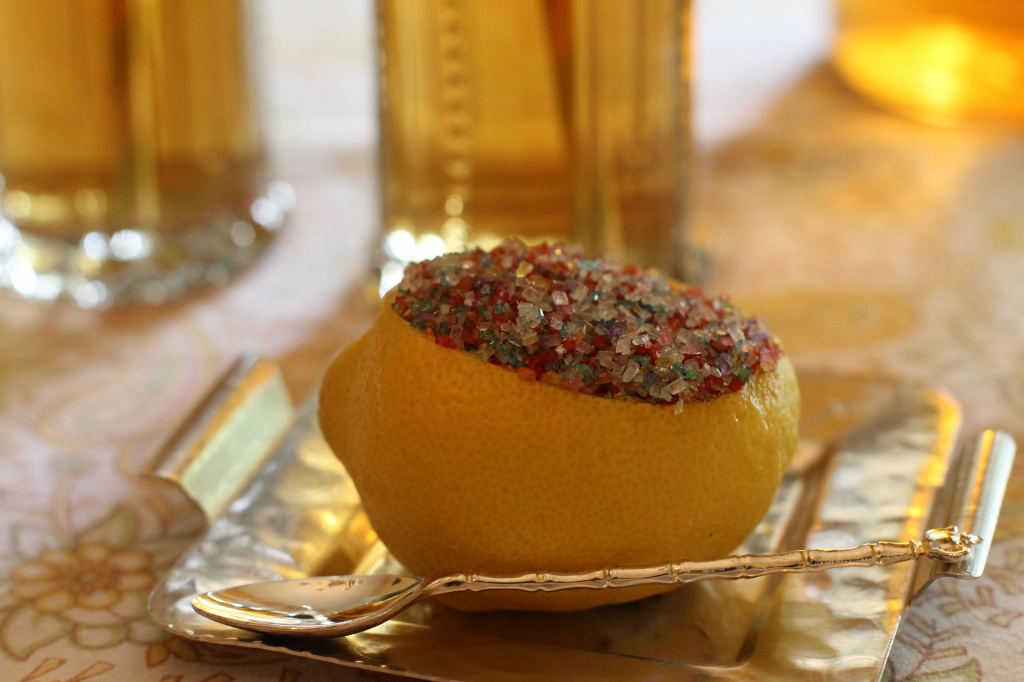
Slice off the top quarter of a lemon.  Hollow it out with a sharp knife or grapefruit spoon. Use a paper towel to soak up the extra lemon juice inside and dry the lemon. Discard the top.

Just before you are ready to set your table or serve your tea, fill the lemon with colored sugar. Place the filled lemon on a plate and add a small spoon for serving.

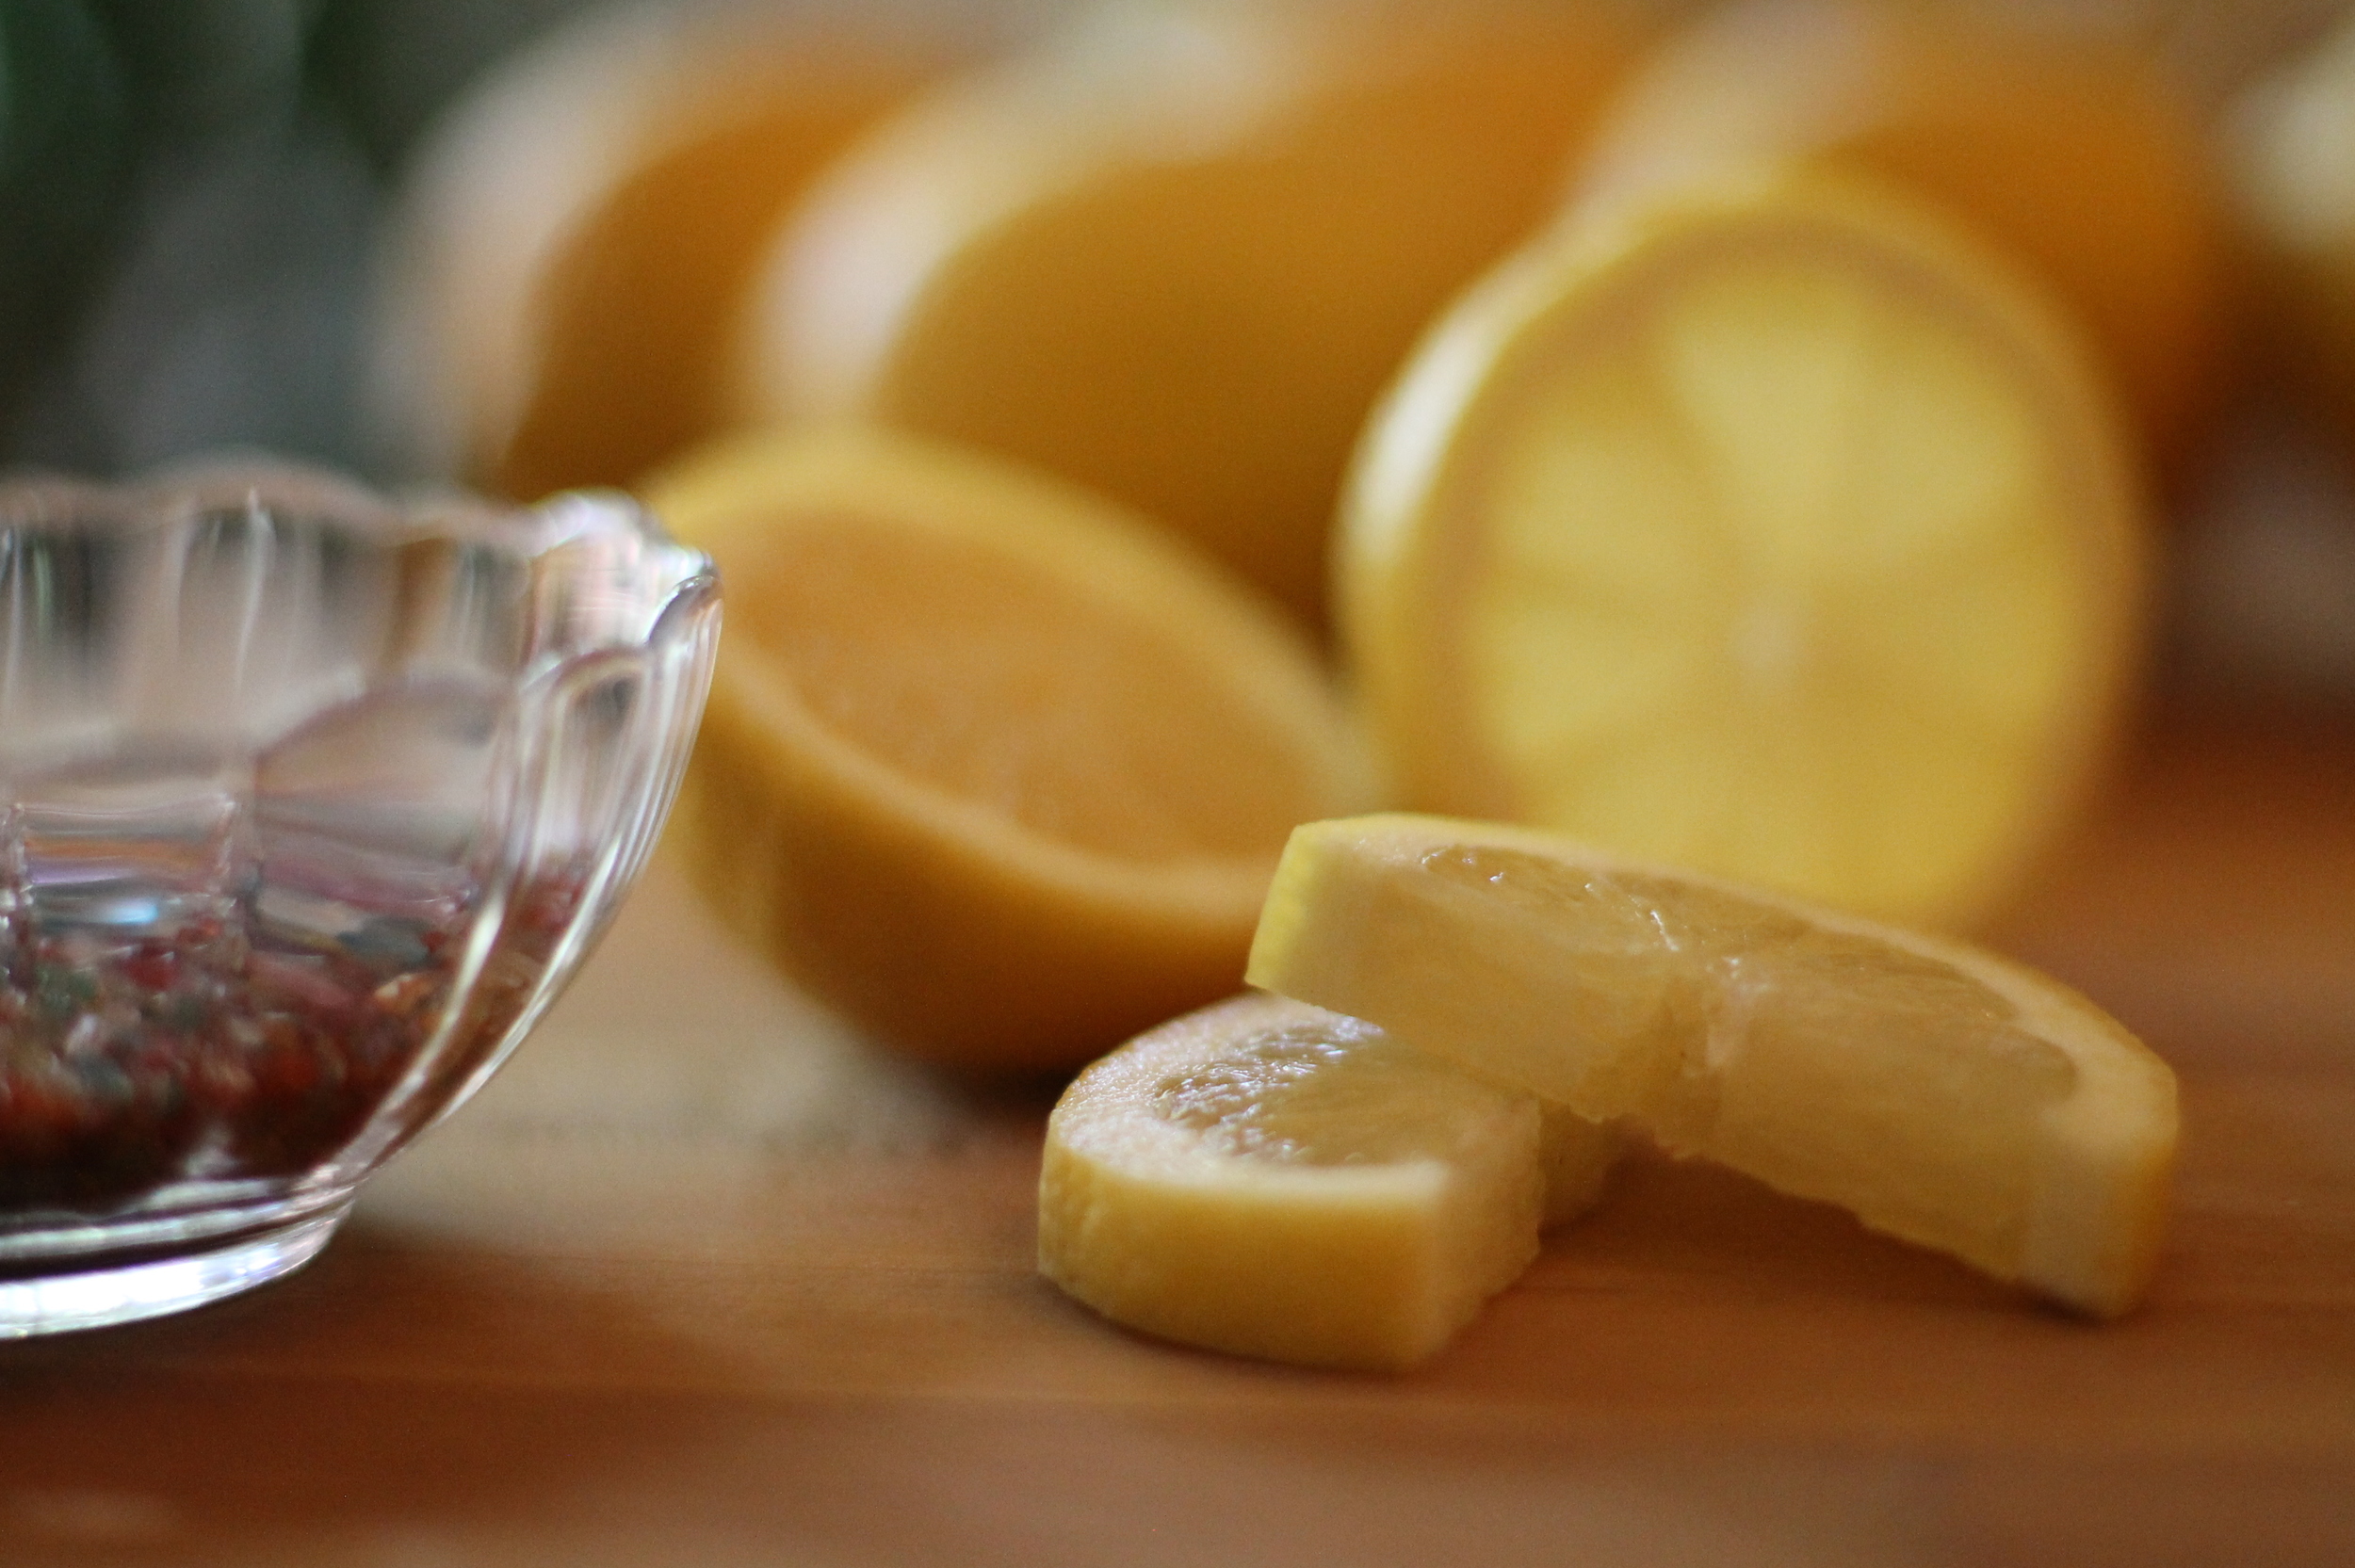
Another fun option is to make sugared lemon slices. Cut a lemon into wedges or slices, whichever you prefer. I typically like to use wedges when I’m serving drinks simply because a wedge is easier to squeeze than a slice. For the sake of looking pretty I used slices this time.

Blot the lemons on a paper towel so they are slightly dry. Dip the top edge of the lemon into colored sugar and place on a plate to serve.

 Now you can see how adding one little thing, like colored sugar, can make such a difference!


Photos by Leslie Reese