 When it comes to cooking and baking, we all head to the internet to search for great recipes. Some days, I literally have my computer on my kitchen counter so I can read a recipe while I’m baking. I have some great cookbooks and I love to use them, but they are not always the first place I go for a new recipe. So in a world where Food Network and Pinterest are the source for so many of our recipes, I thought it might be fun to bake a cake the old fashioned way, with a cookbook.
 This Betty Crocker’s Cookbook that I found deep in my cabinet is the first cookbook I ever owned. Originally published in 1978, this book was the New and Revised Edition that was printed in 1981. I loved flipping through it and was amazed at how much things have changed in 30 years. The photos are vintage and the recipes, classic.
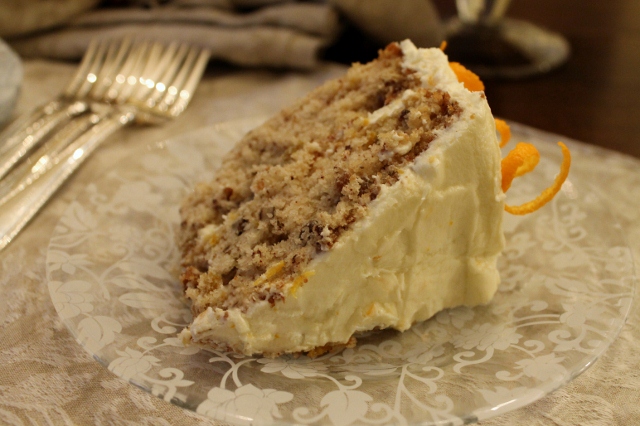
 I decided to make a Williamsburg Orange Cake. I baked this cake years ago for a bridal shower I was hosting. It's a moist, delicious cake that is similar to carrot cake but has a light orange flavor. It's a perfect fall dessert and something you don't see often, which is why I like it.
 Orange zest is the key ingredient in this recipe. Just a tablespoon gives the cake a wonderful, fresh flavor.
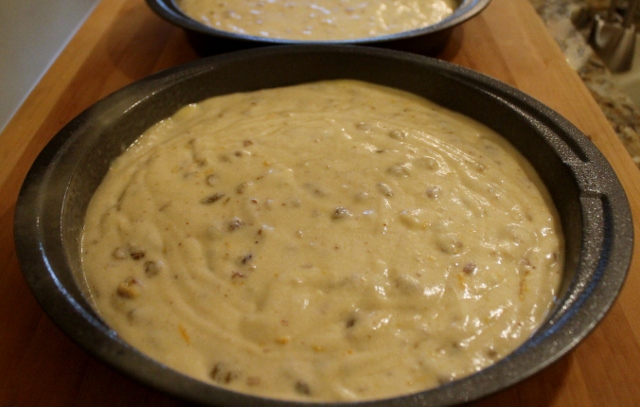 I was in the mood to make a layer cake so I used two 9" cake pans. My layers were not very tall. You could easily use three 8" cake pans for a taller stacked cake or a 13 x 9 pan if you want something that is quick to frost and easy to transport.
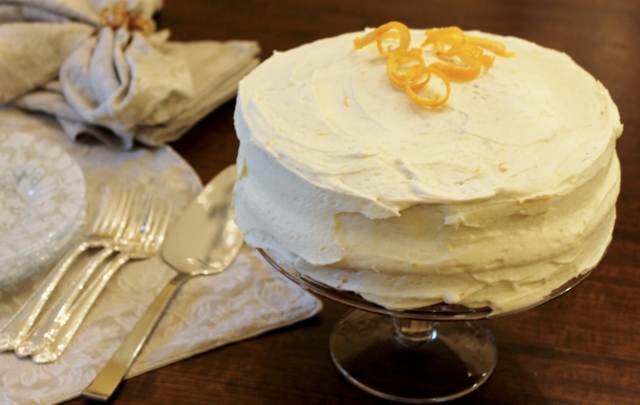
 The Williamsburg Frosting is a perfect topping for this cake. It's light and full of flavor with both orange juice and orange zest mixed in.
 I like to put my frosting in a decorating bag so I can control where it goes a little easier.
 I put a small dot of frosting on top of my cake stand to keep the layers from sliding.
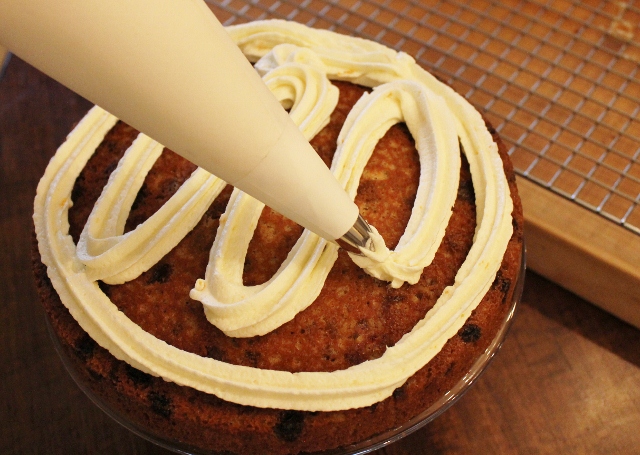 I alternate between the decorating bag and a spreader to frost the entire cake.
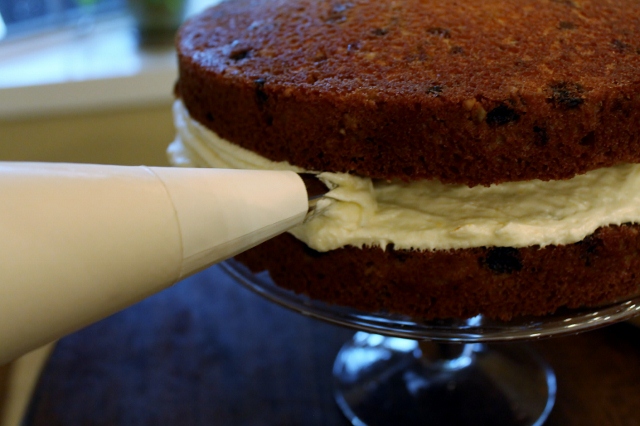 A quick frost all over and a few orange curls on top to finish the cake.
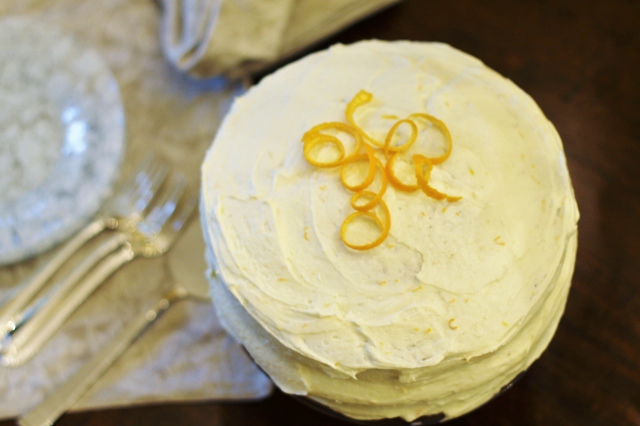 Amazing texture and flavor. Apparently some things never change...even 30 years later!
Leslie xo
- Cake
- 2 1/2 cups all-purpose flour
- 1 1/2 cups sugar
- 1 1/2 teaspoons baking soda
- 3/4 teaspoon salt
- 1 1/2 cups buttermilk
- 3/4 cup butter
- 3 large eggs
- 1 1/2 teaspoons vanilla
- 1 cup golden raisins, cut up
- 1/2 cup finely chopped nuts - I used pecans but you can use your favorite nuts
- 1 tablespoon grated orange peel
- Williamsburg Frosting
- 1/2 cup butter, softened
- 4 1/2 cups Confectioner's sugar
- 4 tablespoons orange juice
- 1 tablespoon grated orange peel
- Preheat oven to 350 degrees.
- Grease and flour a 13 x 9 pan or two 9 inch round cake pans.
- Beat butter, sugar and eggs until blended.
- Add buttermilk and vanilla. Mix until blended.
- Sift together flour, salt and baking soda. Add to sugar mixture and blend on low speed for 30 seconds. Beat on high speed 3 minutes, scraping bowl occasionally.
- Add raisins, nuts and orange peel and mix until combined.
- Pour into pans.
- Bake until wooden pick comes out clean, 13 x 9 pan - 40-45 minutes, layers - 30-35 minutes.
- Cool then frost with Williamsburg Frosting.
- Whip butter and powdered sugar together until fluffy.
- Add orange peel and slowly add orange juice until frosting reaches desired consistency.
- Refrigerate frosted cake.
