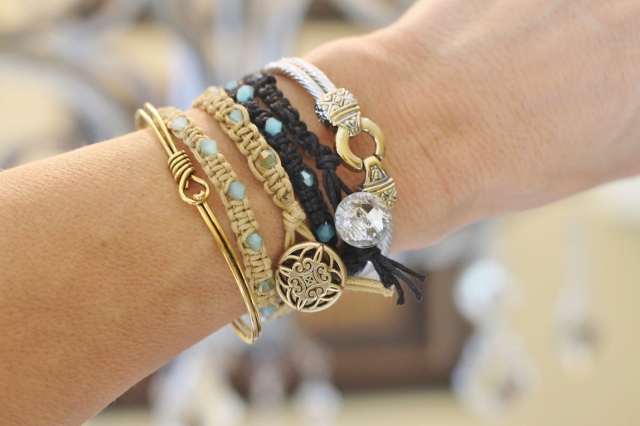
 For many of us, it would be very easy to complain about this long, cold winter that seems to be never ending. But, if you try to find the good, you might say one of the advantages to being stuck inside is having the opportunity to work on projects. Of course we have choices... organizing random things and cleaning out closets or dabbling in a little DIY. This week I chose DIY.
The other day I was in the mood to play around with some of my jewelry supplies. I wanted to do something simple that didn't take a lot of time so I decided to whip up a few bracelets, macrame style. And when I say, whip up, I mean it. Macrame is a simple project that anyone can do, including kids! Perfect for a rainy, or in my case, snowy day!
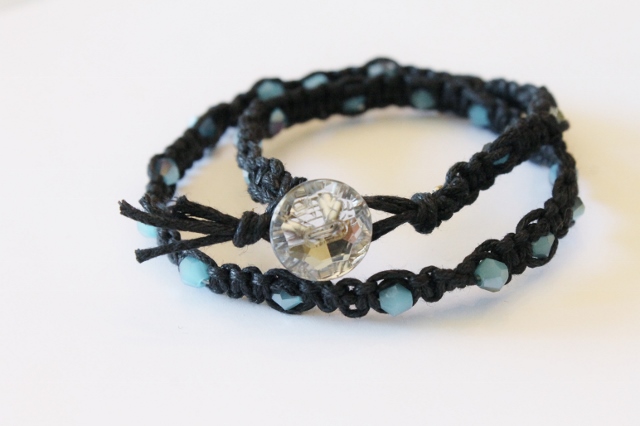 I love unique jewelry, especially bracelets that can be stacked together. This project is a very inexpensive way to add to your arm party! I don't really have a specific method for this because I just sat down and started playing but I'll give you a very simple overview of what I did.
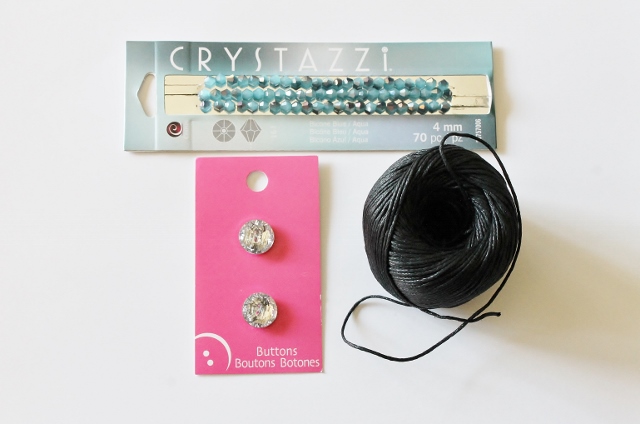 I started with just a few supplies: skinny waxed cotton cord, small crystal beads and some crystal buttons for the toggle clasp.
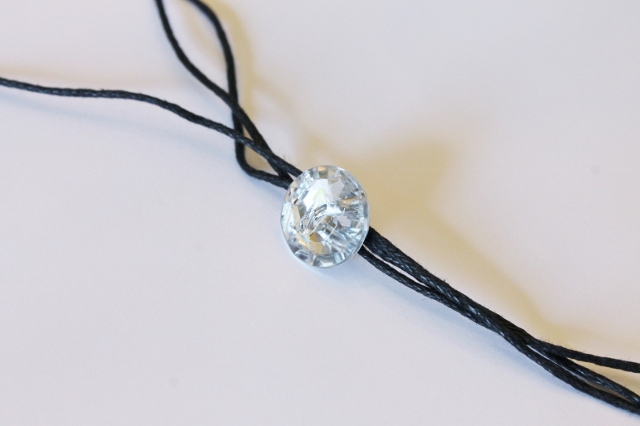 I threaded 4 very long strands of cord (more than double the length of the actual bracelet I was making) through the back of the button. The type of button I chose had a wire loop on the back which made threading easy. Standard buttons won't work.
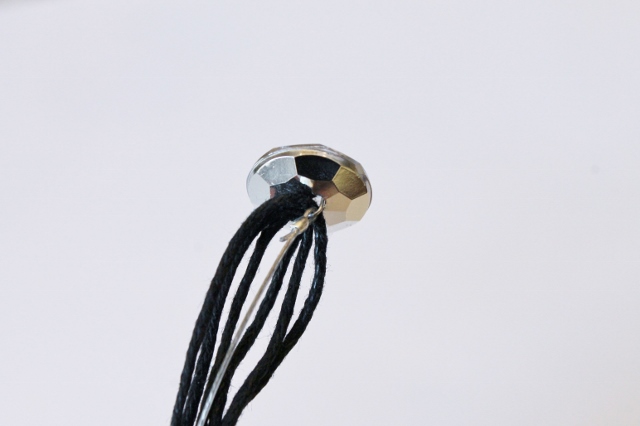 I wanted to use small beads that could not be strung onto this cord so I added a piece of jewelry wire to the button. To keep it simple use beads that are large enough to thread onto the cord.
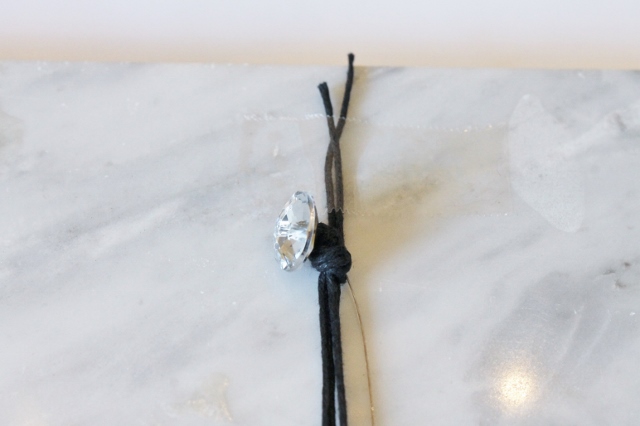
I tied a knot at the end of the cord right under the button. Instead of cutting the excess cord, I taped it to a work surface to make knotting and beading easier.
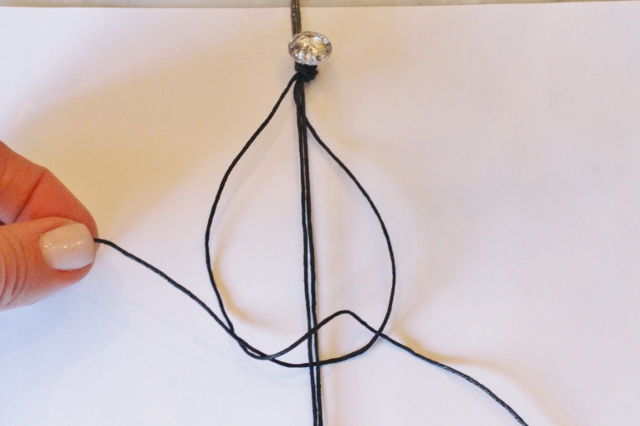 I began to tie square macrame knots alternately with the outside strands of cord. The middle strands stay stationary through the entire process.
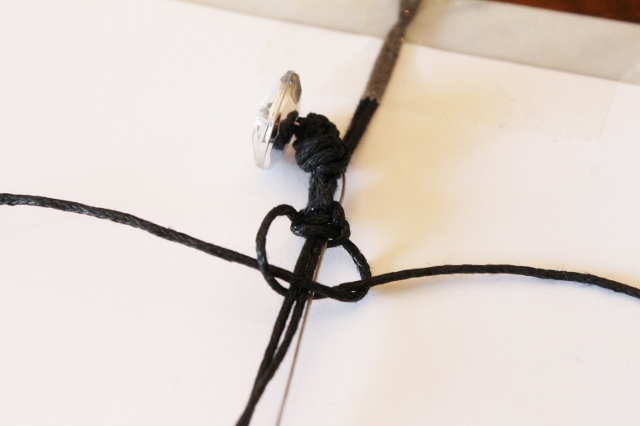
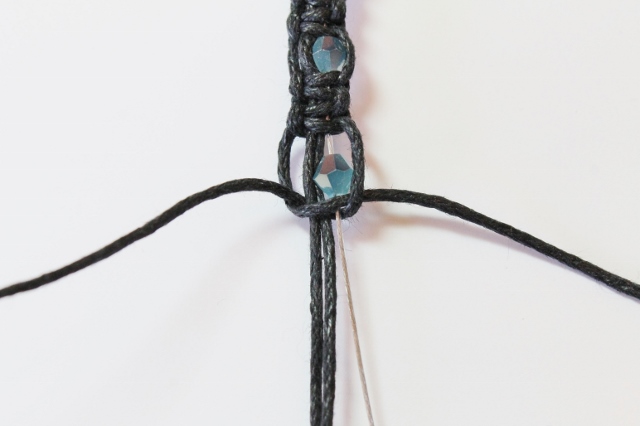 After several knots were tied I added a bead. I tied the next knot right around the bead. If you are not using jewelry wire you will thread your beads onto the middle strands of cord.
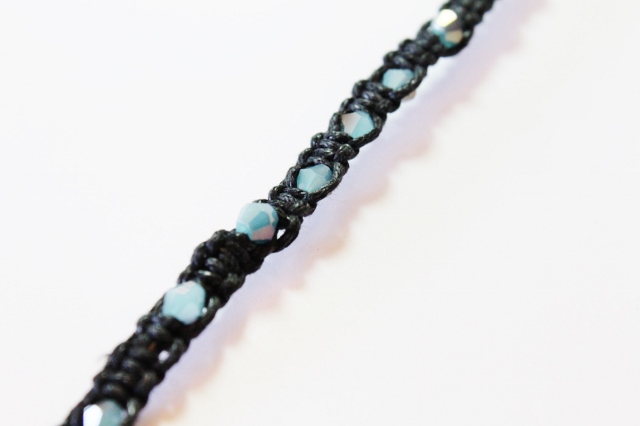 I didn't count knots or beads so there is no rhyme or reason to these particular bracelets. You can always make patterns and count knots if you prefer a more uniform look. I was going for a less structured piece.
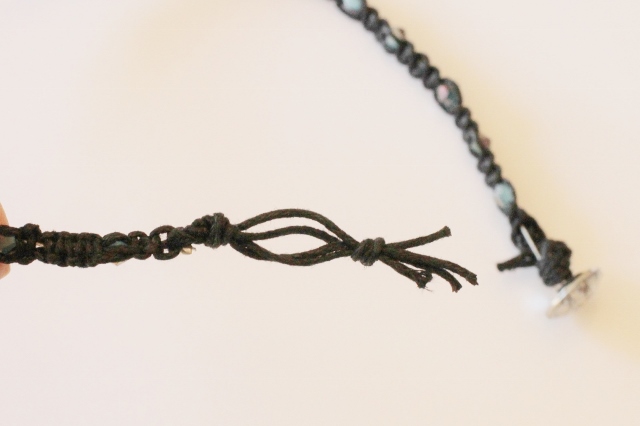 Once the bracelet was the length I wanted, I created a loop at the end of the cord that would fit over the button to close the bracelet.
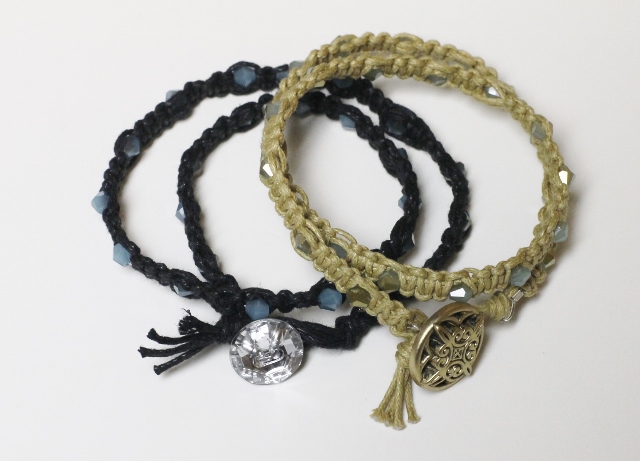
That's it! It really is easy but if you find these steps hard to follow and you need more help, you can find plenty of tutorials on Macrame on Pinterest or the internet! Try your own technique to make a more personalized piece. You really can't go wrong!
Have a wonderful weekend!
Leslie xo
