 I was recently flipping through the October issue of my Martha Stewart Living magazine and was intrigued with some of the DIY projects that were scattered throughout the pages. I decided it was time to put one of them to the test to see if it really was as simple to do as they make it look. I decided to try a dyeing project. It was a how-to on creating a blue streaked scarf using a Dip-Dye method. There were very few materials or steps involved so I figured it had to be easy. I was right and the result was beautiful. Here is what I did.
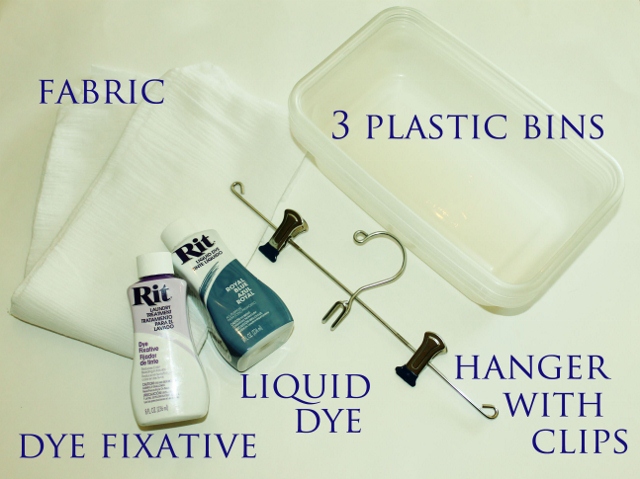
- Fabric ~ I used cotton gauze fabric that was 80 inches long and 40 inches wide. I cut it in half lengthwise and had enough for two scarves. I could have also used a white scarf.
- Liquid Dye ~ I used the color Royal Blue for this scarf
- Dye Fixative
- Clothes hanger with clips
- 3 plastic bins
- Iron
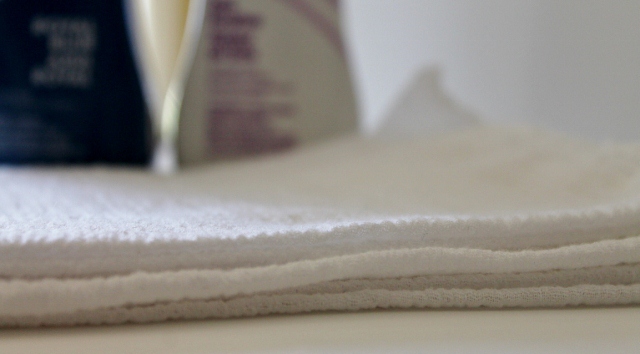 I folded my fabric accordion style and pressed it with an iron.
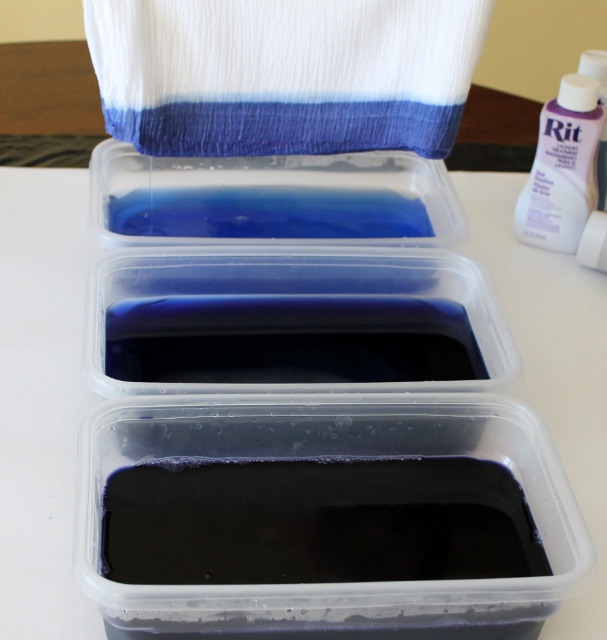
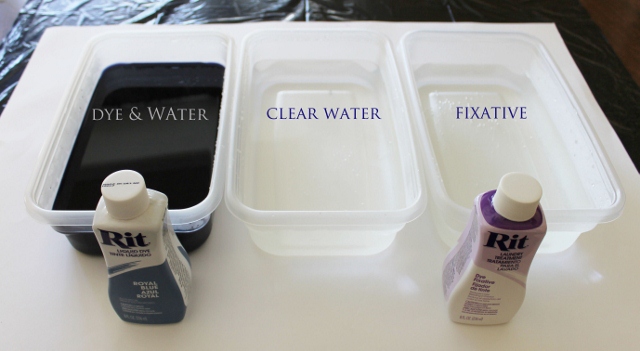 I mixed the dye according to package directions in the first bin. I put plain water in the second bin and I mixed the fixative according to package directions in the the third bin.
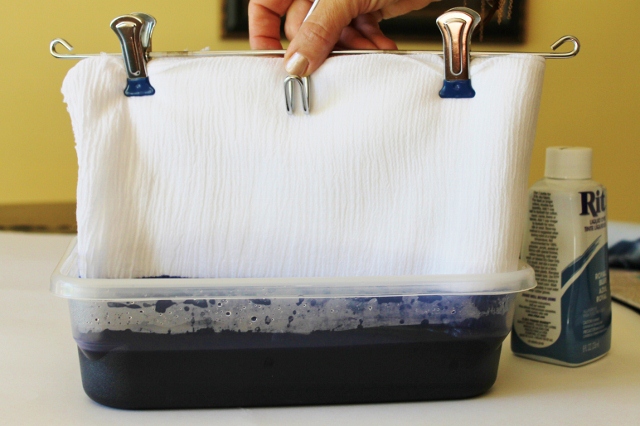 I folded the fabric in half width-wise and then clipped it to the hanger. I dipped the folded edge of the fabric into the first bin (the one with the dye).
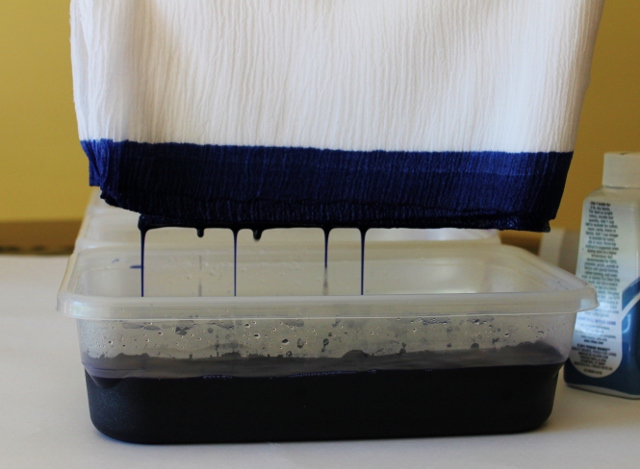 I waited for the majority of the liquid to drip into the bin before moving to the next one.
 Next I dipped the fabric into the second bin, which had plain water in it, to rinse the dye out. The dye quickly colored the water. When I put the fabric into the water past the dye line, the dye soaked up into the fabric resulting in a light blue top stripe. It wasn't intentional but I liked how it looked.
 Next, I dipped the fabric into the third bin. The fixative in the water sets the dye.
 When I was finished dyeing the fabric, it needed a place to dry. With gloves on, I carefully squeezed out the excess liquid. Then, I hung the clothes hanger right on the chandelier in my kitchen. It was hanging over the bin so it could drip and the table was covered with plastic and paper.
 It took about a day to dry. Once it was dry, I unfolded it and pressed it slightly.
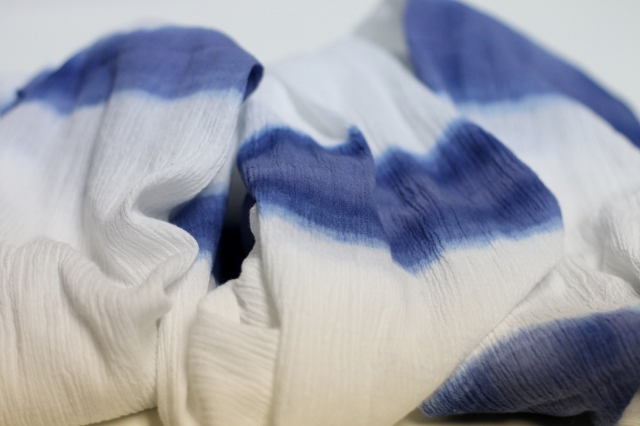 I love the idea of dip-dyeing. It was simple and fun. I guess those DIY projects are as easy as they look! If you want to check out the actual How-To on this project look in the October issue of Martha Stewart Living magazine or the browse the dyeing projects at Martha Stewart online.
Have fun!
Leslie xo
