

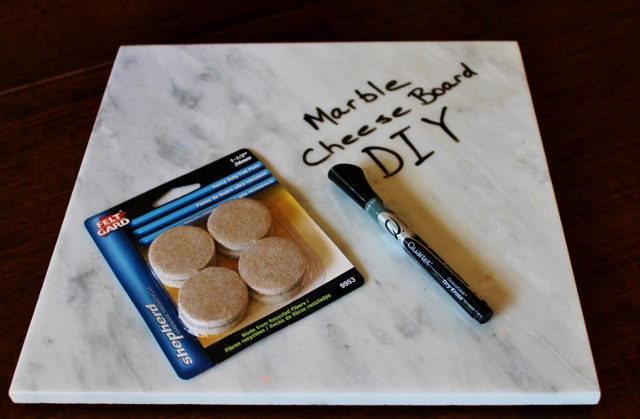
Marble Cheese Board DIY
 A couple of weeks ago I shared a simple cheese board idea with you. I used an old cutting board, covered it with brown paper and added some of my favorite foods. It was quick and easy and made a perfect happy hour display. Today I thought I would show you how you can make your own cheese board using a piece of marble tile. It's ridiculously easy to do and very inexpensive. I don't think I spent more than ten dollars on this project!
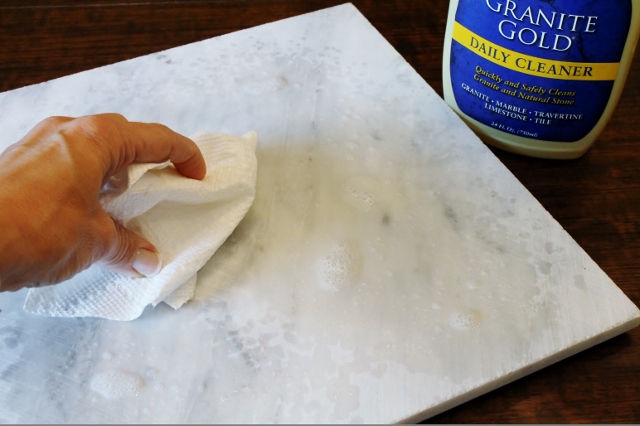 I went to Home Depot and picked up a 12 x 12 piece of white marble tile in the flooring department for $3.99. I cleaned both sides of the tile with a product I use on my granite kitchen counters. You can use soap and water or anything that is safe for marble. The point is to get all of the powder and dirt off of the tile before you use it.
 I also bought a pack of 1 1/2 " heavy duty felt pad circles with adhesive backs at Home Depot. They cost $2.67.
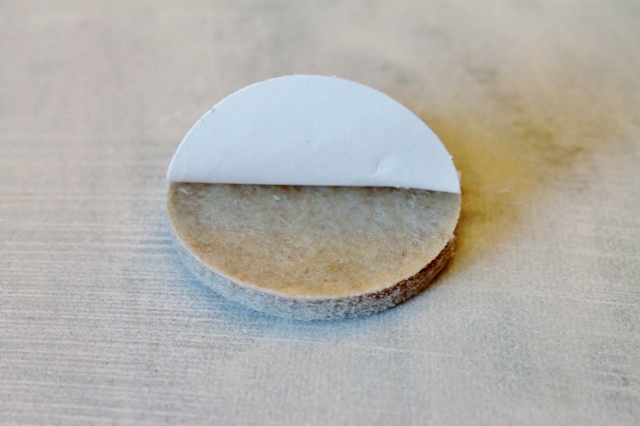
 Place a felt pad, sticky side down, in each corner, on the rough side of the tile.
 The felt pads will keep the tile from scratching tables and counters and will also give the tile a little lift so it's easier to pick up.
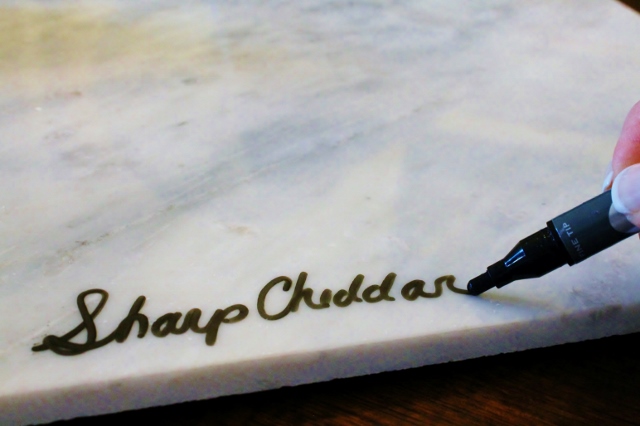 Flip the tile over and it's ready to use. Wipe it clean with a damp cloth or soap and water before you place any food on it. You can label your cheeses with a dry erase marker*. It will wipe right off when you are done! It's a little variation from the slate and chalk cheese boards that are so popular.
 That's it! You now have a marble cheese board to serve your cheese and crackers and it only cost a few dollars! I can't think of an easier way to make something so useful. I plan to pick up a few more tiles so I can use them for a larger party. I think it would be fun to place them at different levels on a table for an eye catching appetizer display.
Have fun!
Leslie xo
*Please keep in mind that the tile used in this DIY is a simple marble floor tile. Marble is porous and I cannot guarantee that the dry erase marker will not stain any area of the tile. Test a small spot first before proceeding. I had no trouble with my tile staining. I wrote on it and erased repeatedly. Do not submerge tile in water once the felt pads are secured to the tile. Clean surface with soap and water.
DIY Metallic Confetti Bowl
 While recently browsing through Pinterest, I found a fun DIY project for an interesting little bowl made out of colored confetti. I wanted to try it but I thought it might be fun to do something a little bit different. I wanted to make a silver bowl so I decided to use metallic confetti instead. It turned out really cool and I learned a few things in the process. I'll show you what I did.
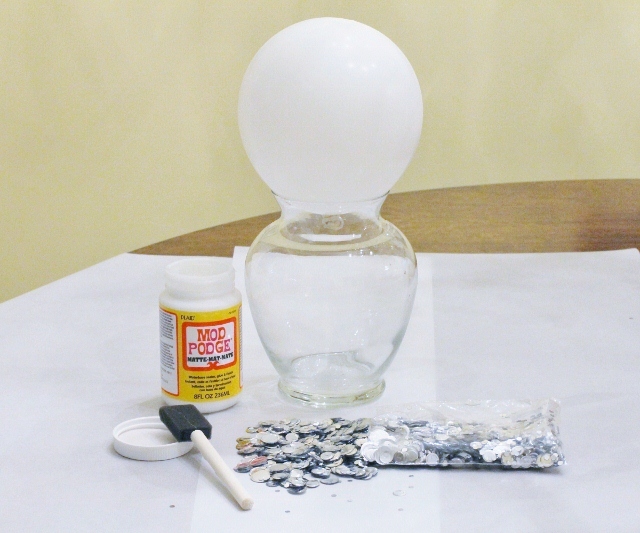 You only need a few things to make this bowl: a balloon, confetti, a sponge or paint brush, a container of Mod Podge (you can get this at your local craft store), and a vase or something to set the balloon on while you work.
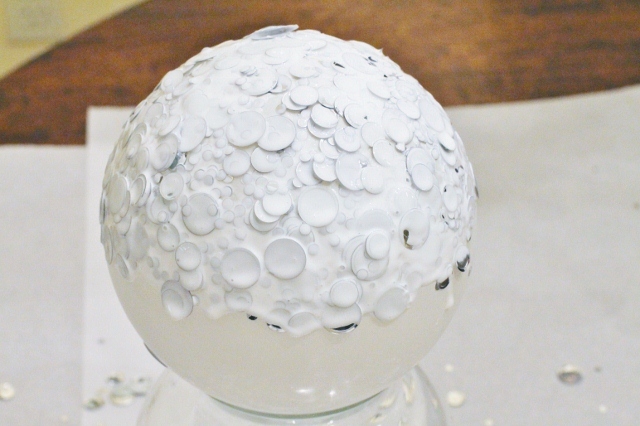
 Inflate the balloon and set it on the vase. Paint a layer of Mod Podge over the bottom half or third of the balloon (whatever size you want your bowl to be).
 Sprinkle confetti over the balloon.
 I found it easier to hold onto the balloon when covering the sides with confetti.
 Once the balloon is covered, let it dry long enough for the first layer to stick, about an hour. Cover it with another layer of Mod Podge.
 Sprinkle with another layer of confetti.
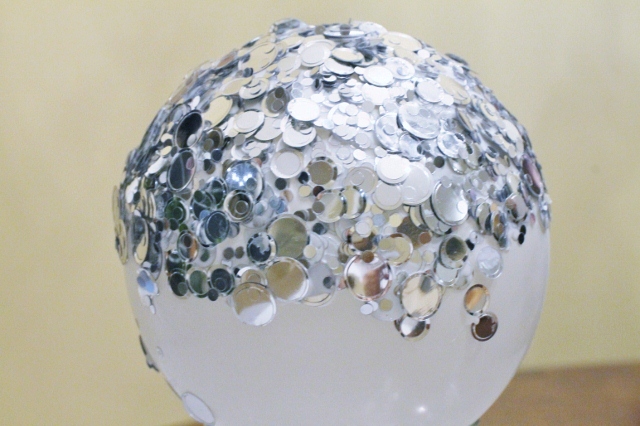 You will need a couple layers of confetti to make the bowl sturdy enough to keep it's shape. I made this bowl with two layers.
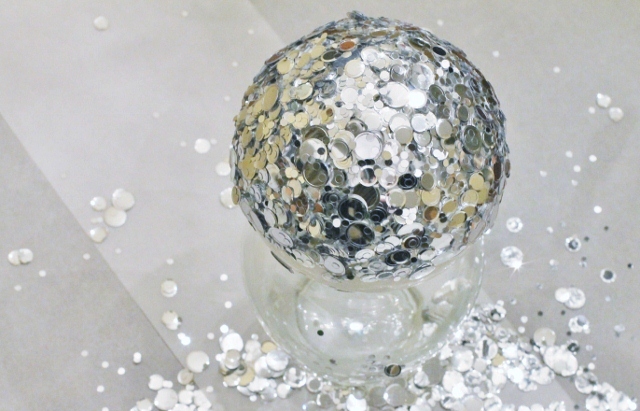 Set the balloon on the vase and let it dry overnight.
 The next morning, I noticed that my bowl had an odd shape to it. What I realized was the metallic confetti does not breathe the way paper confetti does. That caused the balloon to buckle a bit.
 I popped the balloon and removed it from the confetti. The bowl was actually a decent shape. I loved how it looked sort of artsy and wavy.
 The inside of the bowl was still wet because the Mod Podge did not dry completely overnight but the bowl felt sturdy.
 I trimmed the edges to clean it up.
 I painted a layer of Mod Podge inside the bowl to reinforce it and keep it from coming apart on the inside. I let it dry completely before filling it with colorful chocolate candies.**see note below
 I love this little metallic bowl because it's unique and makes a great conversation piece. It was an interesting project that got my creative juices flowing, giving me some other fun ideas in the process. I can't wait to get busy on the next one!
Have a great week!
Leslie xo
**Please note: Mod Podge is non-toxic but has not gone through FDA approvals to be considered food safe so if you decide to add something edible to your confetti bowl, like I did, you might want to place another bowl inside of it first before filling.
DIY Jewelry Stand
 When I was designing jewelry, I loved coming up with fun and unique ways to display it. I always felt like it was more interesting to look at when it wasn't all lined up in a box. I feel the same way about my own jewelry. I have a beautiful jewelry box where I keep good pieces of jewelry that need special care but I like to keep my fun costume jewelry on hand so I can grab what I want to wear quickly. Years ago I made my own displays using large wooden frames and wire mesh. I have simplified those displays to create a smaller version to put on my dresser. It's so simple and inexpensive to make, I thought I’d share how I did it.
You can pick up what you need at your local craft store. I don't think I spent more than $15 on this project.
Supplies:
- wooden frame ~ I bought small wooden frames at Michael's for a dollar.
- spray paint ~ I used a can of Krylon Short Cuts paint. It's a small can for only $3.29.
- wire mesh or screen ~ I had extra screen left over from a window screen repair. You can buy either at a home improvement store.
- black wooden picture easel ~ $4.99
- stapler
- scissors
- decorative gems ( optional ) ~ I found crystal buttons in my jewelry box so I used them as embellishments.
 Cover your work area (in a well ventilated room) with newspaper. I painted in my garage.
 Spray your frame with paint according to the directions on the can and let it dry.
 Once the paint is dry you can begin to assemble the jewelry stand.
 Carefully cut the wire mesh to fit the inside of the frame. You will want the mesh to be a little larger than the inside of the frame but not so large it sticks out past the edge. You will be attaching the mesh to the back of the frame.
 Carefully staple the mesh along the inside edge on the backside of the frame, keeping the staples about an inch apart.
 When you flip the frame over, it should look like this.
 If you want to decorate your frame, use hot glue or tacky glue to adhere gems to the frame.
 I hot glued crystal buttons to the sides of my frame.
 Place the frame on the easel and fill it with jewelry. I put a plain silver ring (used to make earrings) through the mesh so I could also hang my hoop earrings.
 Try personalizing your jewelry stand by using different sized frames, painting them different colors or using different easels. A jewelry stand with a pair of earrings attached makes a great gift!
Have fun!
Leslie xo
Simple Dessert Bar
") This past weekend I had the opportunity to help my daughter, Elizabeth, host a bridal shower in our home for her best friend, Brittany. It was an intimate party with a simple but elegant theme. We decided to make use of the space we had and created a dessert bar right on the window sill in our dining room. The result was a pretty display that was easy to put together, out of the way and fun for the guests. We made it completely self-serve and included a selection of miniature desserts so that we could offer a nice variety without going overboard since this was a small party.
This past weekend I had the opportunity to help my daughter, Elizabeth, host a bridal shower in our home for her best friend, Brittany. It was an intimate party with a simple but elegant theme. We decided to make use of the space we had and created a dessert bar right on the window sill in our dining room. The result was a pretty display that was easy to put together, out of the way and fun for the guests. We made it completely self-serve and included a selection of miniature desserts so that we could offer a nice variety without going overboard since this was a small party.
The decorations were simple as well. Elizabeth made three large flowers out of white tissue paper and we placed them on top of apothecary jars that had the lids removed. Very inexpensive! The desserts were placed on two of the dessert stands that we made ourselves and a glass cake plate. Napkins, plates and a serving spatula were placed around the stands. The guests loved the display and were able to mingle with their dessert and coffee in a relaxed atmosphere. I love how something so simple can feel so elegant.
 These Apple Pie Bites were adapted from a recipe that Elizabeth found on Pinterest. Not only were they adorable, they were delicious! Perfect for a dessert bar!
 Brownie Pops. Probably the easiest dessert you could ever make! Elizabeth and Brittany share a love for Ghirardelli brownies so it was only fitting that they were part of this display. We stepped them up a notch by cutting them into petite squares and adding a stick!
 These Cheesecake Pops were a hit and quite literally addictive! Made with a frozen cheesecake from Costco and dipped into melted chocolate, they couldn't have been easier to put together.
 Celebrating should be fun, not complicated! Here are the recipes we chose for our Simple Dessert Bar.
Enjoy!
Leslie xo
- Apple Pies
- 1/2 cup sugar
- 2 teaspoons cinnamon
- 1 package refrigerated pie crust
- 3 tablespoons melted butter, divided
- 2 medium tart apples cut into wedges
- Glaze
- 1- 1 lb box of Confectioner's sugar
- 1/3 cup butter softened
- 1/4 cup milk
- 1 teaspoon vanilla
- Preheat oven to 425 degrees.
- Combine sugar and cinnamon in a small bowl. Set aside 1 tablespoon.
- Unroll pie crust onto floured surface and brush with 2 tablespoons of melted butter. Sprinkle with remaining cinnamon sugar.
- Cut pie crust into 1 inch strips. Wrap one strip around one apple slice with the sugared side in. Continue with remaining dough and apples.
- Brush dough with melted butter and sprinkle with cinnamon sugar.
- Place apples on parchment lined baking sheet and bake for 15 minutes or until pastry is golden brown.
- Serve warm topped with glaze.
- Combine butter, milk and vanilla in a bowl. Slowly add Confectioner's sugar until all ingredients are well incorporated.
- Place glaze in a pastry bag fitted with a round decorating tip and pipe onto baked apples. You can also put your glaze in a plastic bag and cut the corner to pipe your icing.
- 1 box Ghirardelli Brownie mix
- Ingredients listed on box
- White lollipop or cake pop sticks
- Bake brownies according to package directions using a square 8x8 or 9x9 pan.
- Set aside to cool.
- Once brownies are cool, cut into small 1 1/2 " squares.
- Place a stick into each brownie, pressing sides in slightly to hold if necessary.
What's nice about this recipe is that you can make as many cheesecake pops as you need. Servings will vary depending on the size of the cheesecake you start with and what size you make your pops.
- 1 frozen cheesecake
- 2-3 containers of Baker's Dipping Chocolate (milk chocolate, heat & dip)
- White lollipop or cake pop sticks
- Remove cheesecake from freezer and let it sit for a few minutes until it is soft enough to work with but not completely thawed.
- Using a small cookie scoop, scoop cheesecake and roll into balls. Place on a parchment lined cookie sheet.
- Insert a stick into each cheesecake ball. Place tray in freezer for at least an hour or until firm.
- When you are ready to dip the cheesecake, melt chocolate according to package directions.
- One at a time, dip balls into chocolate, tapping gently to remove excess and place back on cookie sheet.
- Place pops in refrigerator until ready to serve.
Photos by Leslie Reese
Here's what's coming up...
You can put any content in here.