Back to School Snack Pops

Summer is coming to an end and that can only mean one thing - school is back in session! We all know how bittersweet this time of year can be but instead of trying desperately to hang onto summer why not jump into fall and make a party out of it? After all, it’s all of the little things that add up to make great memories so why not kick off the school season with a celebration. I've got the perfect place for you to start!

As you may know, I am a contributor for a wonderful online dessert magazine, Best Friends For Frosting , where we aim to inform, excite and inspire you with all things dessert. Well, Best Friends for Frosting and Sprinkles & Grins, the online destination for Signature Brands, LLC., maker of dessert decorating products including Betty Crocker and Cake Mate frostings, icings, candles, sprinkles, and more, have officially teamed up on a back to school themed website promotion and contest – Back to School Bake-off. This awesome new website will feature recipe and party ideas contributed by an exclusive group of creative bloggers and professionals. I was thrilled to be asked to participate and I couldn't wait to get started! What’s really cool is that everyone can get involved! Not only will you find great ideas at Back to School Bake-off but there is an exciting recipe contest and you can win cool prize packs for participating! So head over to Back to School Bake-off and get your party started! I’ll see you there!

Back to School Snack Pops

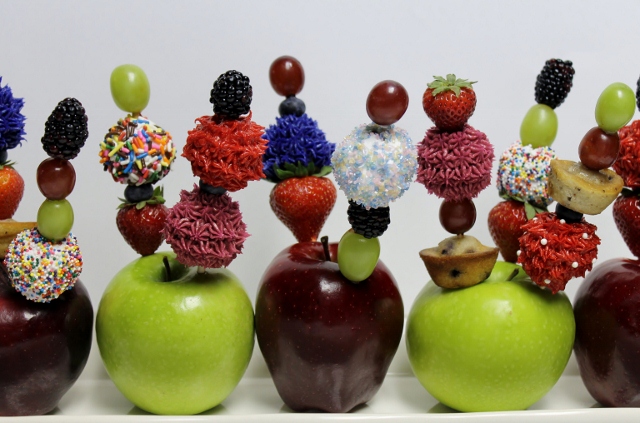
I love to bake but when my kids were heading back to school and things started getting hectic I was all for whipping up something "no bake". I created these fun Back to School Snack Pops for those of you who want something fun but easy. As far as I'm concerned, snacks don't have to be difficult to be amazing. Everything I used came from the grocery store. Sprinkles & Grins has some great products to make this easy!

Alternately slide small pieces of fruit, donut holes, mini muffins, etc. onto a 6" skewer. There are no rules. Use whatever you like. As long as it fits on the skewer, it works! And by all means if you want to bake, go right ahead, otherwise stick with prepackaged items.

Place a star tip onto a pouch of Decorating Icing. Cover your baked item with icing, sugar and/or sprinkles.  Be creative!

Once the pop is decorated, carefully push the skewer into the apple until it is secure. Place a small item such as a blueberry or grape on top of the skewer to finish the pop.  

Repeat the process placing 2 or 3 pops in each apple. Fill as many apples as you like. 

*Helpful Hint – Place skewers on top of apples and only slightly slanted. Placing skewers in the sides of the apples will cause the apples to topple over.

Head over to Back to School Bake-off to see my Back to School Snack Pops and other fun ideas!

Happy Fall!

Leslie xo

Back-to-School Snack Pops
Recipe Type: Dessert/Snack
Author: Leslie Reese
A fun and easy snack idea that is a great activity for parents and kids!
Ingredients
  • Assorted miniature baked goods – donut holes, cake pops, mini muffins
  • Assorted small fruit items – red and green grapes, blueberries, blackberries, strawberries
  • Cake Mate and Betty Crocker Decorating Icings in a variety of colors
  • Assorted decorating items – nonpareils, sugars, sprinkles
  • Wooden skewers
  • Apples for displaying Snack Pops
Instructions
  1. Place baked items and fruit in separate bowls to prepare for assembly.
  2. Arrange apples on a serving dish or platter.
  3. Working with one skewer at a time, begin alternately sliding fruit and baked goods onto the skewer. Leave about a 1 ½ to 2 inches at the bottom so the skewer can be pushed into the apple. You will also need to leave enough room on the top of the skewer so you can hold onto it.
  4. Place a star tip onto a pouch of Decorating Icing. Cover your baked item with icing, sugar and/or sprinkles. Be creative!
  5. Once the pop is decorated, carefully push the skewer into the apple until it is secure. Place a small item such as a blueberry or grape on top of the skewer to finish the pop.
  6. Repeat the process placing 2 or 3 pops in each apple. Fill as many apples as you like.
Notes

*Helpful Hint – Place skewers on top of apples and only slightly slanted. Placing skewers in the sides of the apples will cause the apples to topple over.
 

Summer Fun ~ Simple Jewelry Making Tutorial

I consider myself a creative person. Always thinking, always creating and constantly looking for unique ways to do things. About ten years ago, on a rainy day, I took my daughter Lynsie and her friend to a bead store at the beach to make jewelry. I was hooked and fell in love with the idea of designing unique pieces of jewelry. I ended up starting a small business the following year. I sold the jewelry I designed at local events and eventually to retail stores and an online boutique. I am doing much less designing these days, just special orders and events, but I love to sit down and create a unique piece of jewelry for myself or my daughters once in a while, just for fun.

For this post I thought I'd show you how easy it is to create your own jewelry. I put together a step-by-step guide with video tutorials to help you. Once you have the basics down, the possibilities are endless. It's a fun thing to do with your kids or girlfriends too. So let’s grab some supplies and get started!

*All of the supplies that are listed here can be found at most craft stores like Michaels or purchased online at sites like Auntie's Beads.

BEADS

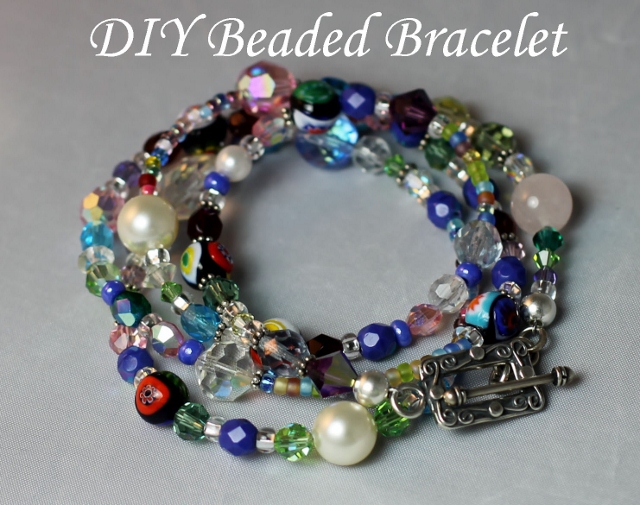
You can go to any craft store to buy beads. When I am designing a piece of jewelry I will use anything from high quality sterling silver and crystal to beads from broken jewelry, antique stores, etc. So feel free to use whatever you like, it's your bracelet! This bracelet does not have a pattern so any color and shape will do. Try to choose beads that are not too big. Since this will be one long strand you want to keep it light so smaller beads are better. Mine range from tiny seed beads to 10 mm pearls and crystals.

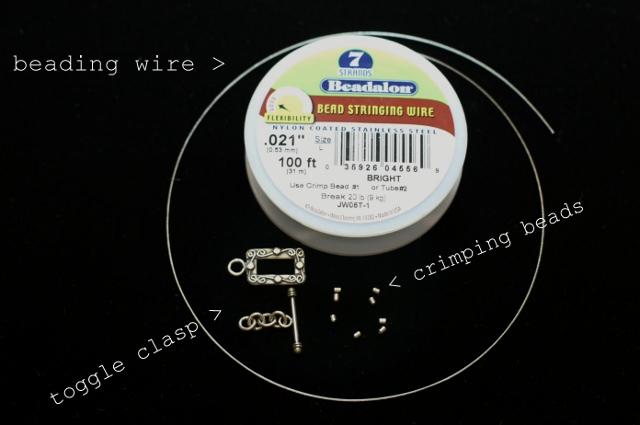
BEADING WIRE ~ TOGGLE CLASP ~ CRIMPING BEADS

beading wire ~ you will want to use a flexible beading wire that is not too heavy. I used a .021 inch diameter, 7 strand beading wire from Beadalon. *The color is listed as "bright" or "clear" but it's actually silver wire.

toggle clasp ~ a toggle clasp comes in two pieces and lots of different shapes and sizes. Toggle clasps are much more interesting than a regular clasp and they make taking your bracelet on and off easier. Use whatever fits your style.

crimping beads ~ crimping or crimp beads are used to secure the wire on the ends of the bracelet. I used 2x2mm sterling silver crimping beads.

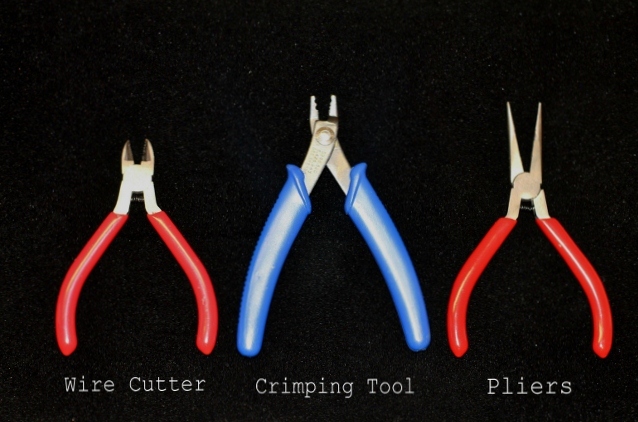
TOOLS 

wire cutter ~ wire or end cutter

crimping tool ~ this tool secures the crimping bead to the wire to close the end of your bracelet (a must have for making jewelry)

pliers ~ flat nose pliers to hold or pull your wire

Now that you have your supplies you are ready to start creating! Place your beads on a jewelry mat or towel to keep them from rolling around while you work.

Step 1: Start stringing your beads one at a time onto the beading wire while the wire is still attached to the spool. Feel free to design your bracelet to fit your style. If you want to make a pattern it's a good idea to arrange the beads on your mat before you string them. I like to just grab and string my beads in no particular order for a look that is unique.

http://www.youtube.com/watch?v=LO7s4uOs1fE

Step 2: This is where you will need to decide how many times you want your bracelet to wrap around your wrist. Measure your wrist. Take the measurement of your wrist and add an inch. Multiply that number by the number of times you want the bracelet to go around your wrist.  Example: 6" (my wrist) + 1" = 7"  X 4 (number of times I want the bracelet to wrap around) = 28" (the total length of my beaded wire). String your beads until the strand is that long.

http://www.youtube.com/watch?v=WLp1dx_Qg1A&feature=player_detailpage

Step 3: Now that you are finished stringing your beads you are ready to close the ends of the wire. You will start with the end of the wire that is not attached to the spool. Slide a crimping bead onto the wire. Next slide one end of your clasp onto the wire. Take the end of the wire and go back through the crimping bead. Use your pliers to pull the wire close to the clasp. Use your crimping tool to pinch the crimping bead closed. Cut the excess wire. You are almost finished!

http://www.youtube.com/watch?v=8mJXgGeCTEk&feature=player_embedded#t=0s

~ Before you finish your bracelet it's a good idea to do a size check. Hold onto the unfinished end of your strand of beads and wrap it around your wrist to see how it will fit. Keep in mind that your toggle clasp will add about 1/2 " or so depending on its size. If it fits , move to step 4. If you think it's too long, move to step 4 and remove a few beads once the wire is cut. If it's too short, move to step 4 but allow for extra wire so you can add some beads before finishing the bracelet.

Step 4: Grab the end of the beaded wire without the clasp and cut it from the spool making sure to leave at LEAST 6" to work with. Push the beads down to the closed end so there are no gaps between the beads. Slide a crimping bead onto the wire. Slide the other half of your toggle clasp on next. Take the end of your wire and go back through the crimping bead  *(Ok this is where I make a mistake! In the video I say toggle when I meant crimp. You will see what I mean but you will get it because you already did it. Trust me, it was not worth remaking the video but it is worth pointing out). Working with your pliers, pull your wire tight against the end of the toggle clasp making sure the beads are lined up nicely and there are no gaps in the wire. Use your crimping tool to secure the end of the wire. Cut the excess wire with your cutting tool. Congratulations! You have just completed your wrap bracelet!

http://www.youtube.com/watch?v=5uhSVrvsluM&feature=player_detailpage

Wasn't that easy? I hope you enjoyed the video tutorials! I would love your feedback since this was my first attempt at using them. It was quite a process to figure it all out (I won't even tell you how hard my daughters and I laughed at my voice when we watched them) but I think it will be fun to bring you a variety of posts that include them. I think it makes it more personal. And speaking of personal, I plan to introduce myself to you as soon as I can do it without laughing! I want you to get to know me and I want to know you! As always, I would love to hear from you!

Happy Beading, Happy Summer!

Leslie


DIY Cupcake Liners

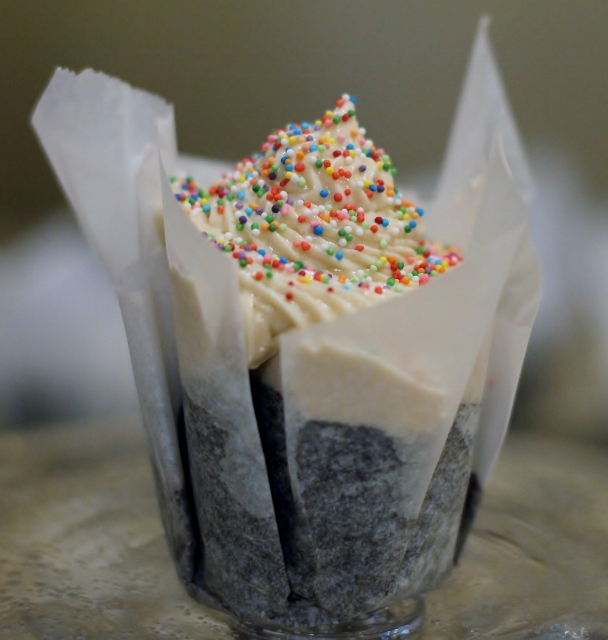
Last fall I entered a local cupcake contest. I love to bake so I thought it would be fun, and anything that allows me to be creative and do my own thing is something I am interested in! I didn't win but it was a great experience and I definitely learned a few things. In an effort to make my cupcakes stand out and look unique I decided to create my own cupcake liners. There are a lot of pretty ones out there but I wanted something different. I decided to use parchment paper and as you can see the result was beautiful. It was so simple to do and it looked great so I thought I would make them again and show you how to do it.

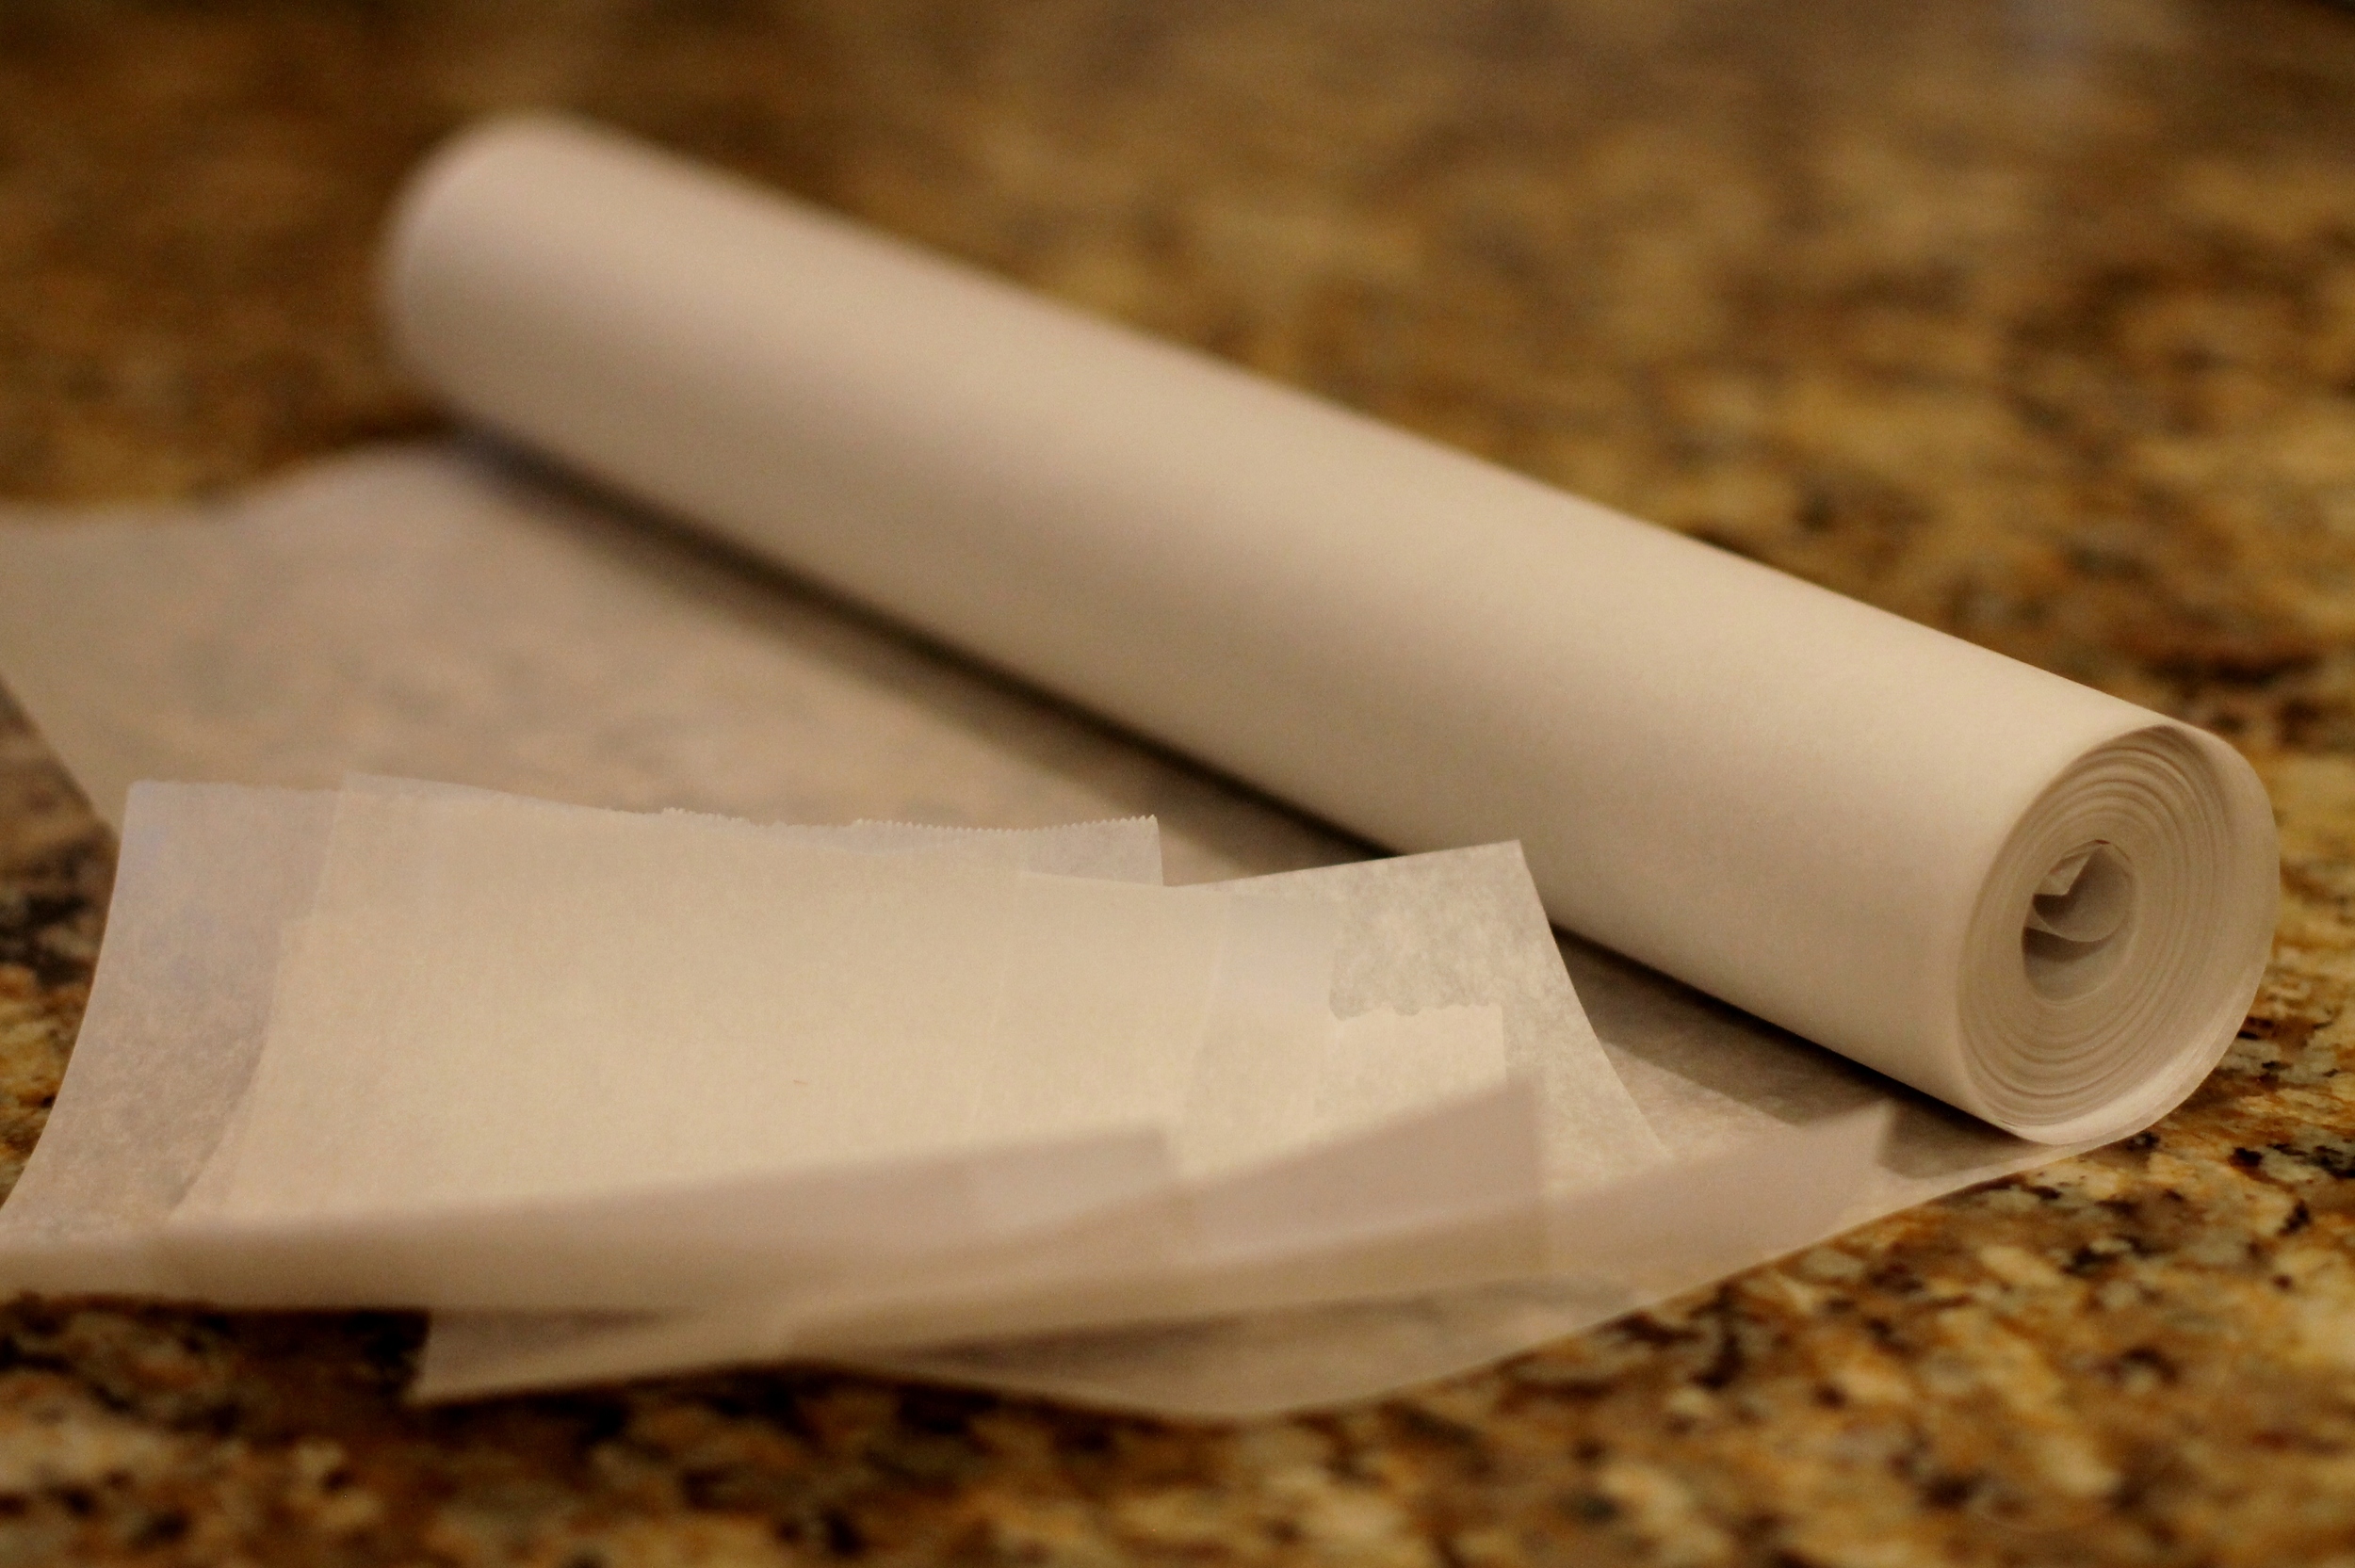
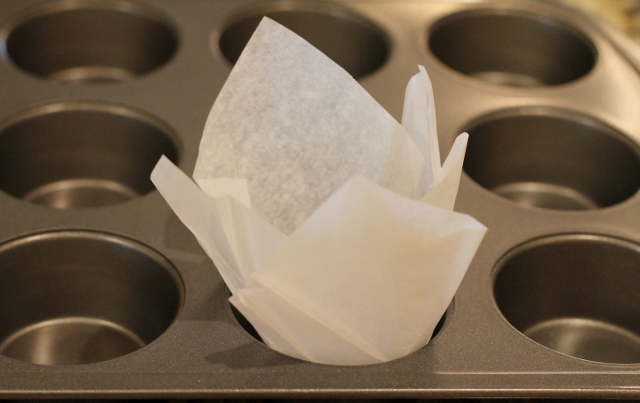
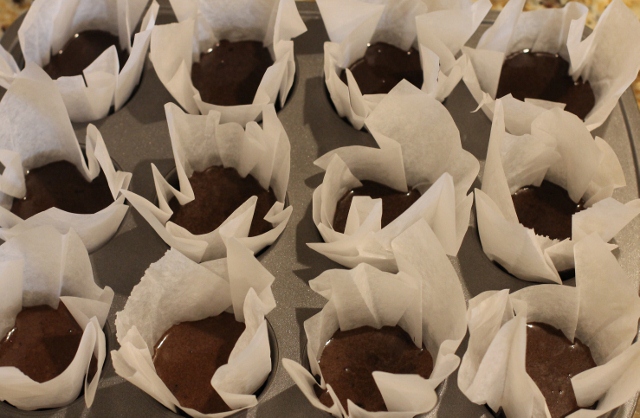
Cut pieces of parchment paper into approximately 7” X 7” squares. Cut as many pieces as you need for the batch of cupcakes you are making (and maybe a few extra). Using a small juice glass push the parchment paper into the well of a cupcake pan and twist the glass so that the paper takes the shape of the pan.

 You may need to take the glass out and fold the paper around it with your hand to reinforce the creases. Place the paper back into the pan and repeat with the next sheet.

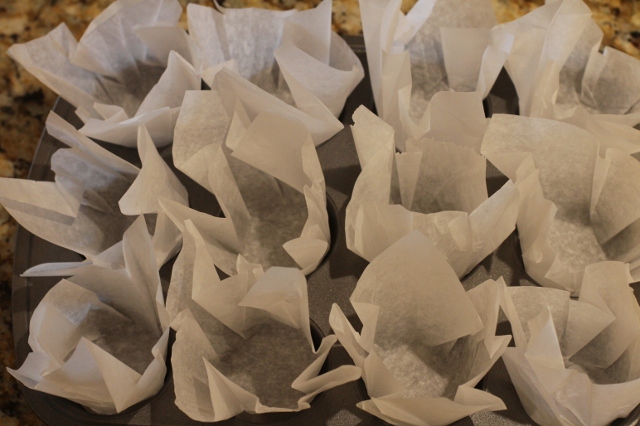
Once your cupcake pan is full it will look something like this. Don't worry if your liners are popping up out of the pan. They will stay down when you pour the batter in.

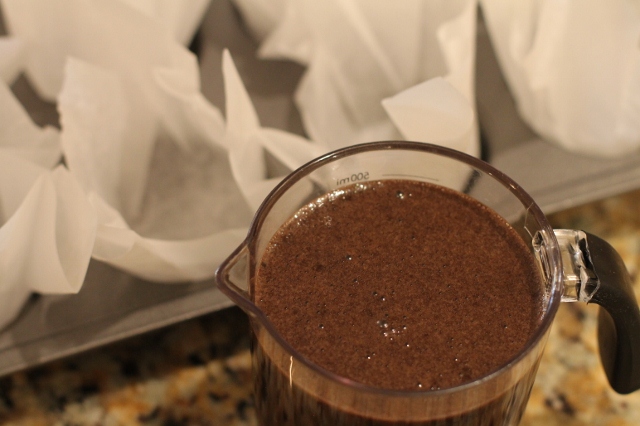
Prepare your cupcake batter and carefully pour it into the pan. I use a measuring cup with a spout for more control.

The batter will go into the folds of the cupcake liner. Don’t worry, if you cut your liners big enough it will not leak out.

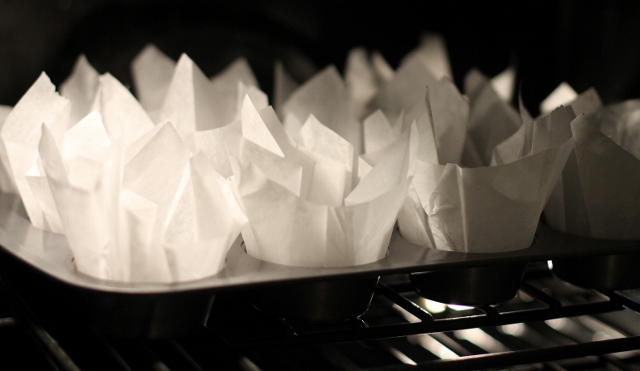
Place pan in a preheated oven and bake according to the cupcake recipe you are using.

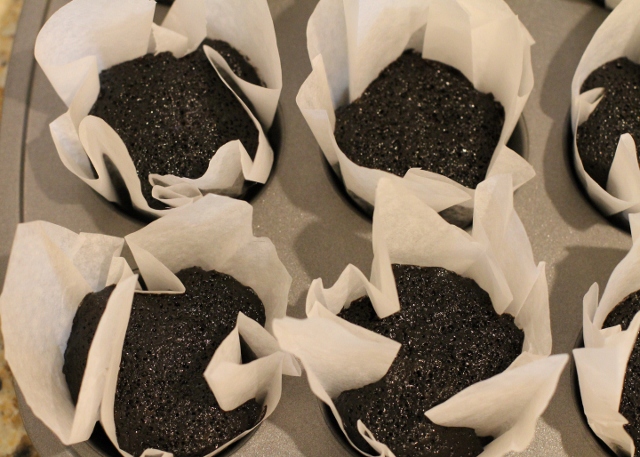
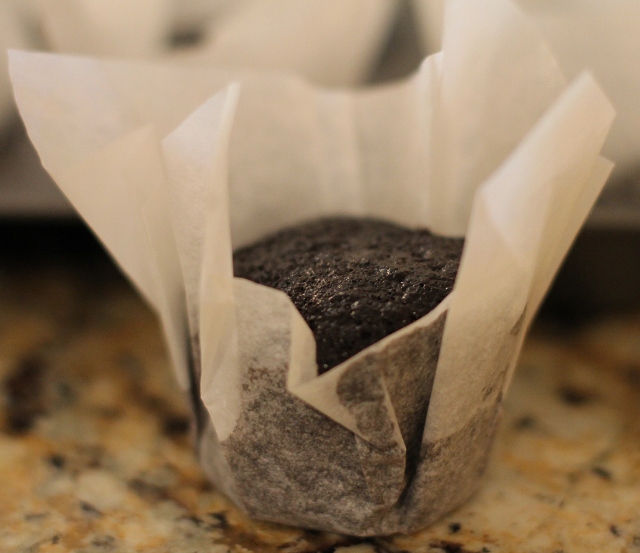
Once baked, remove cupcakes from oven. Leave the cupcakes in the pan for 5-10 minutes until they begin to cool. You will notice the cupcakes have taken the shape of the liner and have baked evenly.

Remove the cupcakes from the pan gently to cool completely. The cupcakes are delicate and the papers will pull away from them if you  are not careful.

Finish the cupcakes with your favorite frosting and just wait and see how much attention they get!  All it took was a little parchment paper!

*Be sure and stop back next week because I'll be sharing the recipe for these Deep Dark Chocolate Cupcakes and the frosting on top! Guess what flavor it is?

Photos by Leslie Reese

Fresh Cut Flowers

As the seasons change and the weather gets warmer one of the things I look forward to is having fresh cut flowers inside. I love fresh flowers any time of the year but there is something I like about walking outside and cutting just a few stems of whatever happens to be blooming and bringing them inside to enjoy.

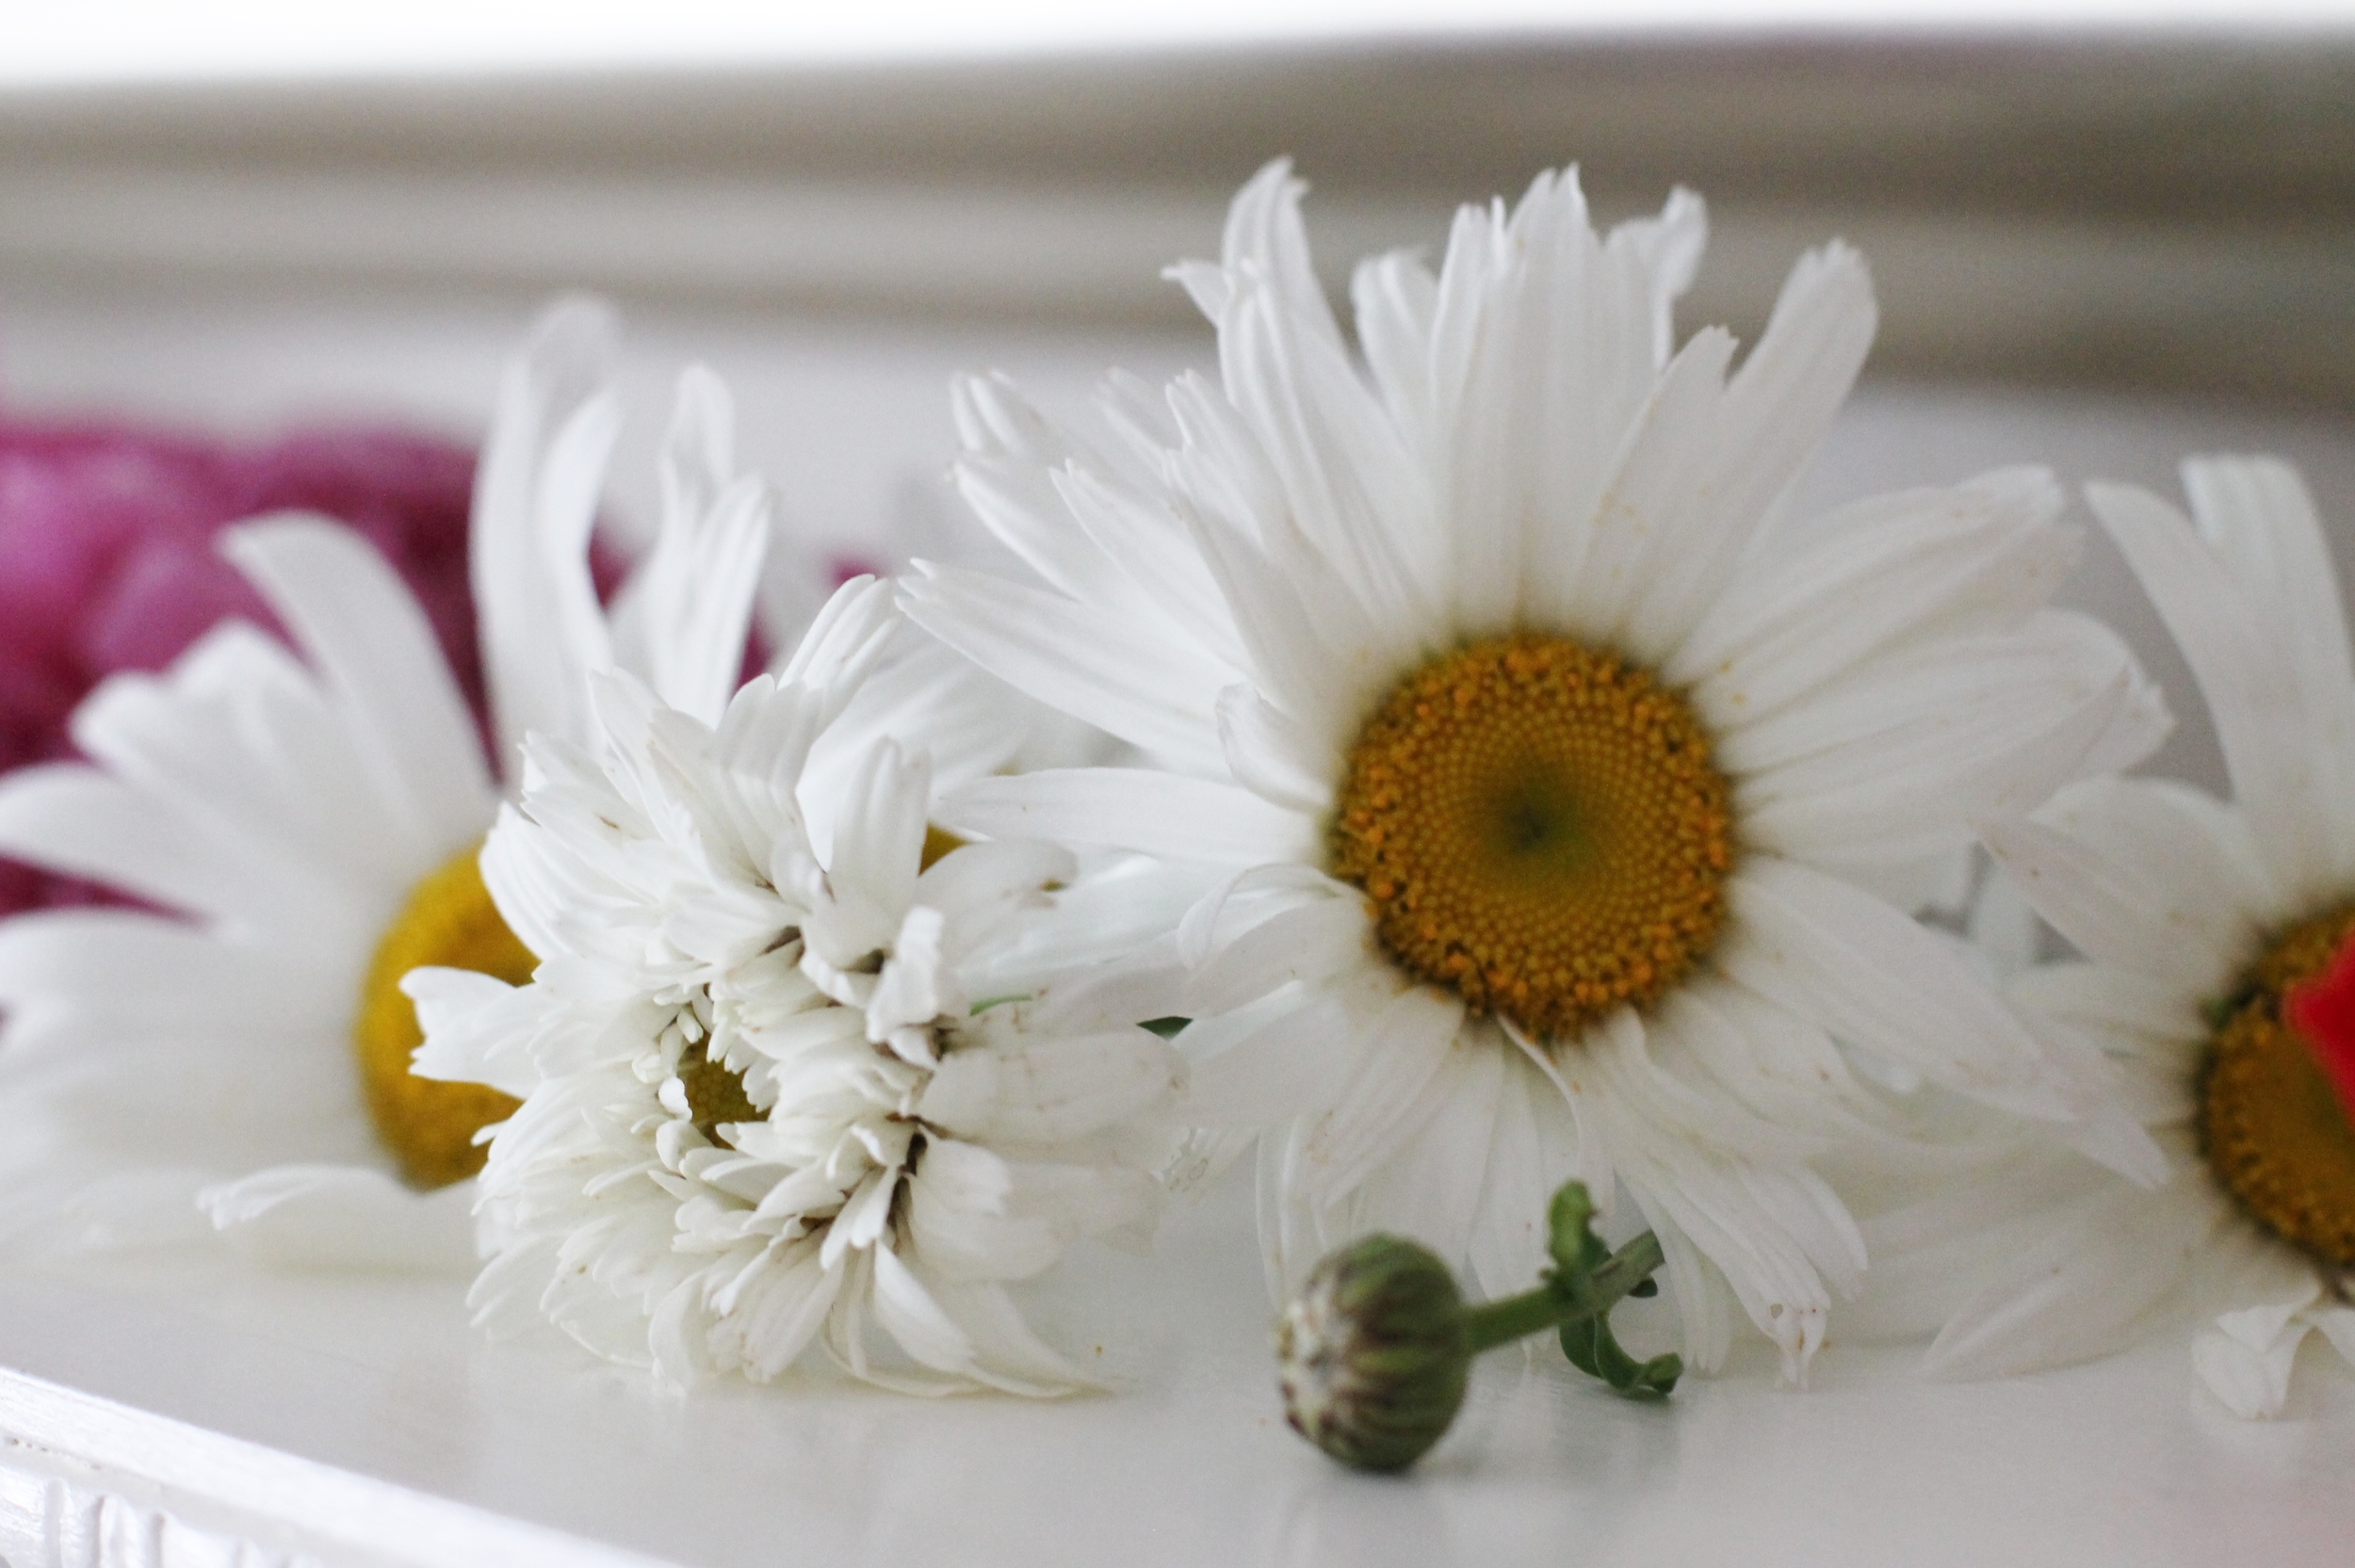
One of the things I realized a long time ago is that you don’t need to have a flower garden in order to enjoy fresh flowers. If you have perennials around your house you can just snip a few blooms from those plants. We don’t have a flower garden but we have beautiful flowers scattered around our yard. We have a peony plant that I love and some pink and red knock-out roses that bloom all summer. We also have a small patch of daisies that are great for cutting. Once in a while when I need just a few flowers for a small vase I will even  snip some from the flower pots on my patio. You would be surprised what you will end up with if you just take your scissors outside and start looking around. Do not, however, wander into the neighbor’s yard…

My mother is famous for having fresh flowers in her house at all times. It doesn’t matter what time of year it is, if you go there, there will be fresh flowers somewhere in her house. It’s one of the little things in life she appreciates and I love that about her. Her favorite flower was always a daisy and every time I see one I think of her.

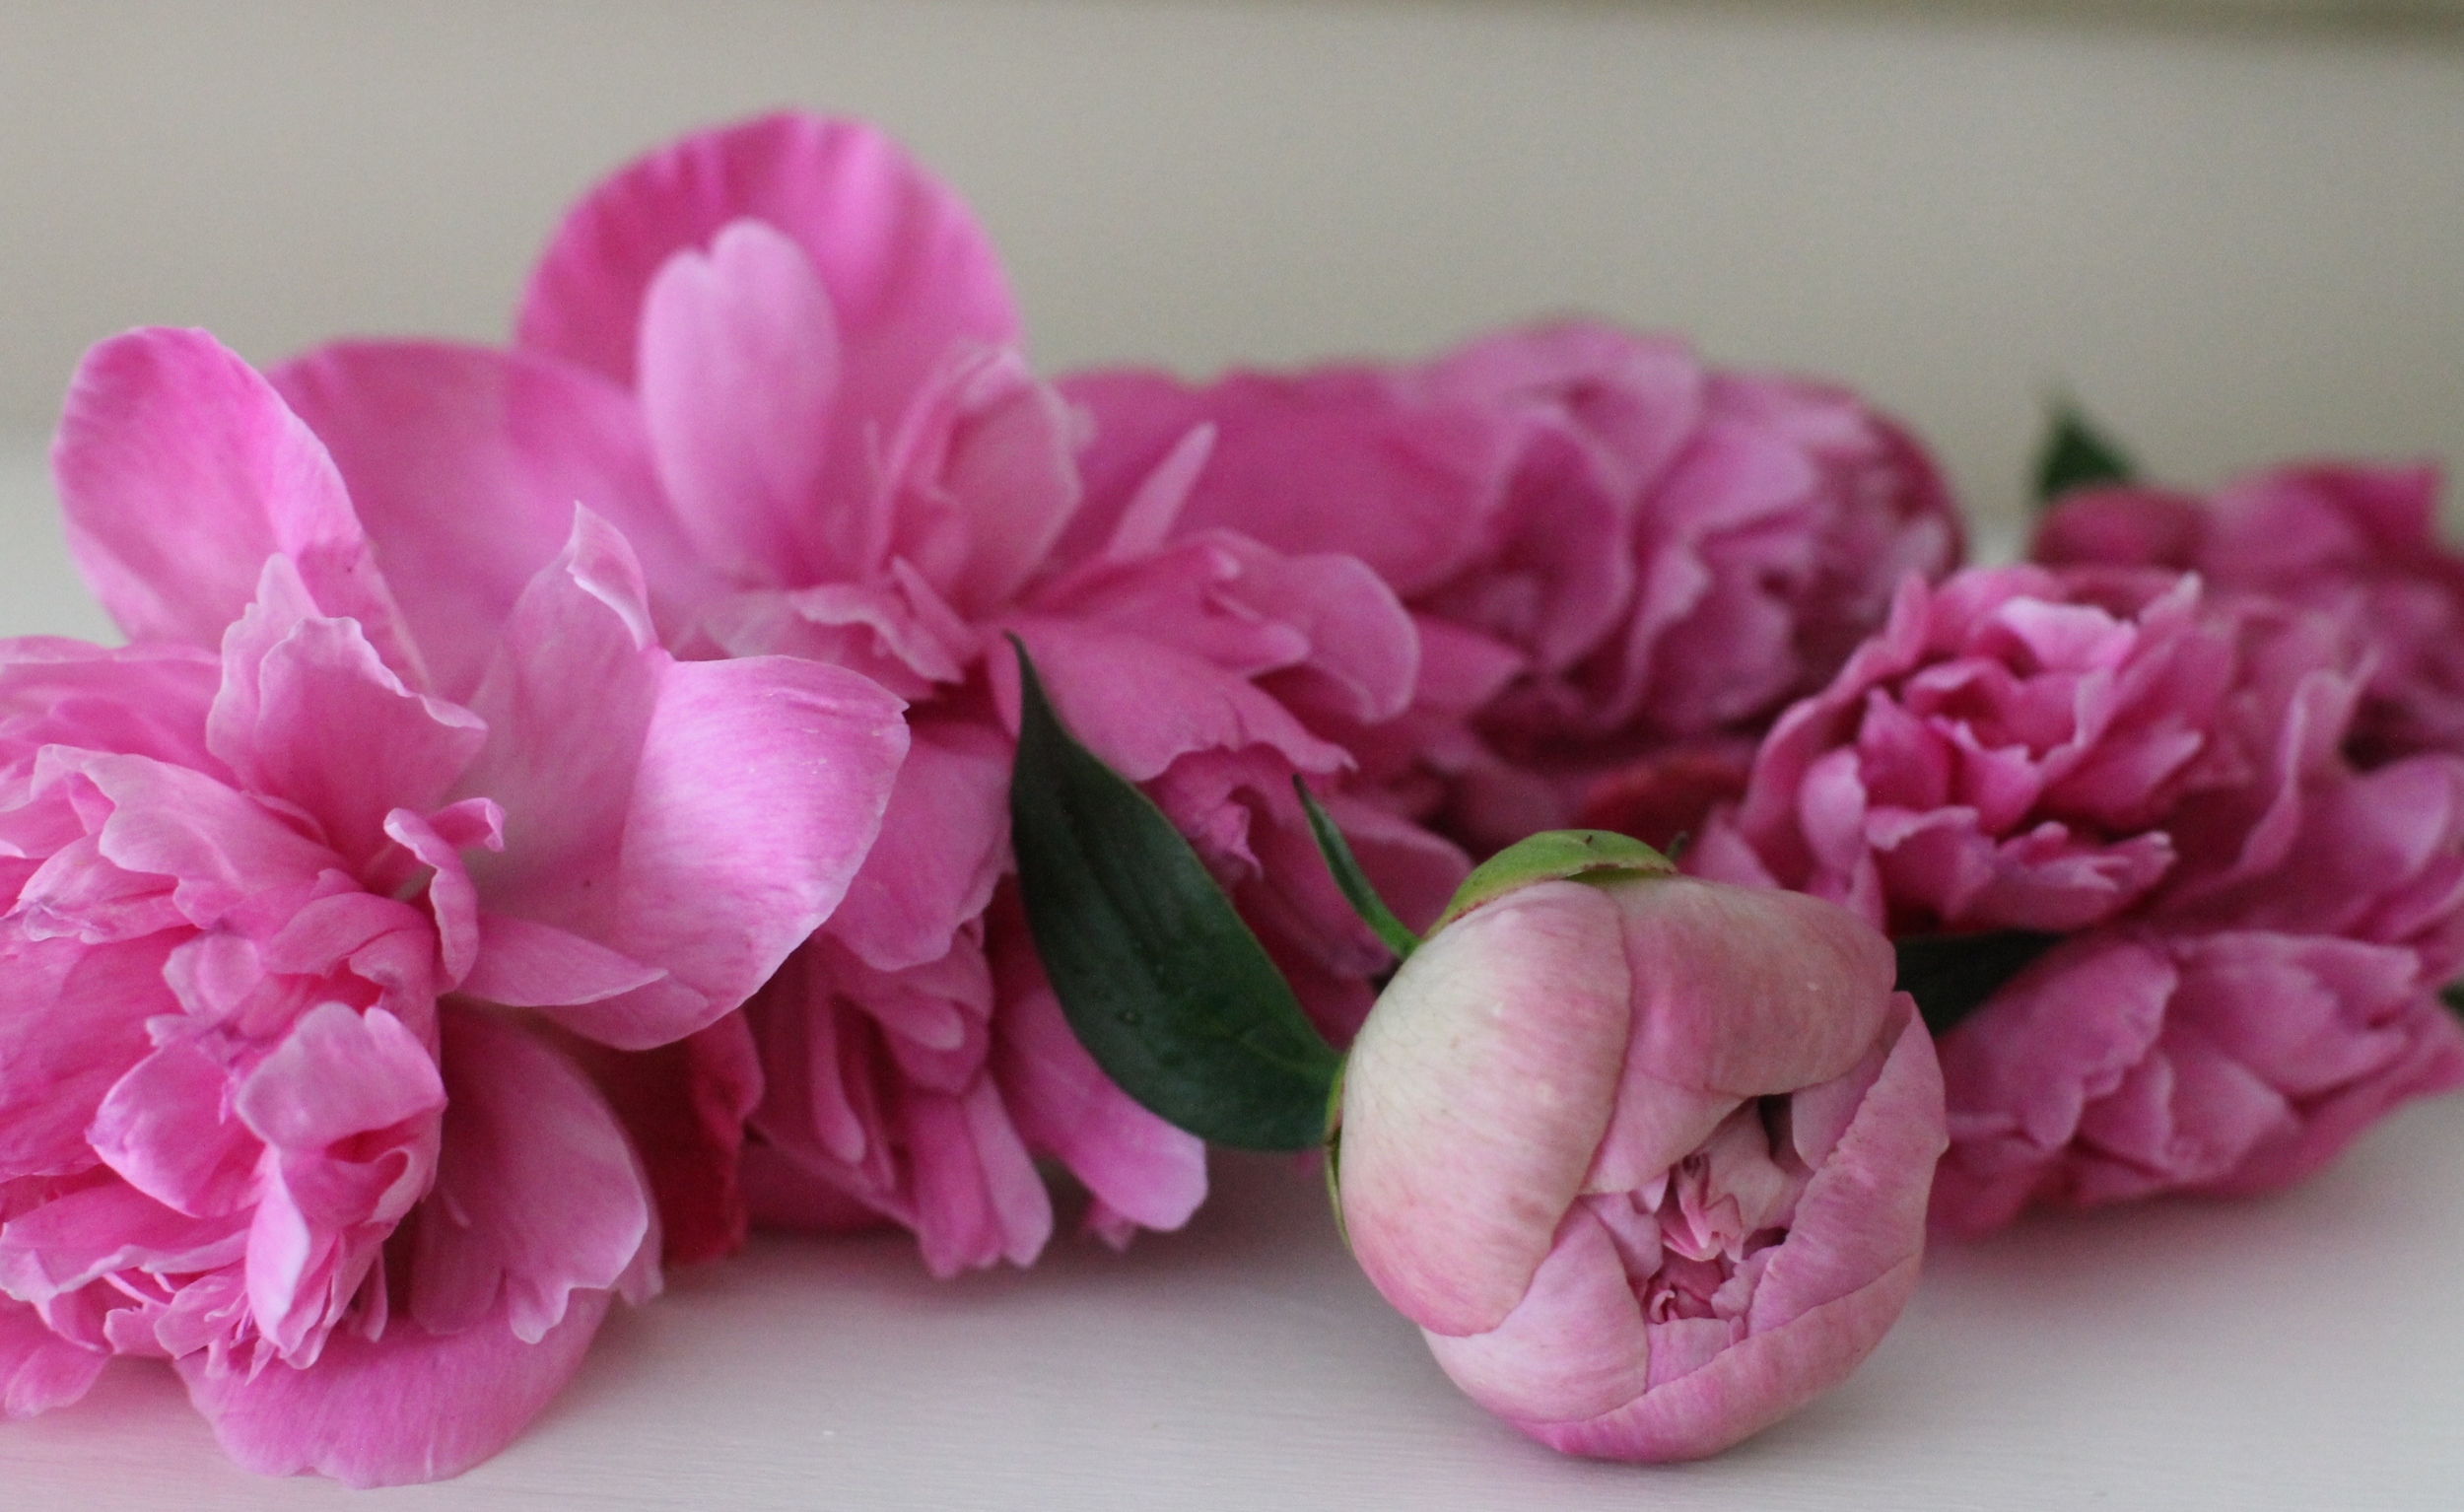
My favorite flower by far is a peony. I think they are the most beautiful and interesting flowers there are.  I love the way they grow and the wonderful fragrance they have. When my daughter Lauren decided she wanted peonies for her December wedding I was thrilled. I knew it was going to be absolutely beautiful.

Once you cut your flowers you can arrange them however you’d like to. Choose a vessel and fill it with water. Start with one flower and just keep adding. Don’t overthink it. If you do you will take the joy out of it. Trust your own eye and do what feels natural. Fresh flowers are beautiful…period.

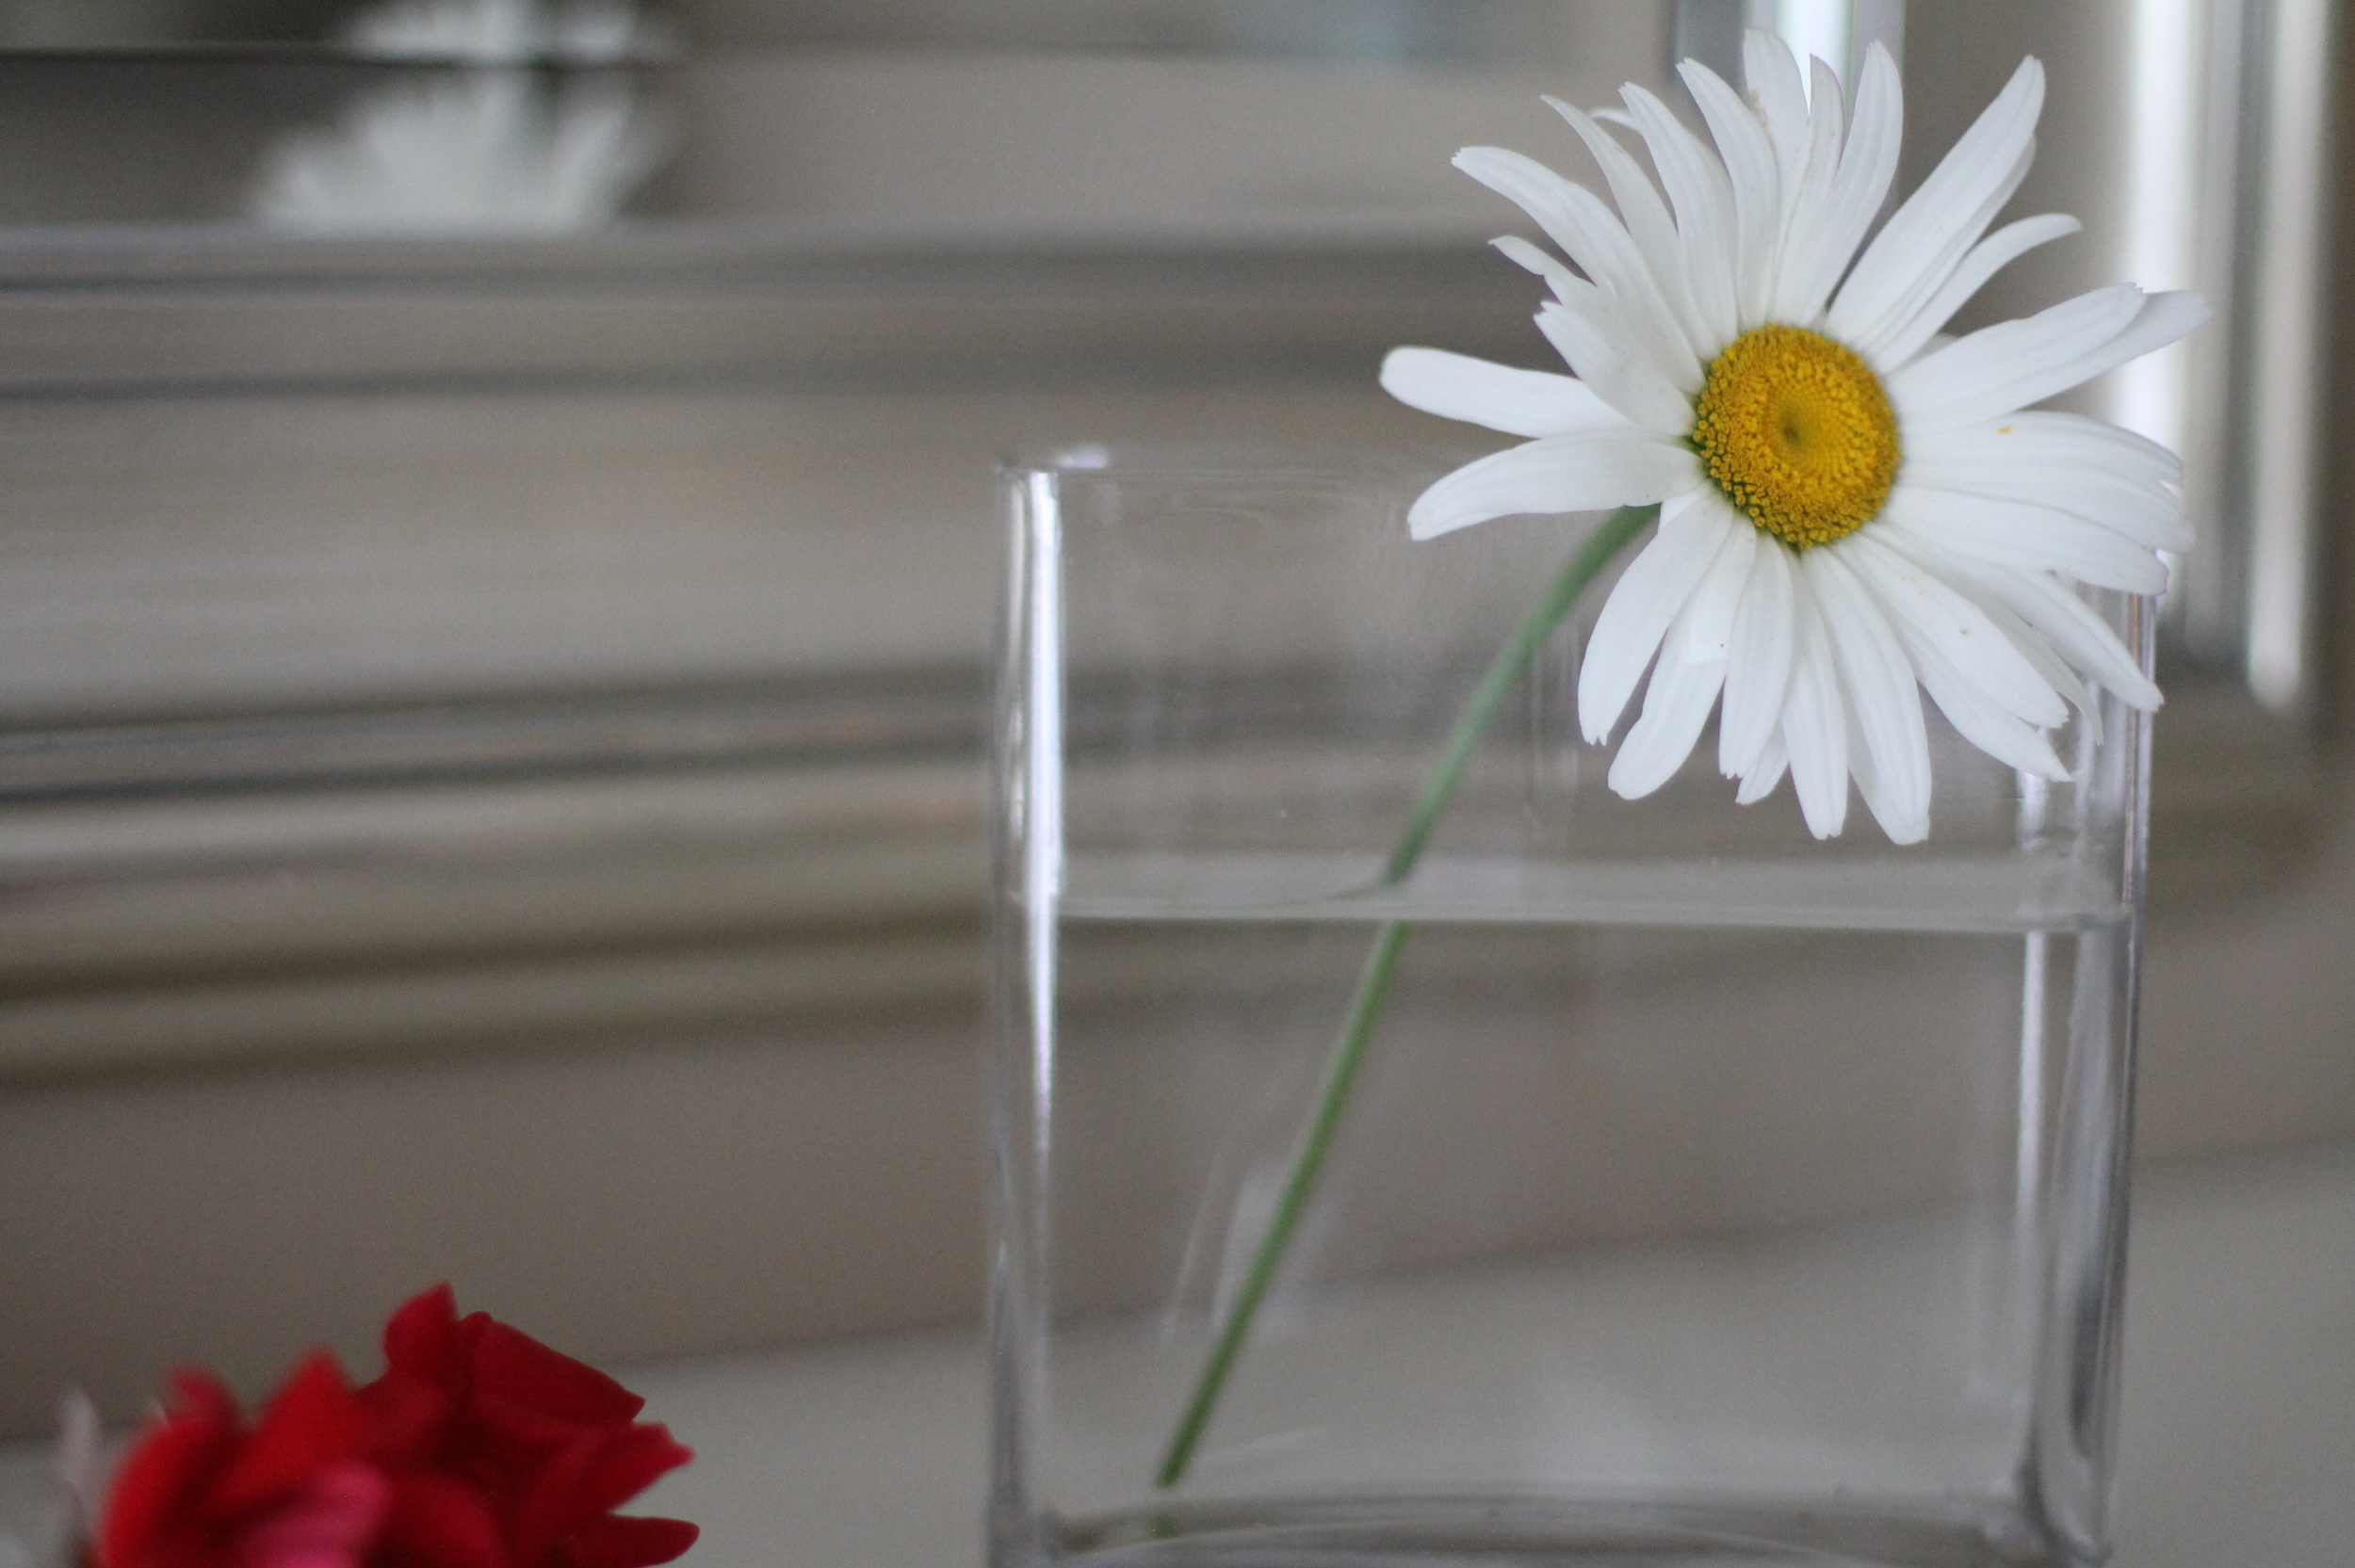
It's fun to use vases in different shapes and sizes. Use whatever you can find around your house. For this bouquet I chose a narrow vase.

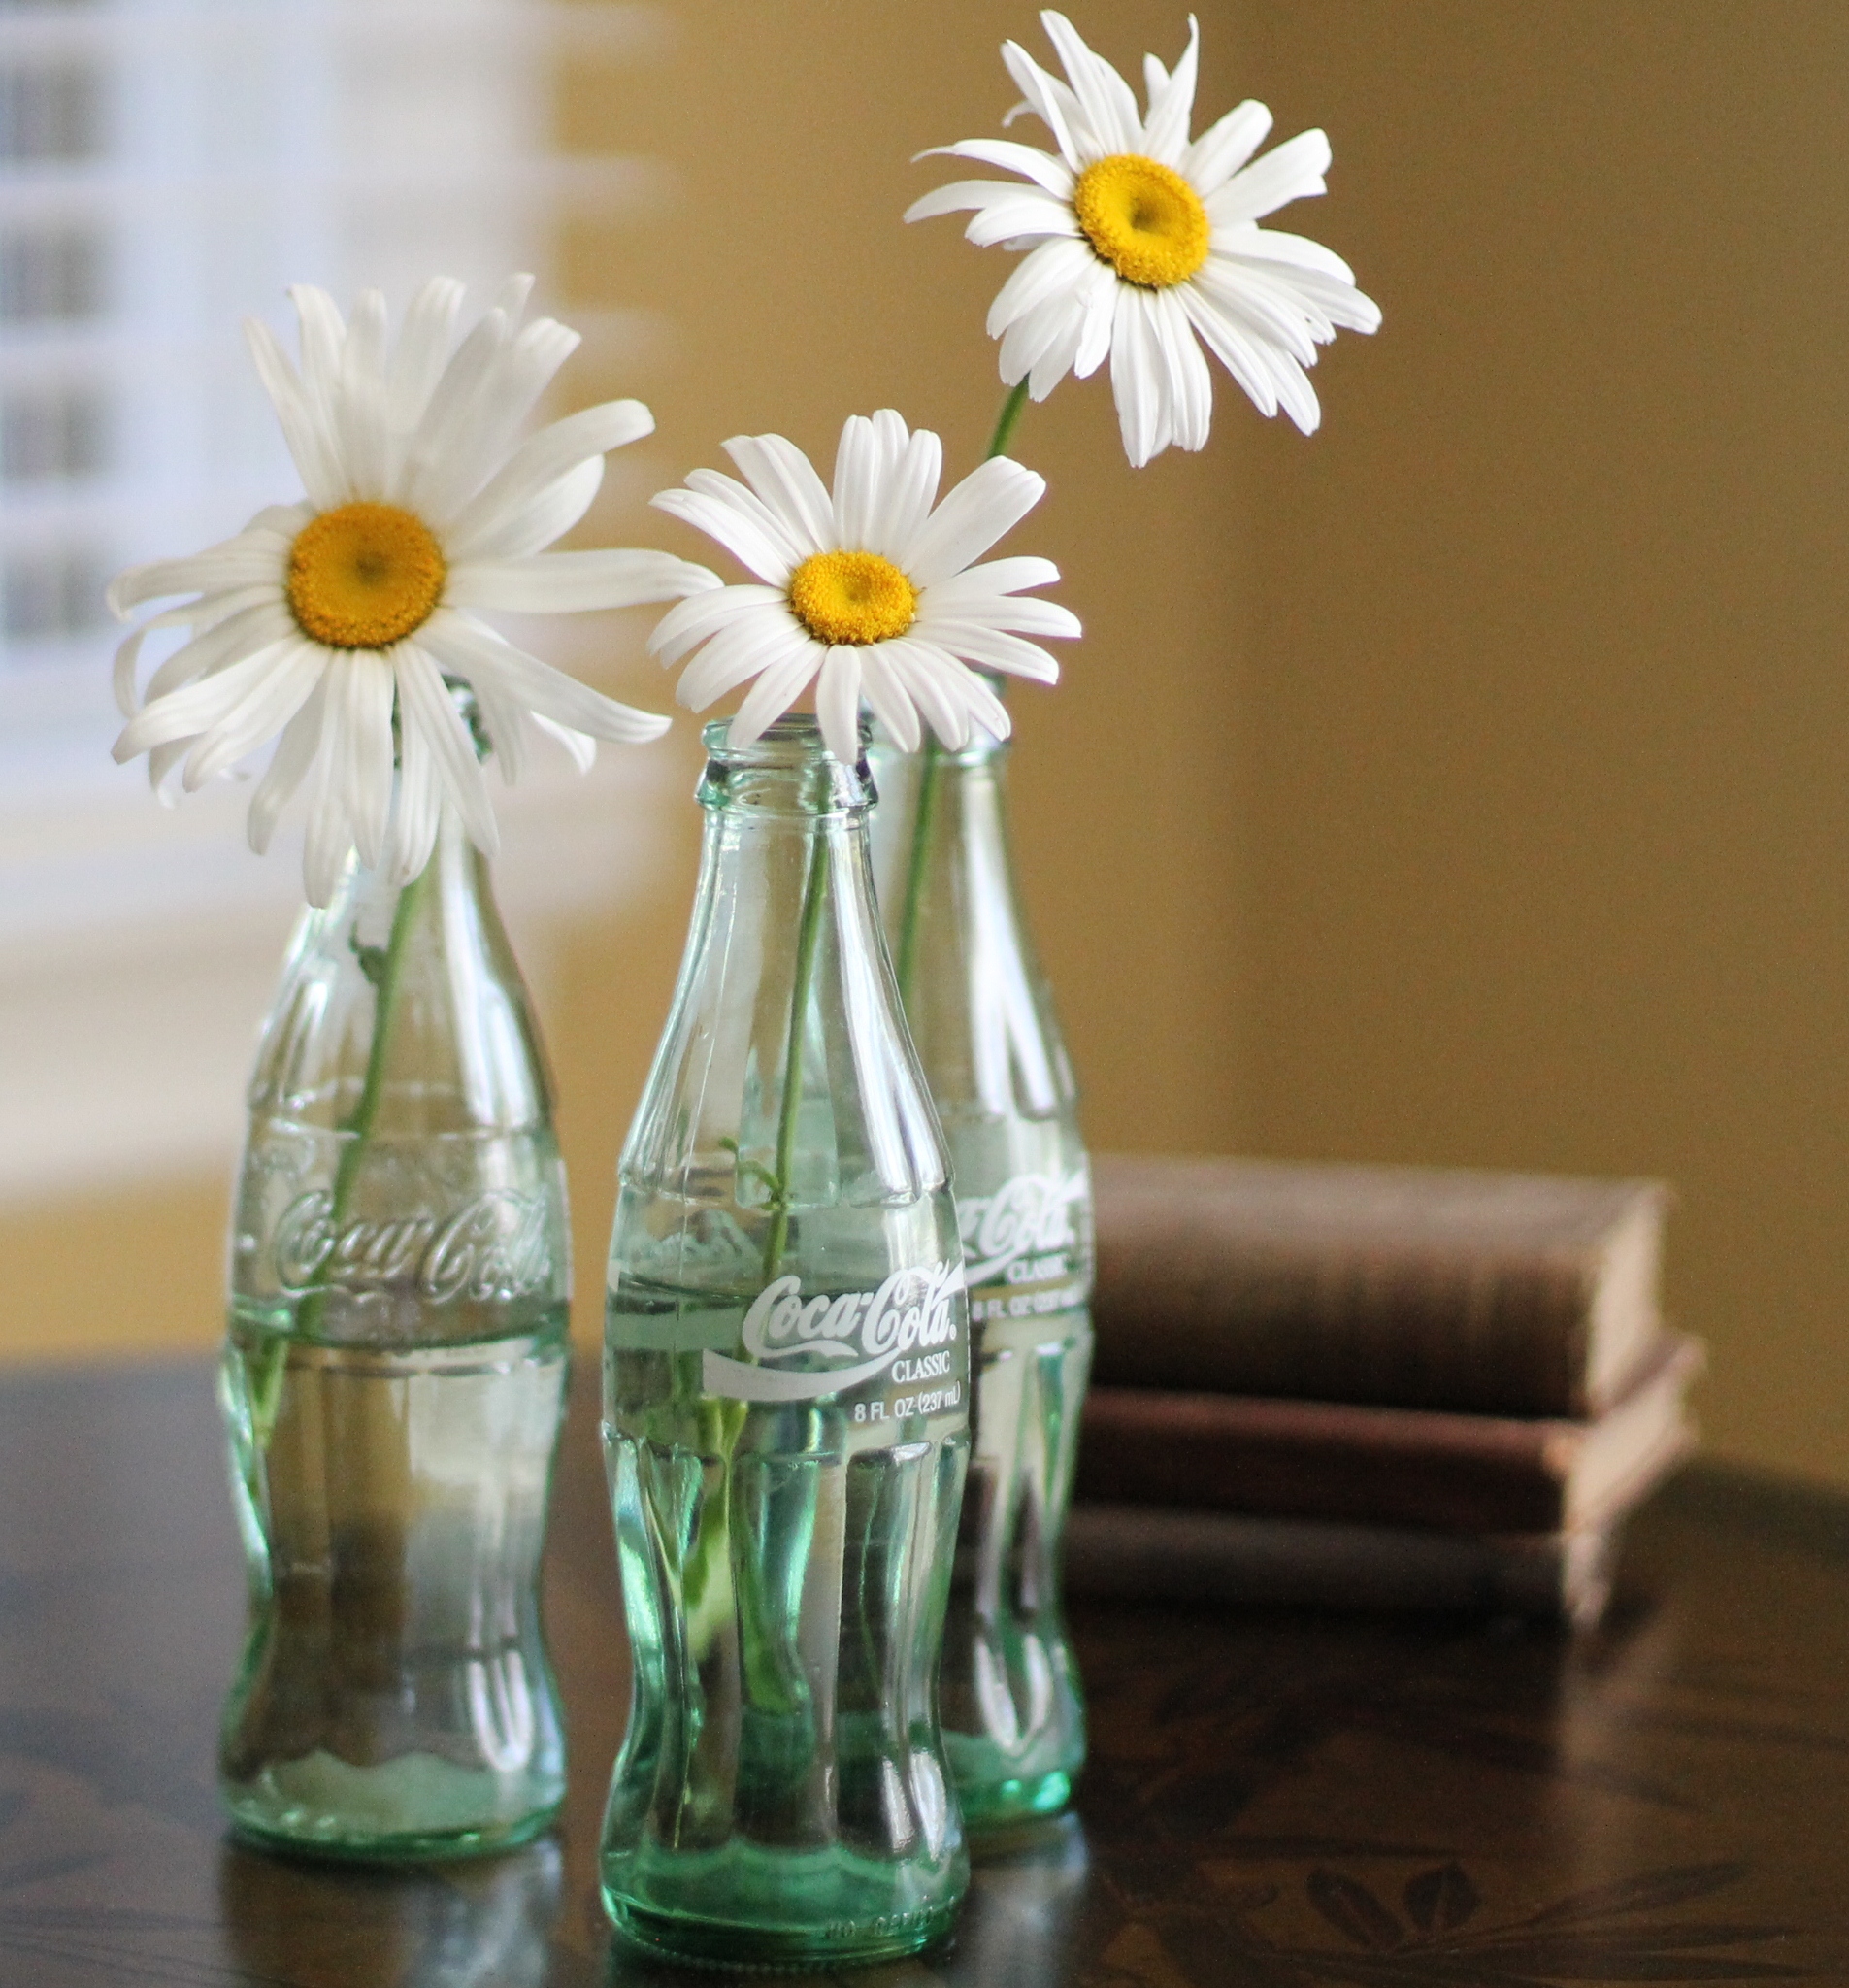
These old fashioned Coke bottles are perfect for single stems.

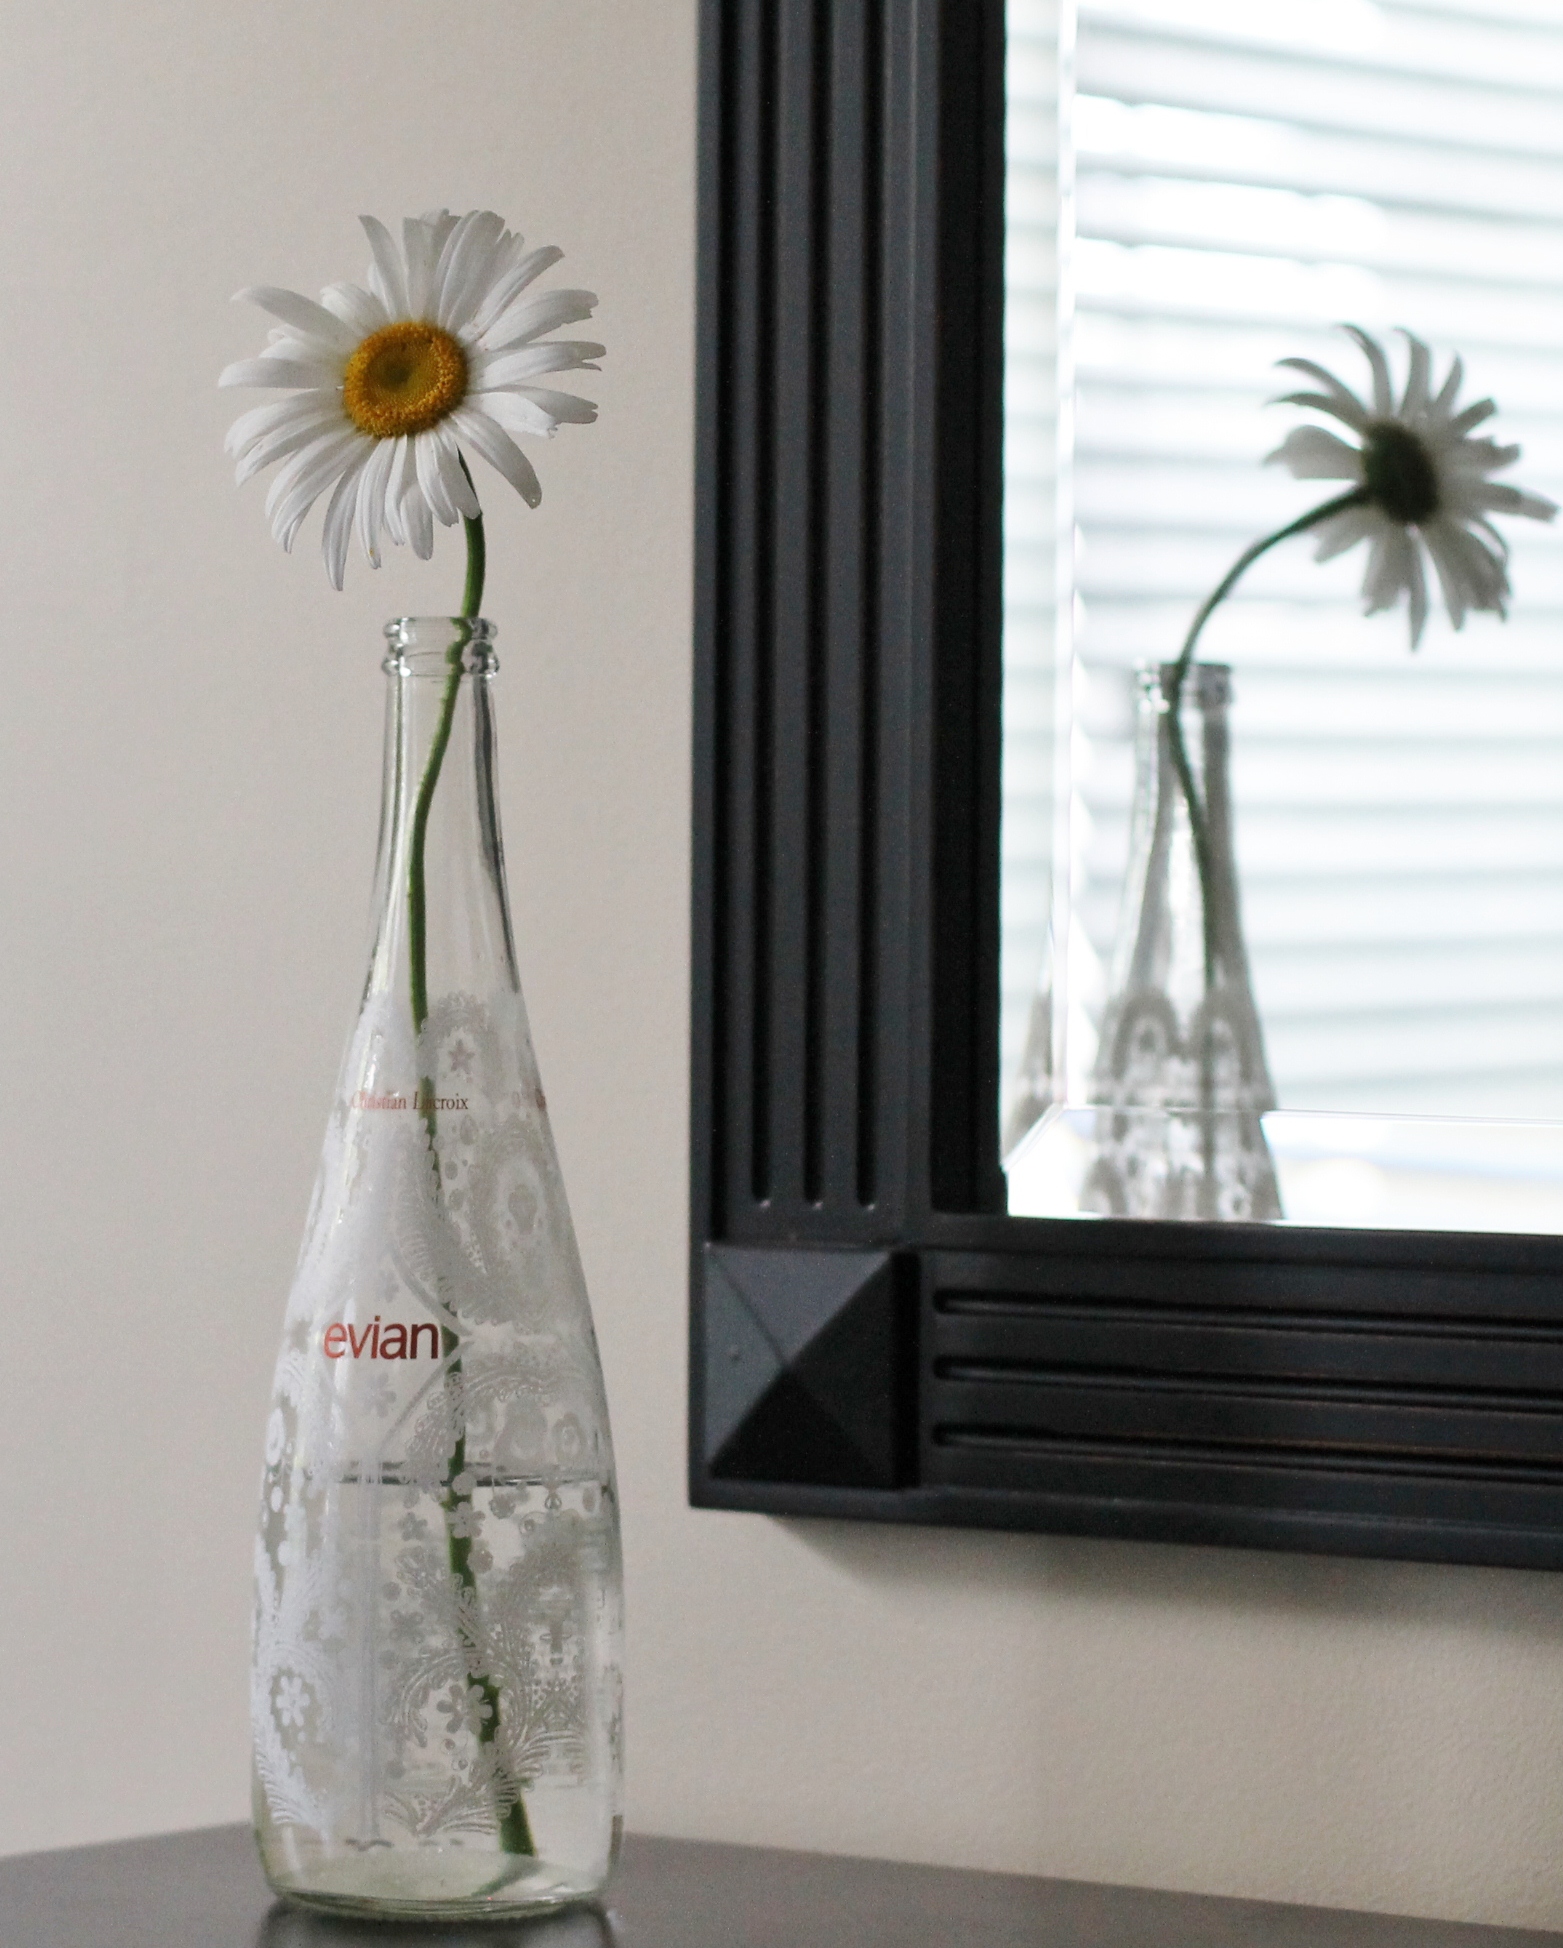
This is a limited edition Christian Lacroix Evian bottle that we found at Target a few years ago. My daughter loved them and bought them for one of the events during her wedding. I saved a few for just this purpose. I think a single stem daisy looks so pretty in this bottle.

I’m sure there are a ton of tutorials out there on flower arranging. And if you want to learn how to make amazing arrangements then it’s a great idea to look into them. What I want to share with you though is that you don’t have to know how to arrange flowers to enjoy them. Look around, see what’s out there and bring the beauty inside. And find a way to share that beauty with others. It’s a little thing that can make a difference in someone’s day, just ask my mom!

Photos by Leslie Reese

Lemon & Sugar

Lemon and sugar have always been two of my favorite things. I think it all started years ago when my sisters and I were kids and spent most of our summer days hanging out at the pool. The snack bar at the pool had packets of lemon sugar that they would serve with the iced tea. We didn't drink iced tea then but we loved the lemon sugar. There was nothing like it and we ate it right out of the pack! We always found a way to get the snack bar attendant or one of the lifeguards who coached our swim team to go and grab some for us. It was a simple thing, but it was our thing and those summer memories are some of the best! In honor of our lemon sugar days I’m sharing some fun ideas that make serving lemon and sugar a little more interesting!

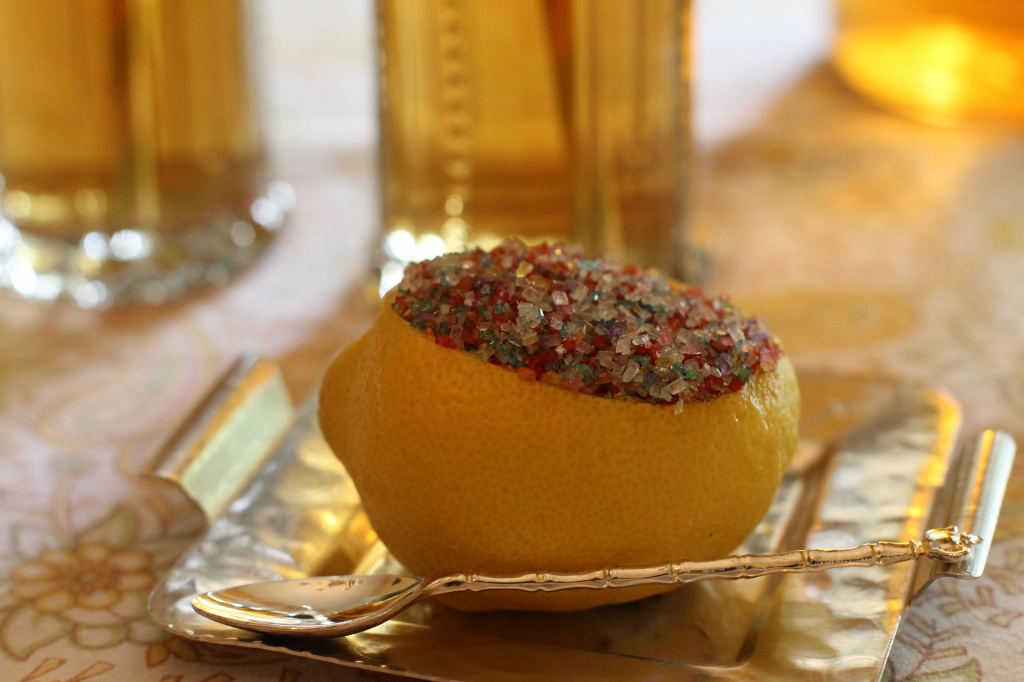
Slice off the top quarter of a lemon.  Hollow it out with a sharp knife or grapefruit spoon. Use a paper towel to soak up the extra lemon juice inside and dry the lemon. Discard the top.

Just before you are ready to set your table or serve your tea, fill the lemon with colored sugar. Place the filled lemon on a plate and add a small spoon for serving.

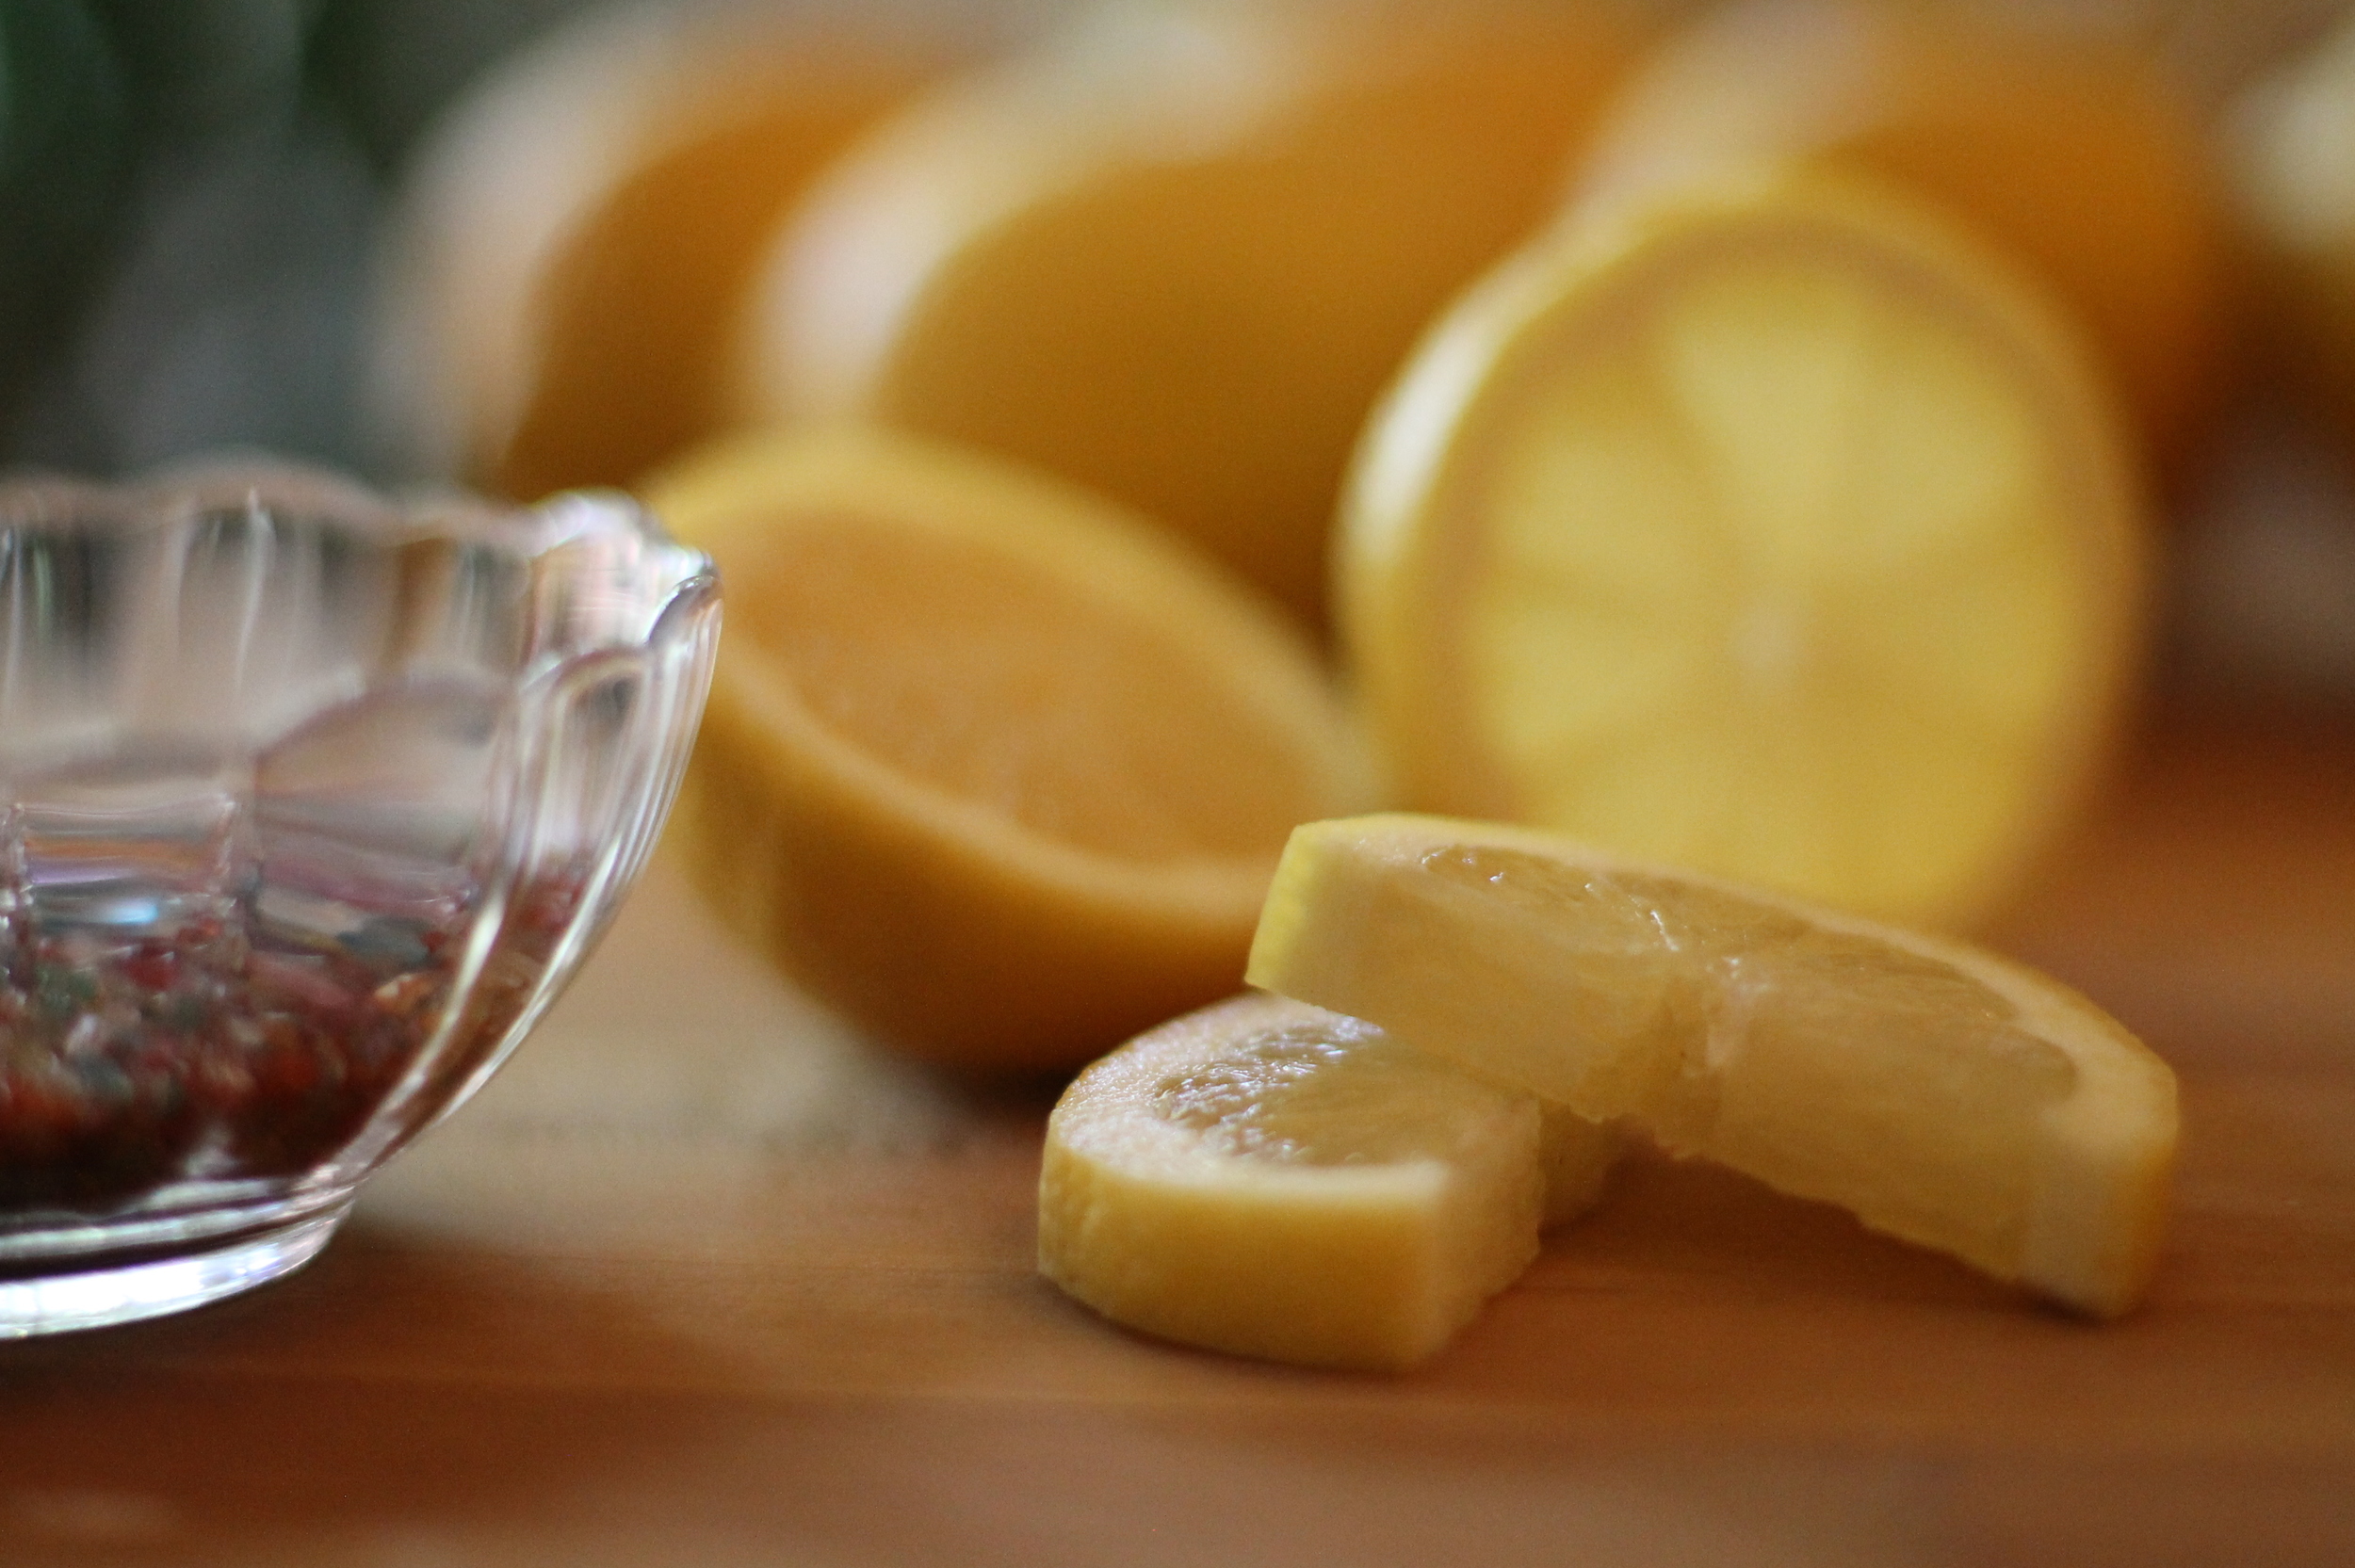
Another fun option is to make sugared lemon slices. Cut a lemon into wedges or slices, whichever you prefer. I typically like to use wedges when I’m serving drinks simply because a wedge is easier to squeeze than a slice. For the sake of looking pretty I used slices this time.

Blot the lemons on a paper towel so they are slightly dry. Dip the top edge of the lemon into colored sugar and place on a plate to serve.

 Now you can see how adding one little thing, like colored sugar, can make such a difference!


Photos by Leslie Reese